If you are looking to using your own ExpressLRS Radio Transmitter and Receiver system with Flywing Helicopters or Flywing flight controllers, this guide will help you get running in no time.
Flywing Helicopters used to come with H1 Flight controller and are now being replaced by H2 and ACE Flight controller. This guide will show you how to connect and use an ExpressLRS receiver with both generations of Flywing Flight controllers. This guide will also provide a model configuration file for the TX16S EdgeTX Radio Transmitter. You can easily adapt this to your EdgeTX Transmitter.

ELRS receiver
We highly recommend the Radiomaster RP3-H receiver as it has been designed for RC Helicopter use. It is a full range Diversity receiver with telemetry support comes with all the necessary connectors and you don’t need to do any soldering. The

The JST-GH to JST-GH cable is used for connecting the RP3-H receiver to H2 and ACE system with a little modification.
The JST-GH to Dupont cable is used for connecting the RP3-H receiver to H1 system.
Connecting to Flywing H1 System
Connectors
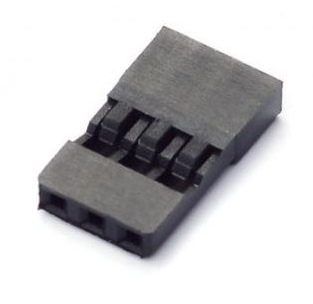
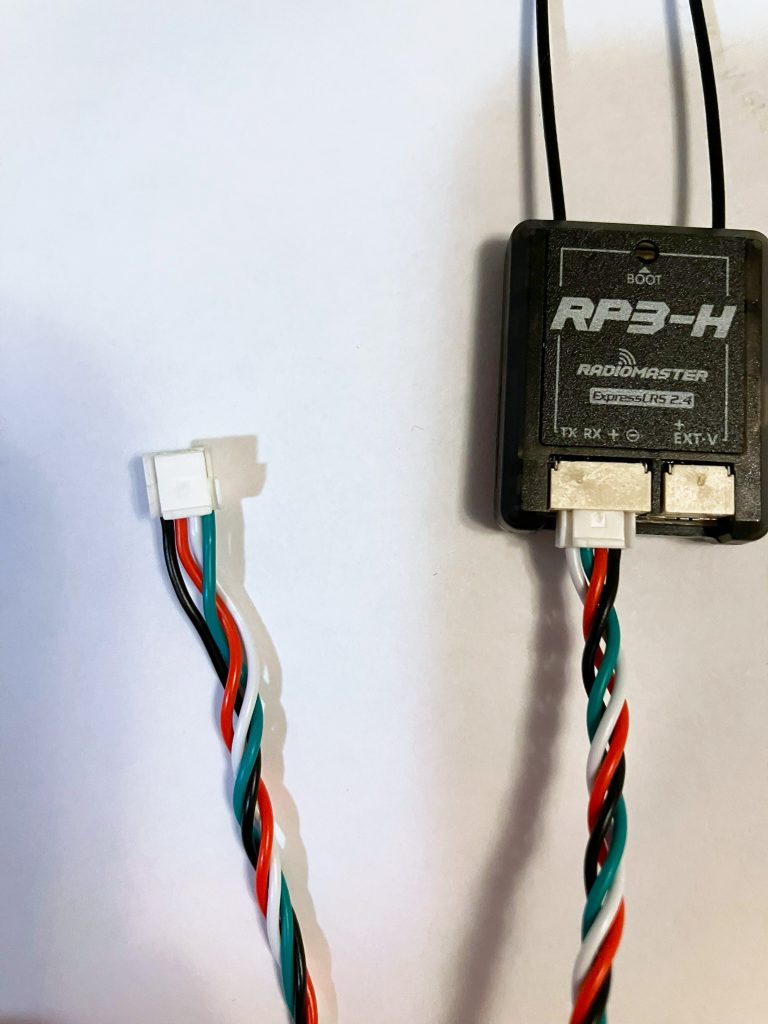
Although the RP3-H receiver comes with JST-GH to single pin dupont connector, it is recommended to use a 3 pin JR/Futaba female connector housing instead. You just need to remove the pin from the dupont housing and insert it into the JR/Futaba housing.

Connections
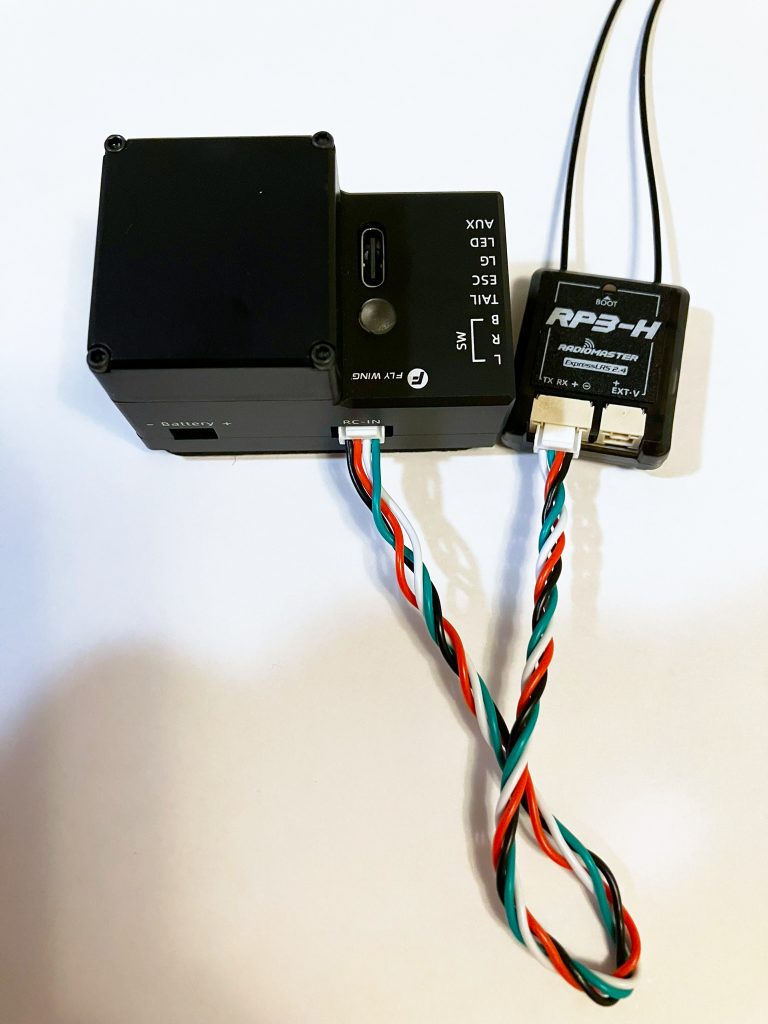
Connect the TX (Green), Power (Red) and Ground (Black) pins into the JR housing. The RX (White) wire is not used and can be left as it is in the dupont housing. Connect the JR plug into the RC in port of the H1 controller as shown in the picture below.

ELRS receiver Configuration for H1
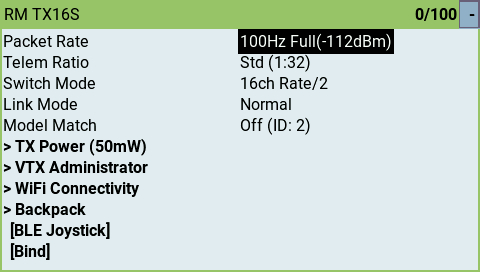
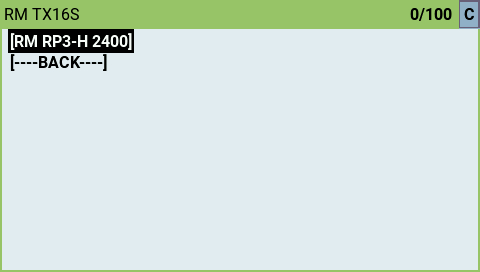
efore binding to the receiver, run the ELRS LUA script SYS->Tools->ExpressLRS
Change Packet rate to 100Hz Full. Without this the controller may have trouble talking to the receiver.
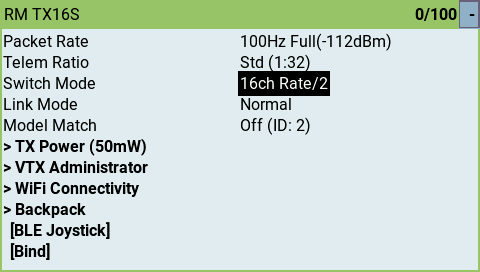
Change Switch Mode to 16ch Rate/2. Without this Channel 5 will only operate in binary mode (High or Low, no middle state)
Now bind to the receiver.
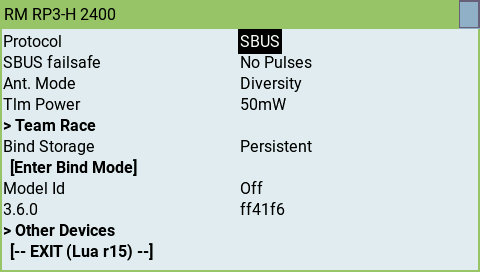
After binding to the receiver, Navigate to Other Devices. If Other Devices is not visible exit and restart the ELRS LUA Script.
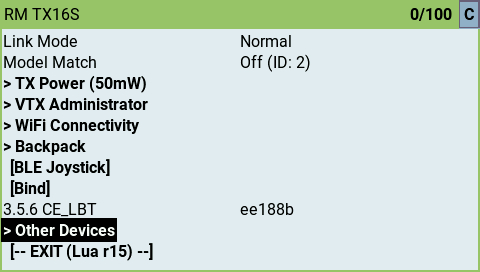
Choose the RP3-H receiver and change protocol to SBUS.
Run the H1 software assistant on PC and confirm that all control channels are functioning correctly.
Channel Map for H1 Controller
| Channel # | Function | Options (low / mid / high) |
|---|---|---|
| 1 | Aileron | |
| 2 | Elevator | |
| 3 | Collective | |
| 4 | Tail | |
| 5 | Mode Switch | 3D / GPS Att / Return |
| 7 | Motor Lock | Motor Stop / Motor Run |
| 8 | Auto Flight | Off / Circle / 8 Route |
Connecting to Flywing H2 and ACE System
Connectors
For this we will use the JST-GH to JST-GH cable. The pin ordering on the H2 and ACE controller is different than the RP3-H so we will have to do some changes to the JST-GH connector on the H2/ACE controller side.

Use a small pin to lift the tab on the connector and pull out the pin. Repeat for all pins. Insert the pins back into the housing in the order shown above on the left connector.
The order on H2 / ACE controller is Ground (Black), Power (Red), RX (White), TX (Green).
Note: TX of RP3-H goes to RX of controller. RX of RP3-H goes to TX of controller.
Connections
Connect the prepared cable between RP3-H and H2 / ACE controller.
ELRS receiver Configuration for H2 / ACE
Before binding to the receiver, run the ELRS LUA script SYS->Tools->ExpressLRS
Change Packet rate to 100Hz Full. Without this the controller may have trouble talking to the receiver.
Change Switch Mode to 16ch Rate/2. Without this Channel 5 will only operate in binary mode (High or Low, no middle state)
Now bind to the receiver.
After binding to the receiver, Navigate to Other Devices. If Other Devices is not visible exit and restart the ELRS LUA Script.
Choose the RP3-H receiver and change protocol to CRSF.

Run the H2 / ACE software assistant on PC and confirm that all control channels are functioning correctly.
Channel Map for H2 / ACE Controller
| Channel # | Function | Options (low / mid / high) |
|---|---|---|
| 1 | Aileron | |
| 2 | Elevator | |
| 3 | Collective | |
| 4 | Tail | |
| 5 | Mode Switch | GPS / ATT / Aerobatics |
| 7 | Motor Lock | Motor OFF / Motor ON |
| 8 | Feel | Soft / Standard / Sport |
| 9 | Return | Off / Home |
EdgeTX Model Configuration for Flywing Helicopters
You can download a reference model configuration for TX16S.
Downloade TX16S EdgeTX configuration for Flywing.
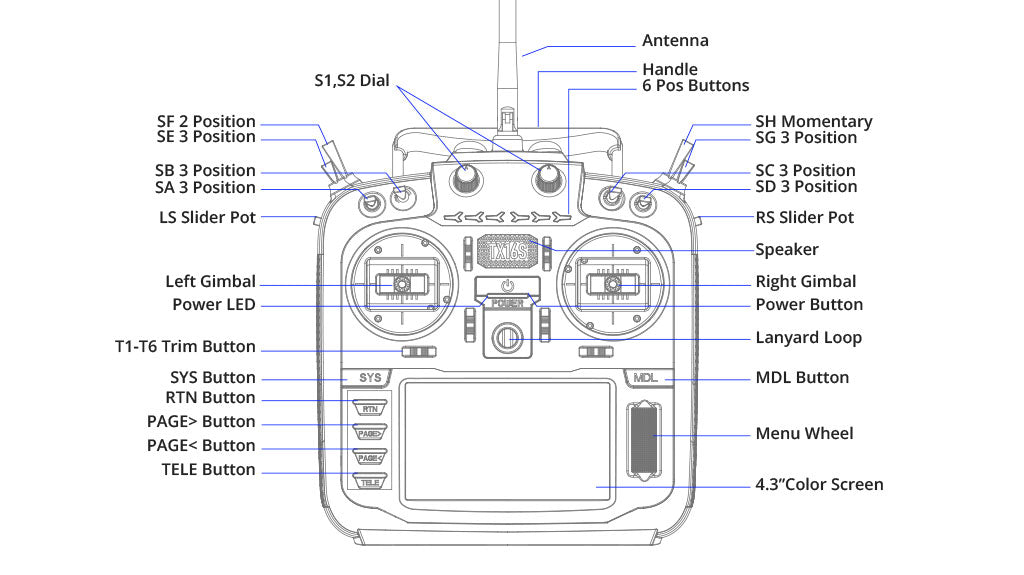
| Function | Switch |
|---|---|
| Throttle hold fail-safe | SF |
| Throttle hold | SD |
| Mode Switch | SA |
| Motor Lock | SD |
| CH8 | SB |
| CH9 | SC |
| Dual-Rate | SG |