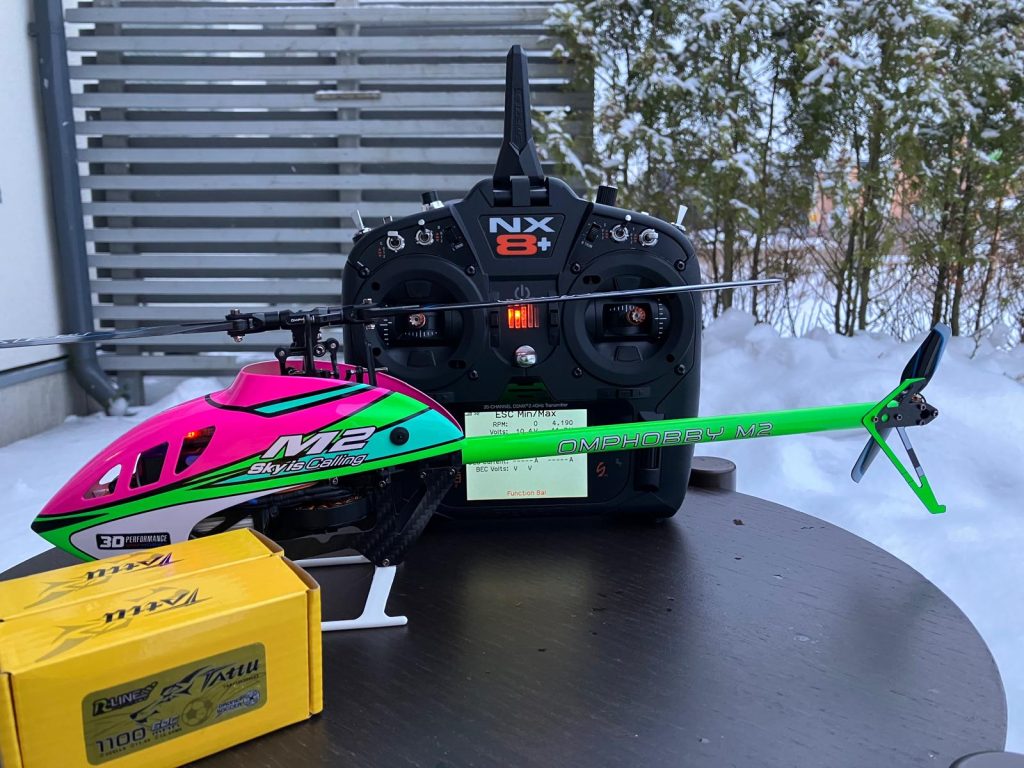
This guide will explain how to connect a Spektrum SRXL2 receiver to the OMPHobby M2 V3 helicopter. It will also provide instructions to configure a Spektrum NX8+ and get telemetry support.
Firmware Update
SRXL2 receiver protocol and telemetry support was added to OFS3 Flight controller since firmware version 14.70.
Please download the latest OFS3 Firmware from OMPHobby.com. Update the OFS3 Flight controller firmware using the OMPHobby OFS3 Bluetooth Module and the OMPHobby App on iOS/Android.
Compatible Receivers
Although any SRXL2 receiver will work a small and lightweight receiver is preferable for the M2 V3 Helicopter.
The SPM4650C und SPM4651T are the best options.


Connecting to the OFS3 Controller
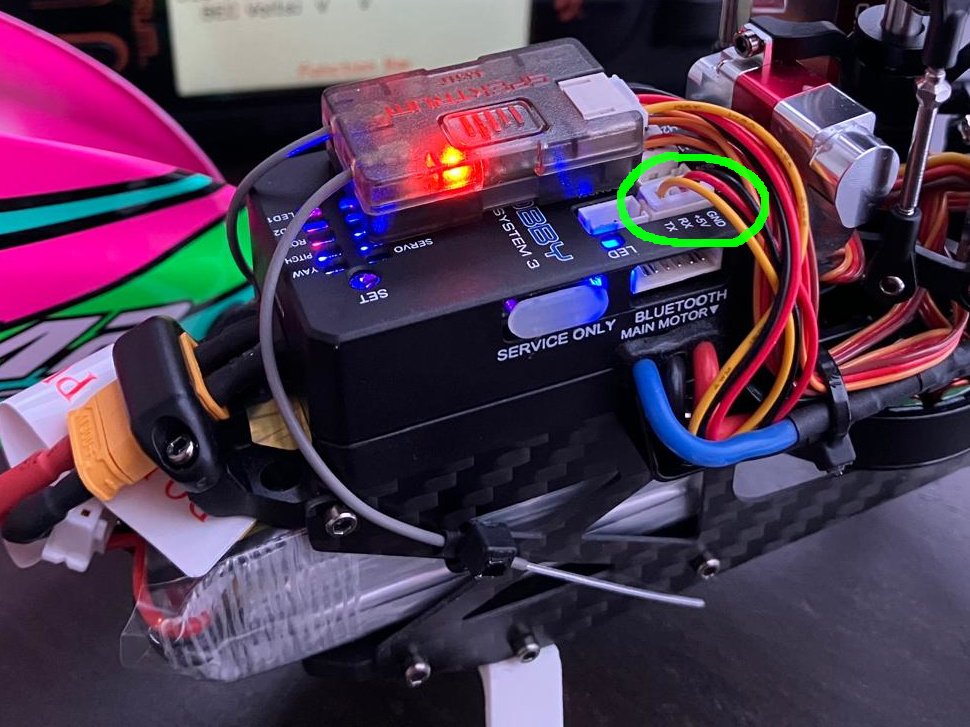
The SRXL2 receiver needs to be connected to the CRSF port on the OFS3 controller. The connector that comes with the receivers is not suitable for connecting to the CRSF port. The Spektrum SRXL2 to OMP M2 V3 OFS3 receiver connection cable will be required. It connects to SRXL2 port on the receiver side and the CRSF port on the OFS3 Controller.


Configuring the Spektrum Transmitter
In this guide we be using the Spektrum NX8+ transmitter. The instructions should apply for any recent Spektrum transmitter.
Loading the Model Configuration
- Download OMP M2 V3 Model Configuration for NX8+
- Extract the zip file to locate the OH-M2-V3.NSPM file.
- Import the model file into the NX8 Transmitter.
- Power ON the transmitter, enter the system menu > USB storage
- Connect a Micro USB cable to your PC and the micro USB connector on the back of the transmitter.
- Select Access Internal Storage. The NX8+ will connect to your PC. A storage drive will show up for the NX8+
- Copy the file to the NX8+ Storage drive.
- Press the Back button or the roller to exit.
- Disconnect the USB cable from your transmitter.
- Go to System Menu > Transfer SD Card
- Category: Model Import / Export
SD Card: Internal
Options: Import Model
Select File: OH-M2-V3.NSPM
Import Mode: Import - Select OH-M2-V3.NSPM Model File.
- Now M2-V3 should be the active model.
Switch Function Mapping
| Function | Switch |
|---|---|
| Timer reset | A (Timer Resets only when in Throttle Cut) |
| Throttle Cut | F |
| Flight mode (Normal, Stunt-1, Stunt-2) & SWRPM on Channel 7 (GOV) | B |
| Attitude hold (auto level) (OFF, ON, ON) | D |
| Dual Rates (100% / 85% / 75%) | G |
Throttle Curves
The configuration contains following throttle curves
- Normal mode: 0-60-60-60-60 (3600 RPM)
- Stunt 1: 65-65-65-65 (3900 RPM)
- Stunt 2: 70-70-70-70 (4200 RPM)
Binding to Helicopter
It is recommended to remove main and tail rotor blades to prevent injury if motor starts accidentally.
- Press and hold the Bind button on the receiver while powering up the Helicopter.
- The Orange LED on the Receiver will be flashing indicating that it is ready to bind.
- On the Transmitter, ensure Throttle cut is active and then go to Model Function List->Bind. Press BIND.
- When binding completes the Orange LED on the receiver will be steady.

Pre-Flight checks
- Check swash plate moves in correct direction for aileron, elevator and collective pitch stick movements.
- Check motors turn on when throttle cut is removed and throttle stick is increased.
- Check motors turn off when throttle cut is active.
- Install main and tail rotor blades.
Telemetry
Use the roller to scroll through telemetry screens. The following information is available
- Battery Consumption (capacity)
- Battery Current
- Rotor RPM
- Battery Voltage
A vibration and sound warning is set when battery capacity reaches 550mAh.
Flight Timer
Flight timer is set to 5:00 minutes. The Flight timer can be reset when changing battery pack by ensuring throttle cut is active and then activating Timer reset switch.