This guide is meant to be used along with the OMPHobby M5 User manual or OMPHobby M6 User Manual. Although the pictures are from an M5 Kit, they apply to M6 as well as both kits have 95% identical parts.
Best viewed on a larger screen like a Tablet or Laptop.
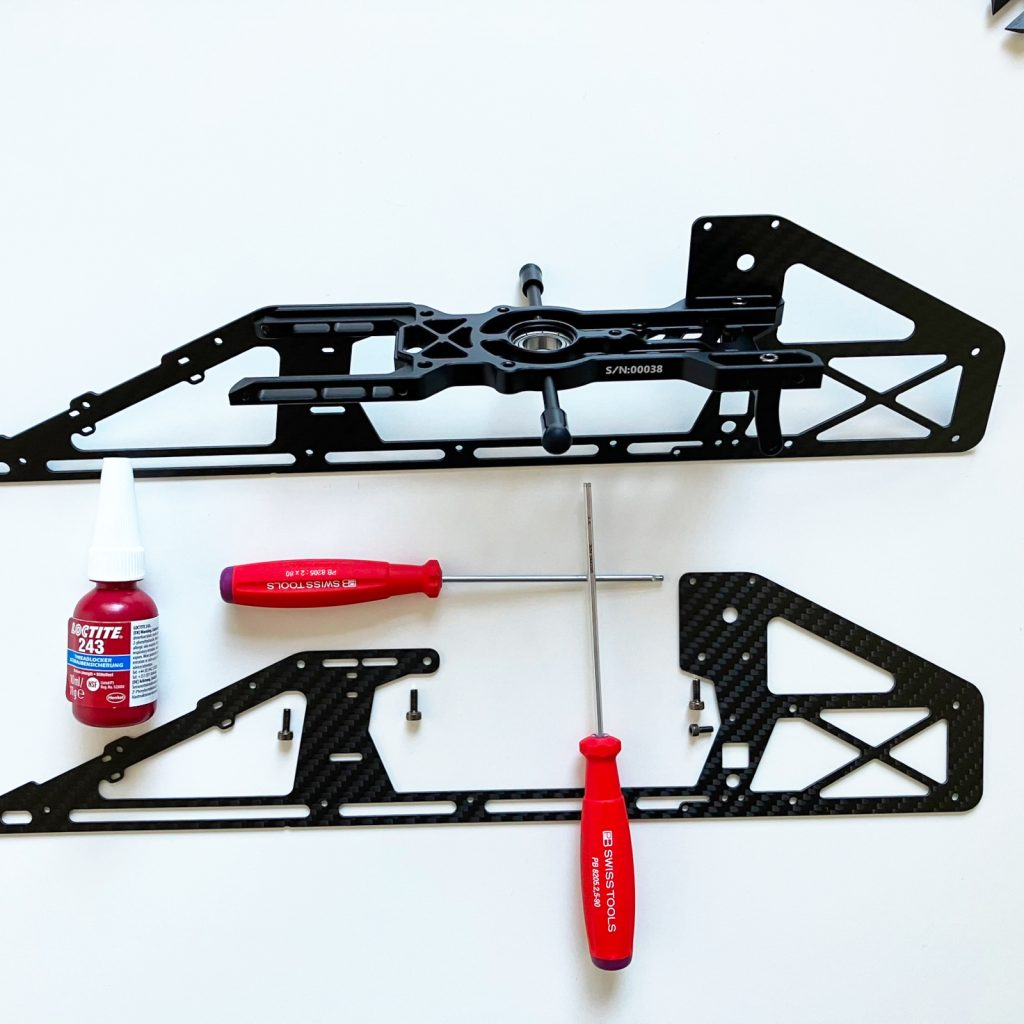
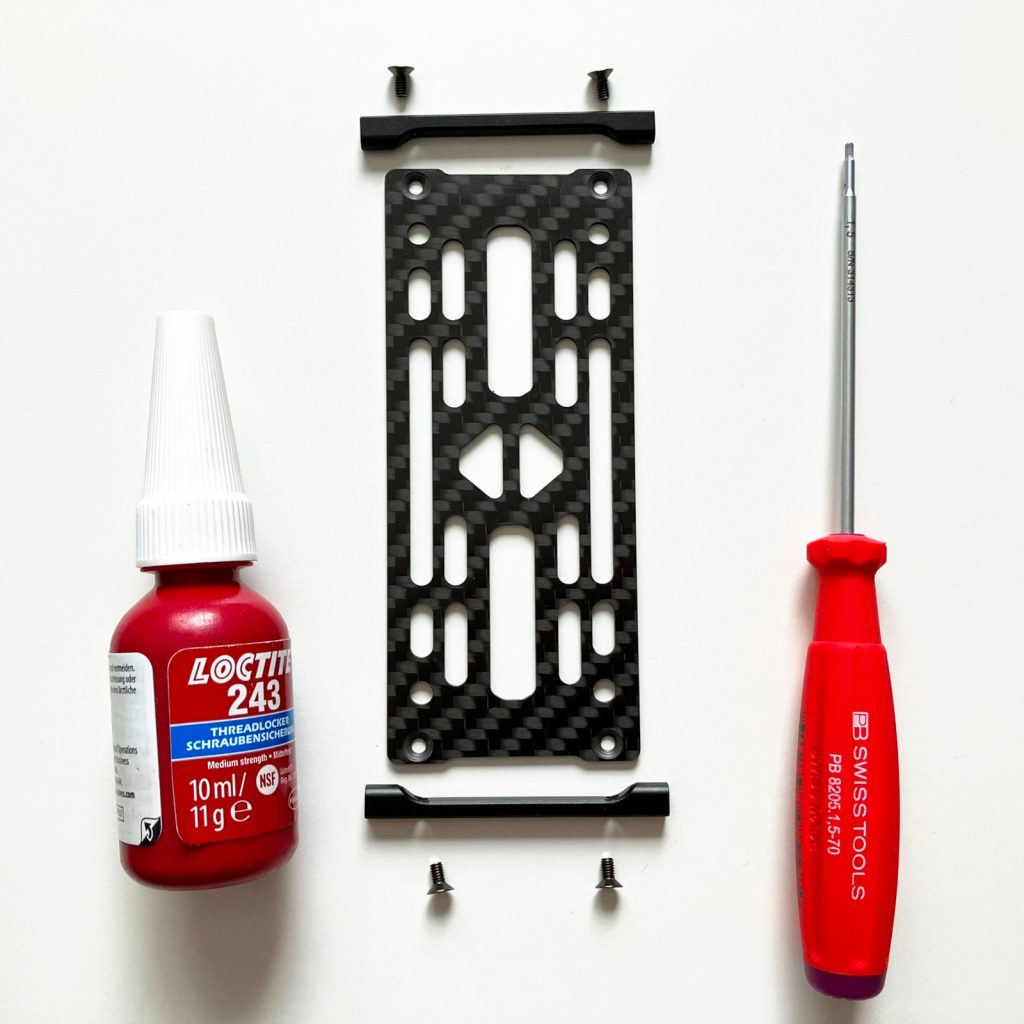
Tools
- Hex drivers 1.5mm, 2.0mm, 2.5mm, 3.0mm
- Needle nose pliers
- Pliers Wench (e.g. Knippex 86 05 150 / 86 03 150)
- Swashplate leveling tool
- wire cutter / cutting pliers
- Ball Link Pliers
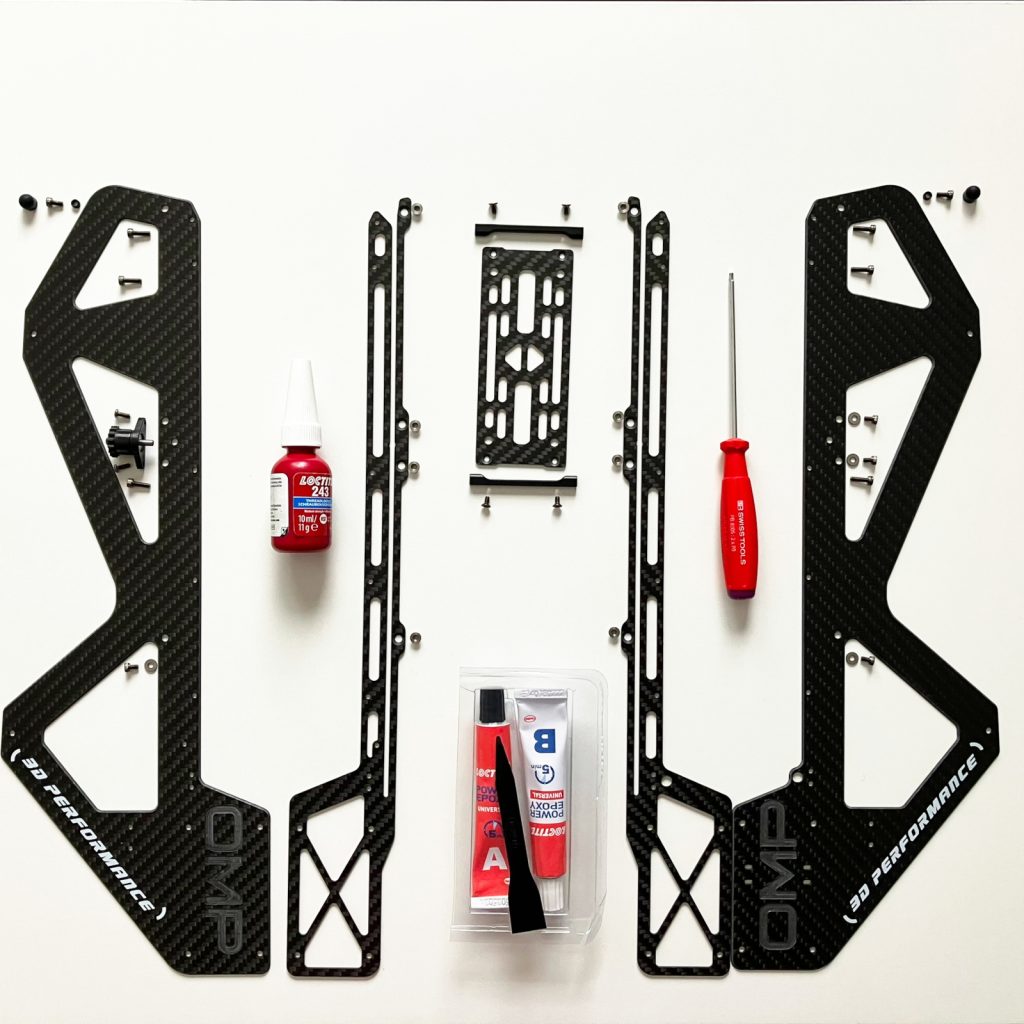
Supplies
- Loctite 243 threadlocker
- Synthetic grease
- AB epoxy glue
- small zip ties (for cable management)
- hook and loop tape
(for securing battery to battery tray) - your favorite drink and a lot of patience 😉
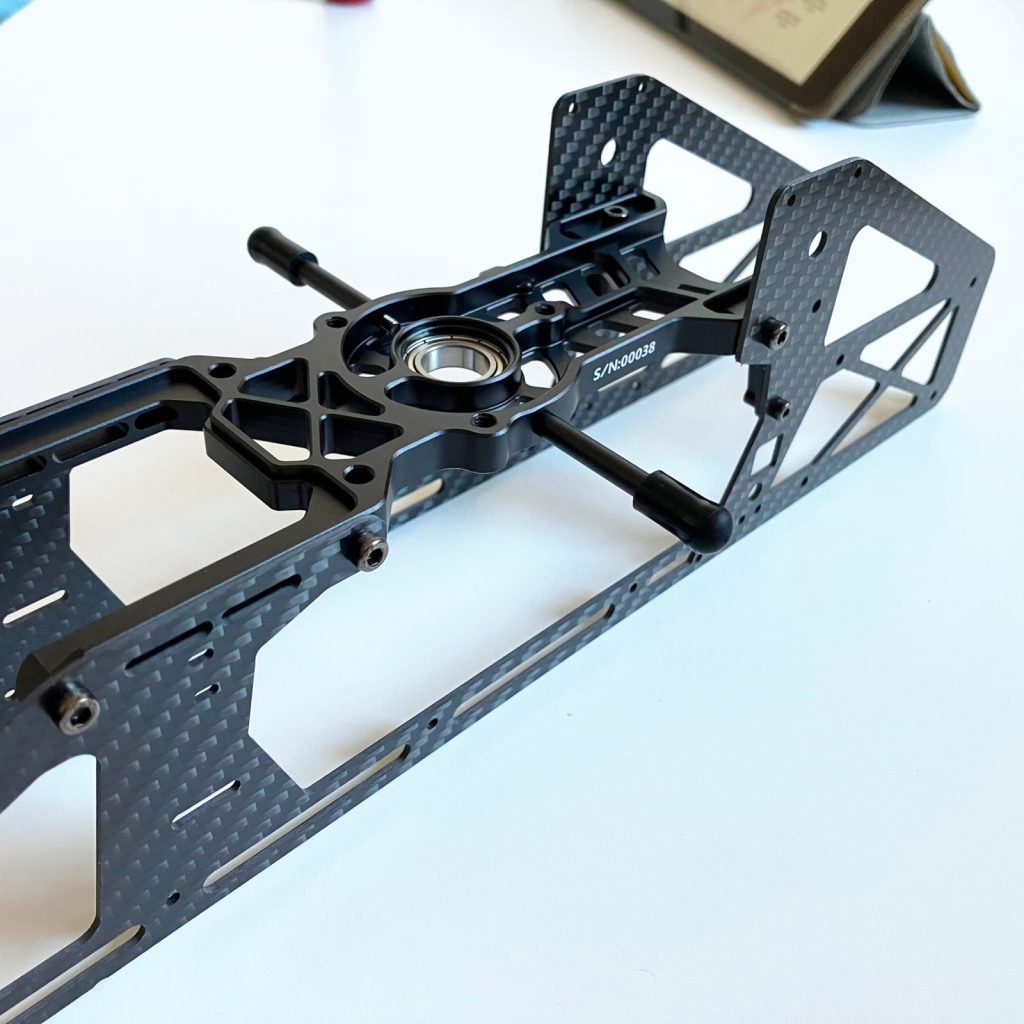
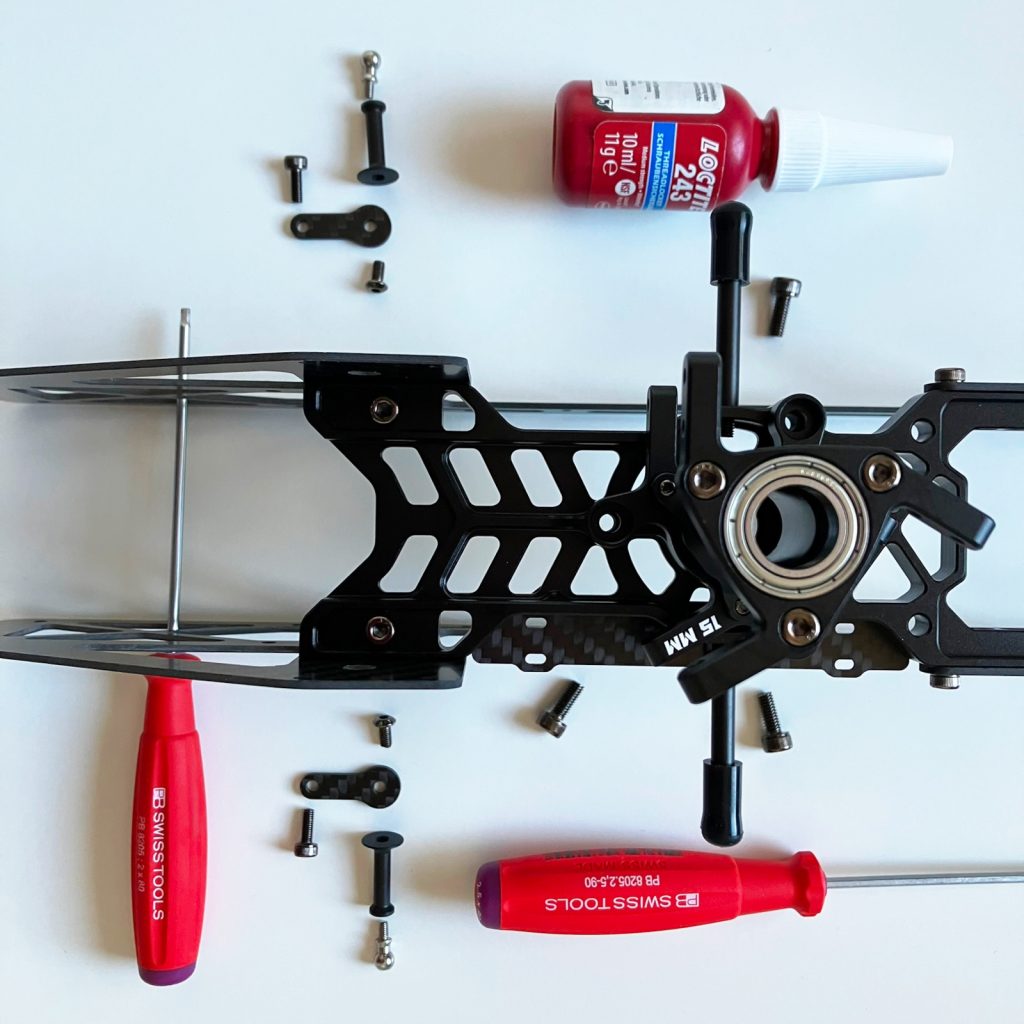
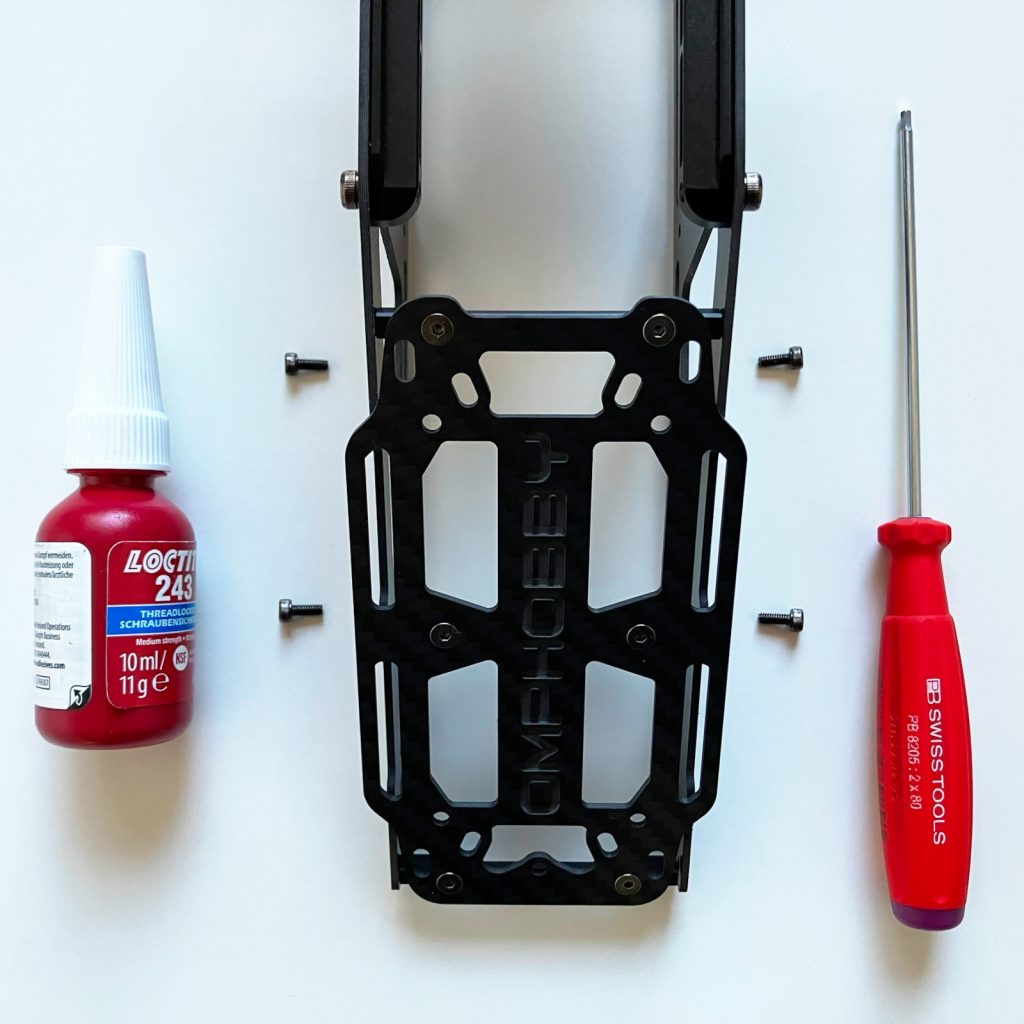
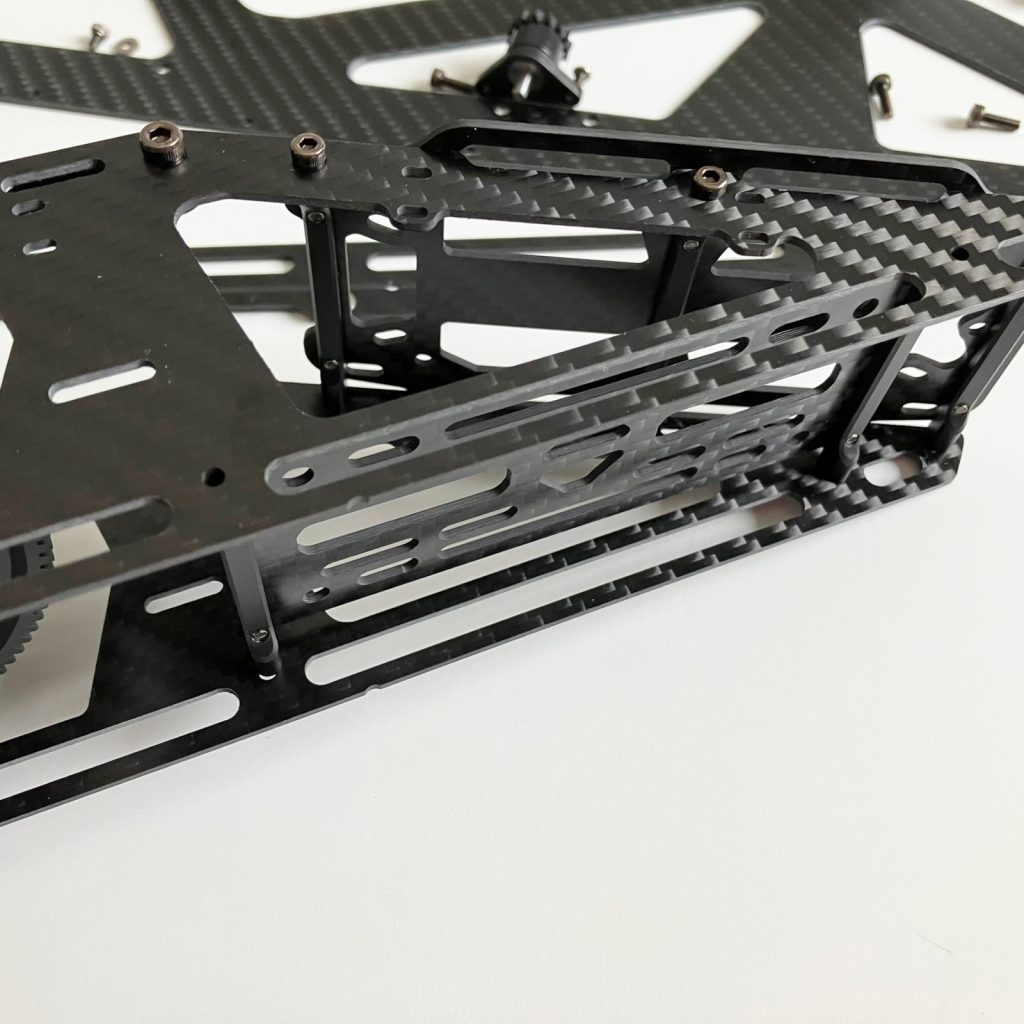
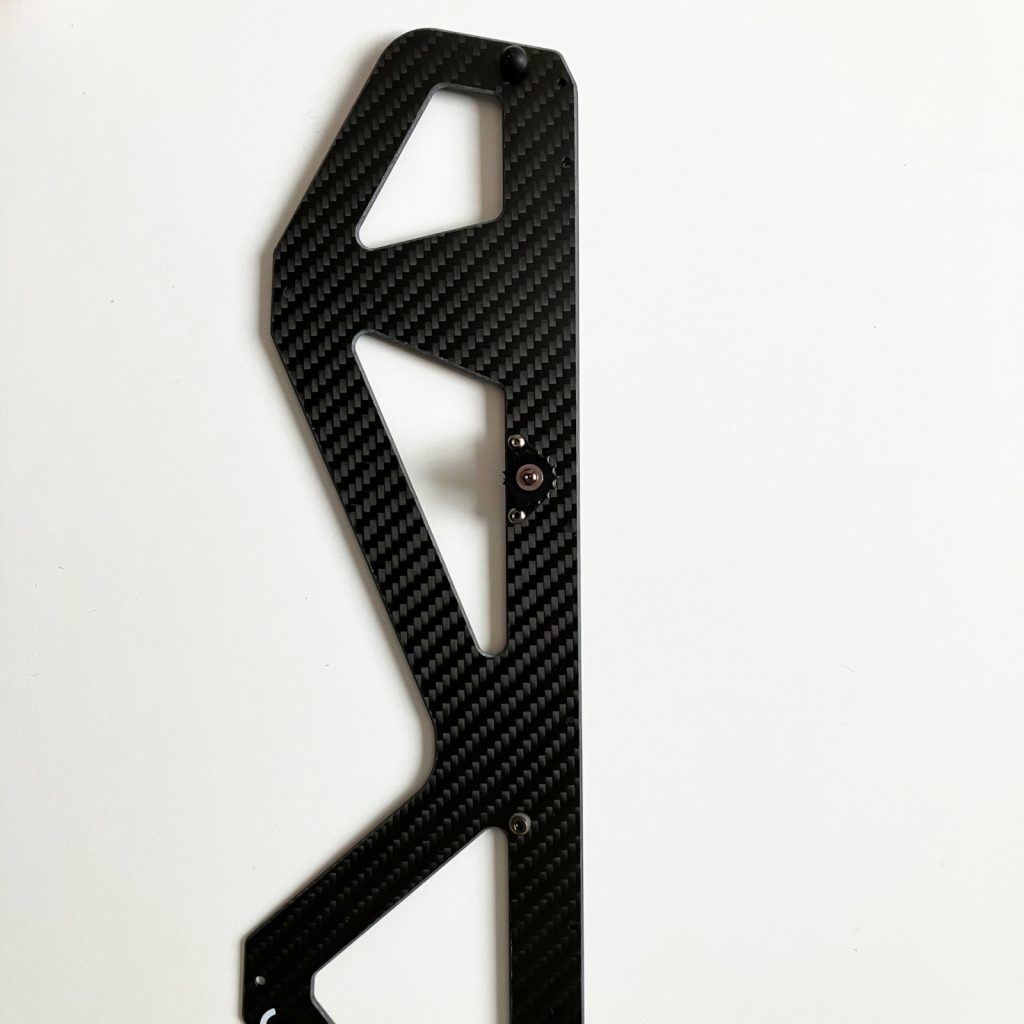
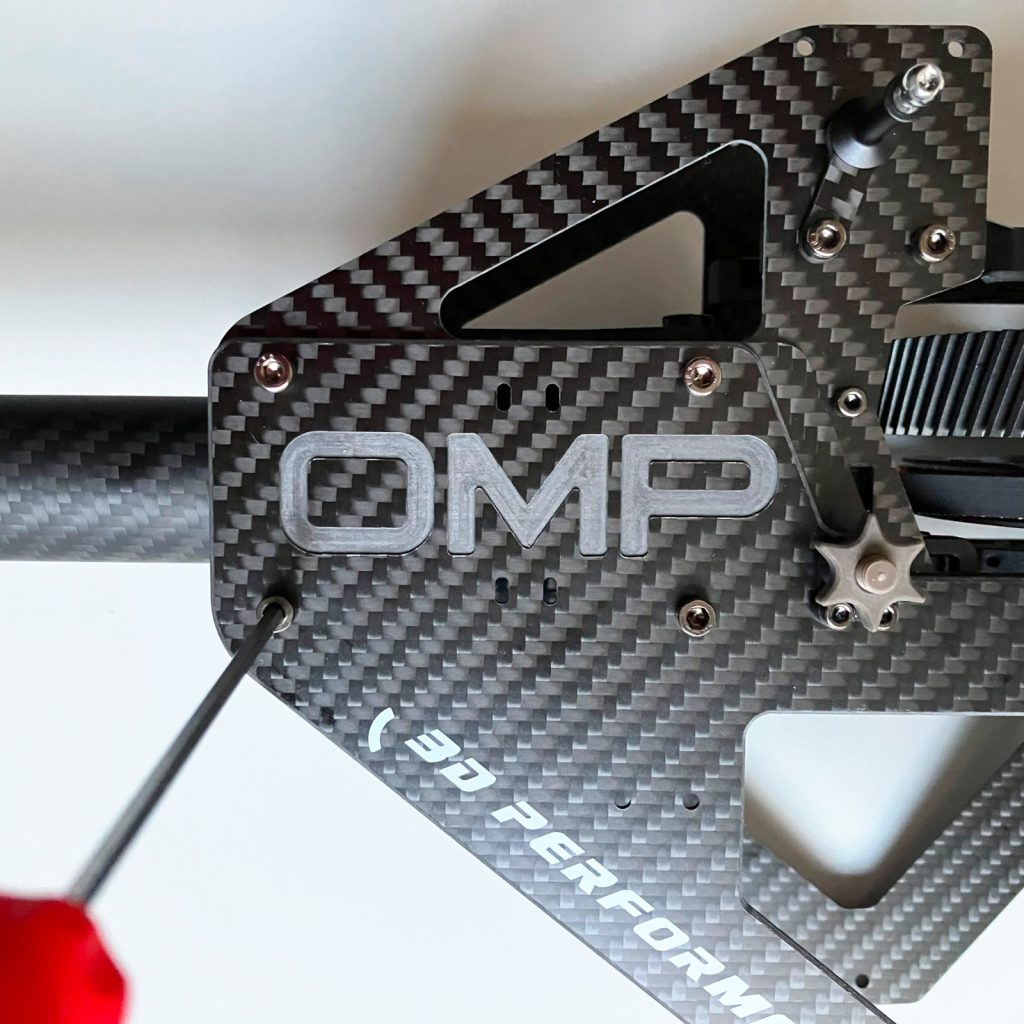
1 Upper side frame
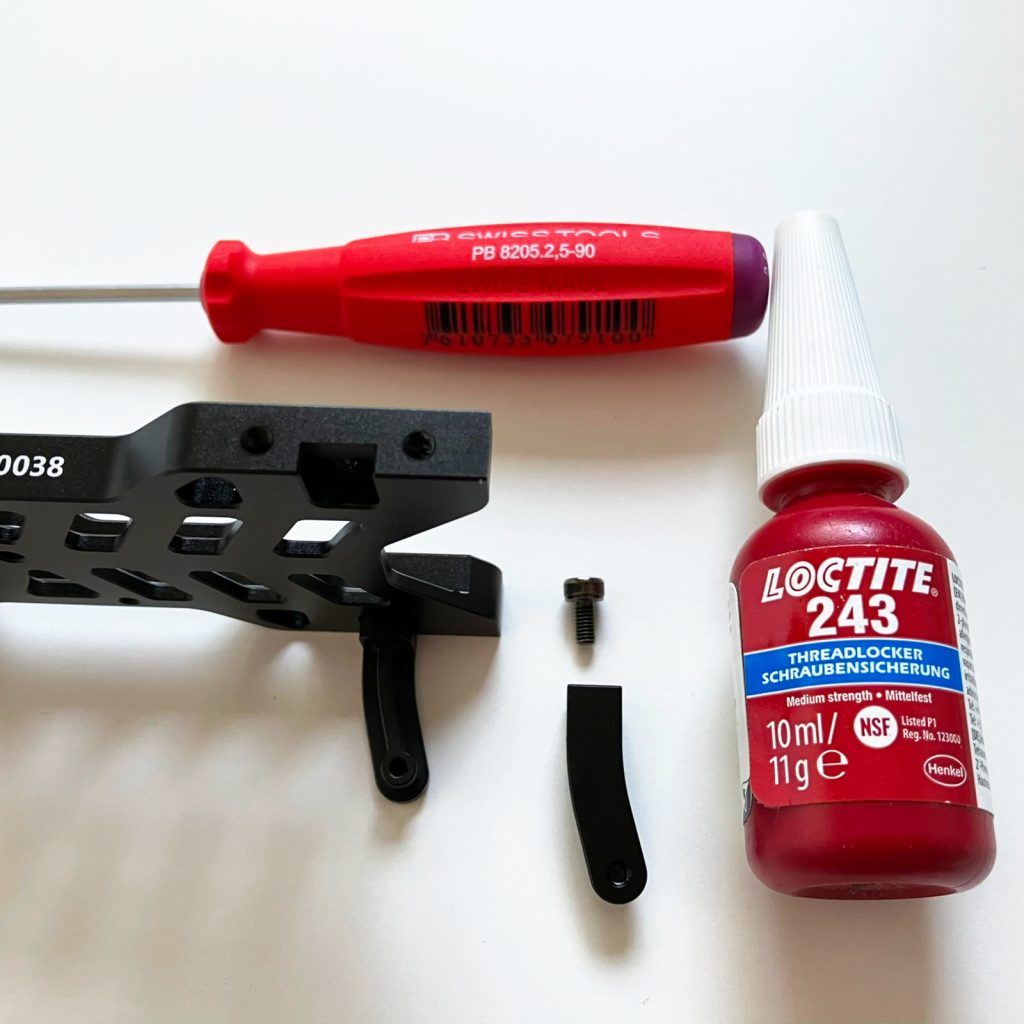
Use thread-locker on all metal into metal screws.
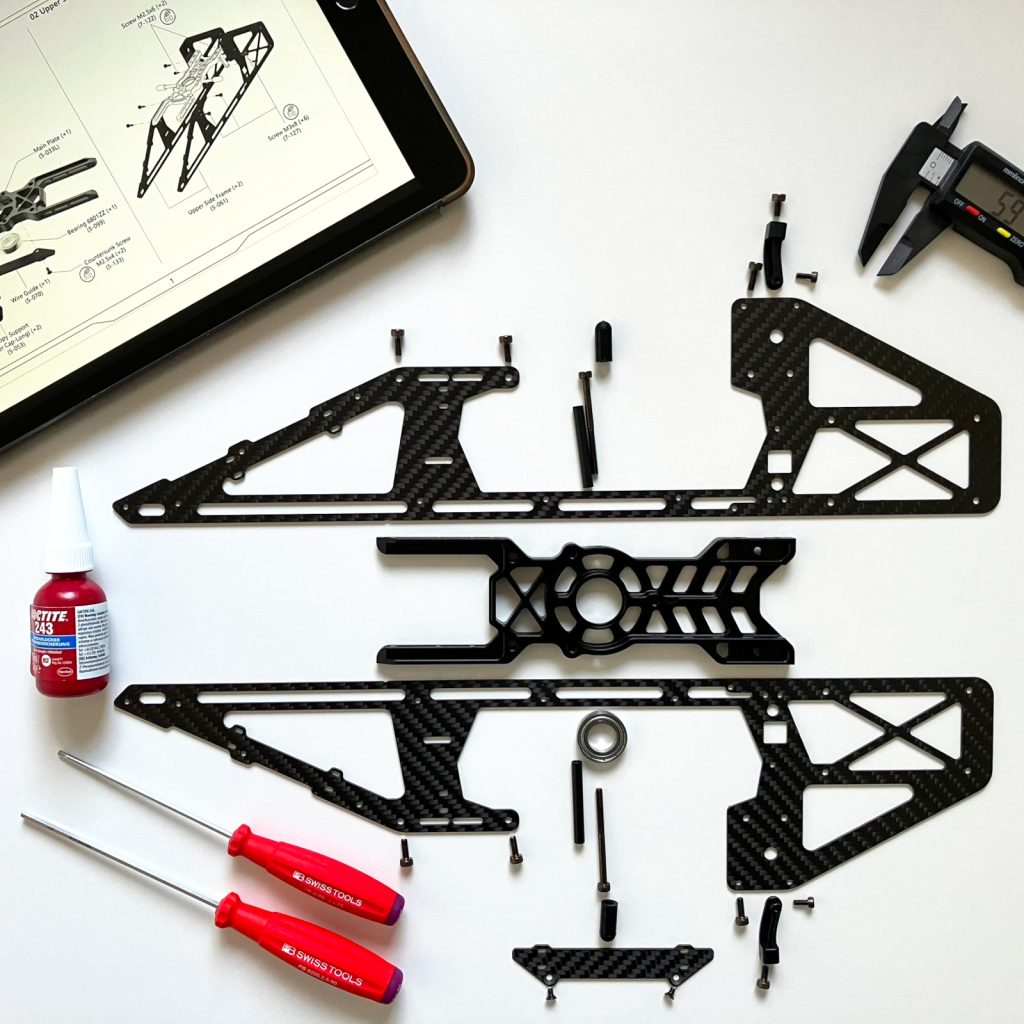
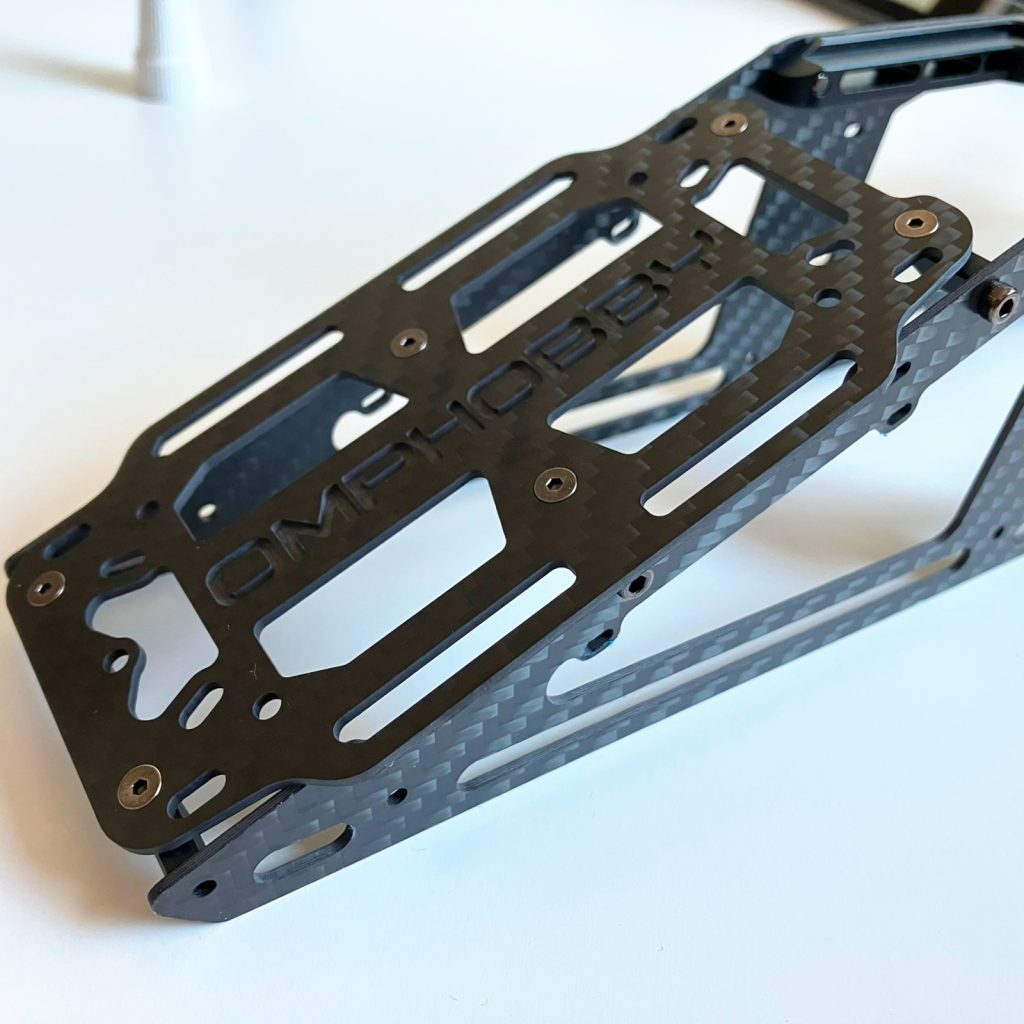
1.1 Main plate
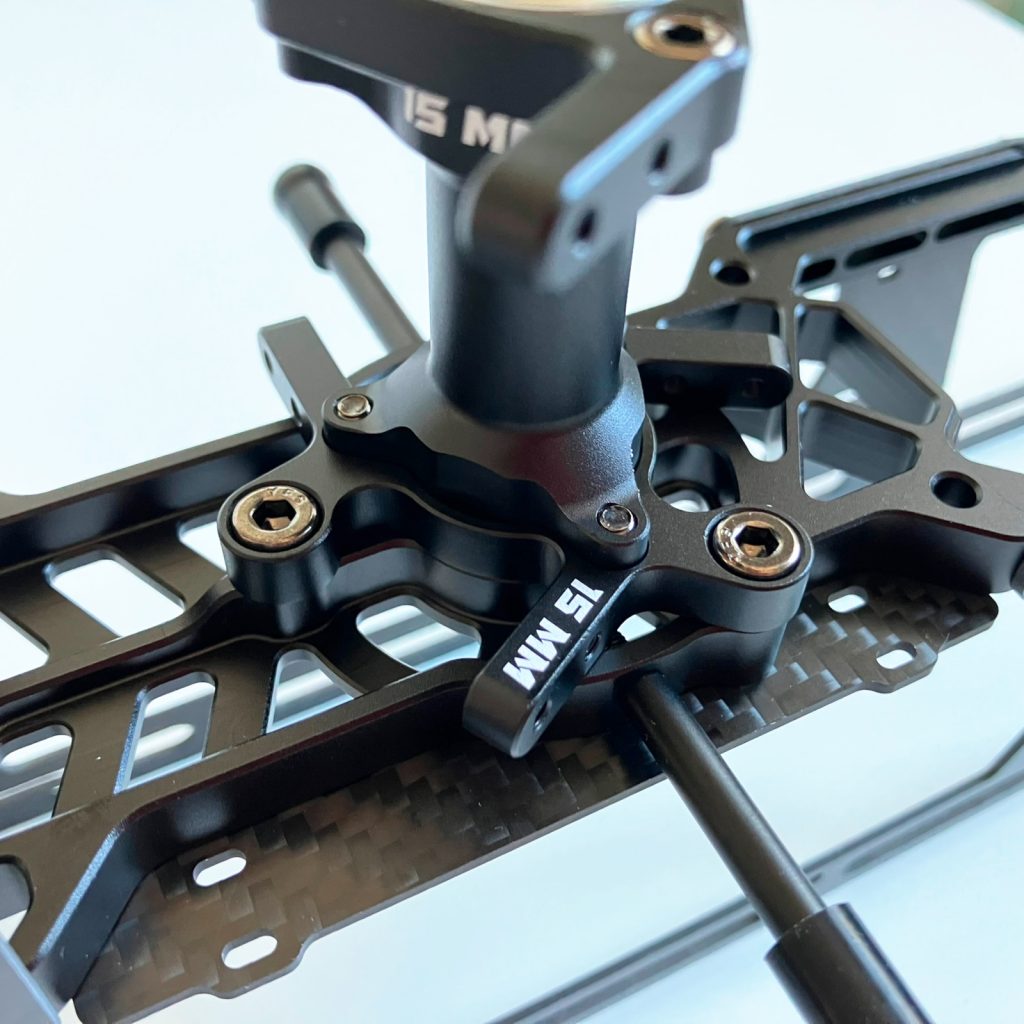
1.2 Upper side panel
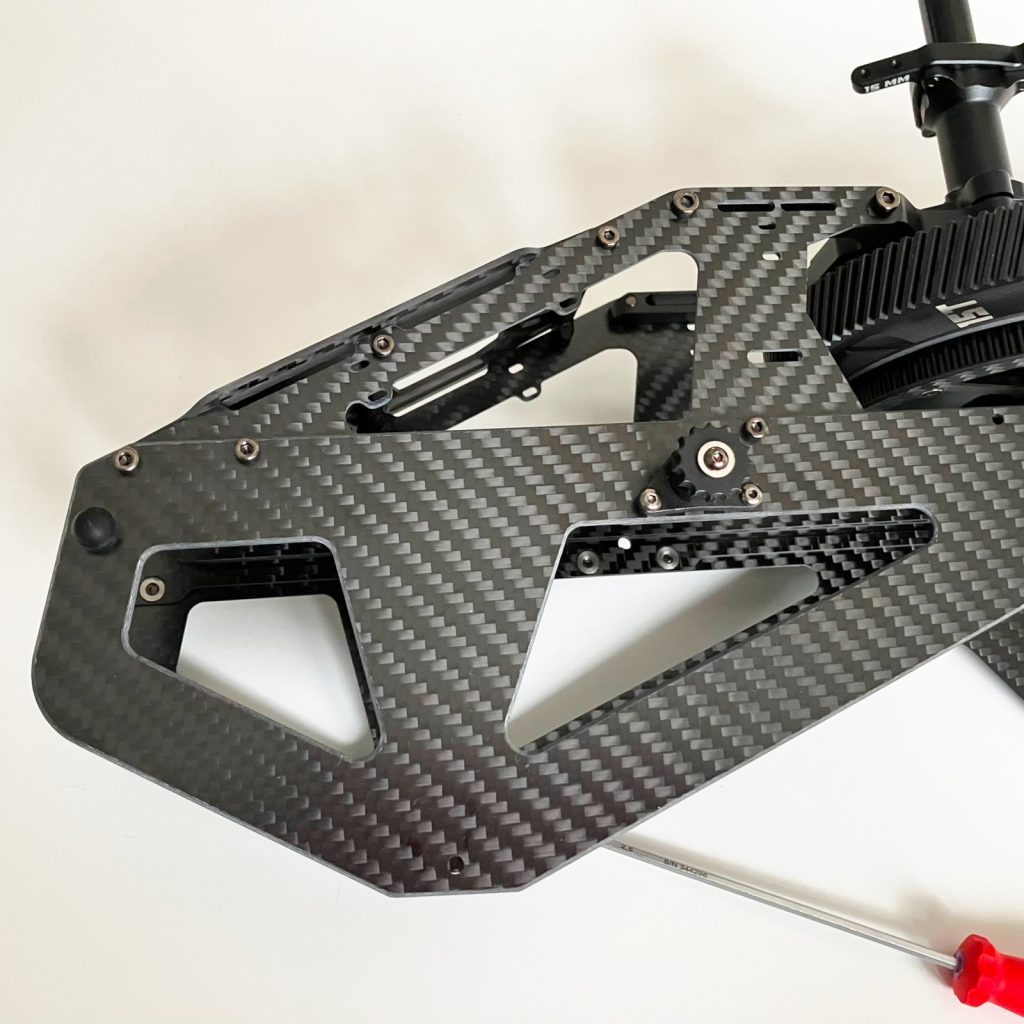
2 Upper Frame

2.1 Servo rack


2.2 Canopy mount


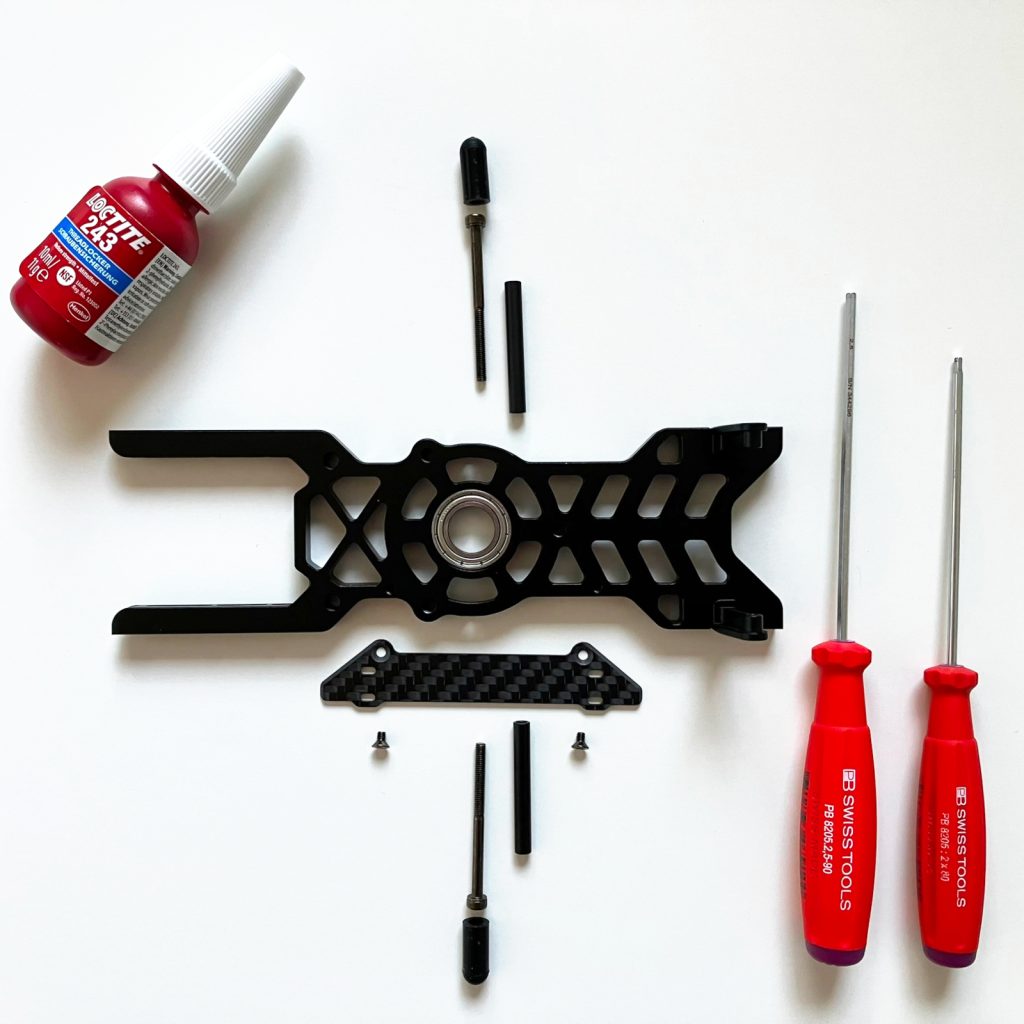
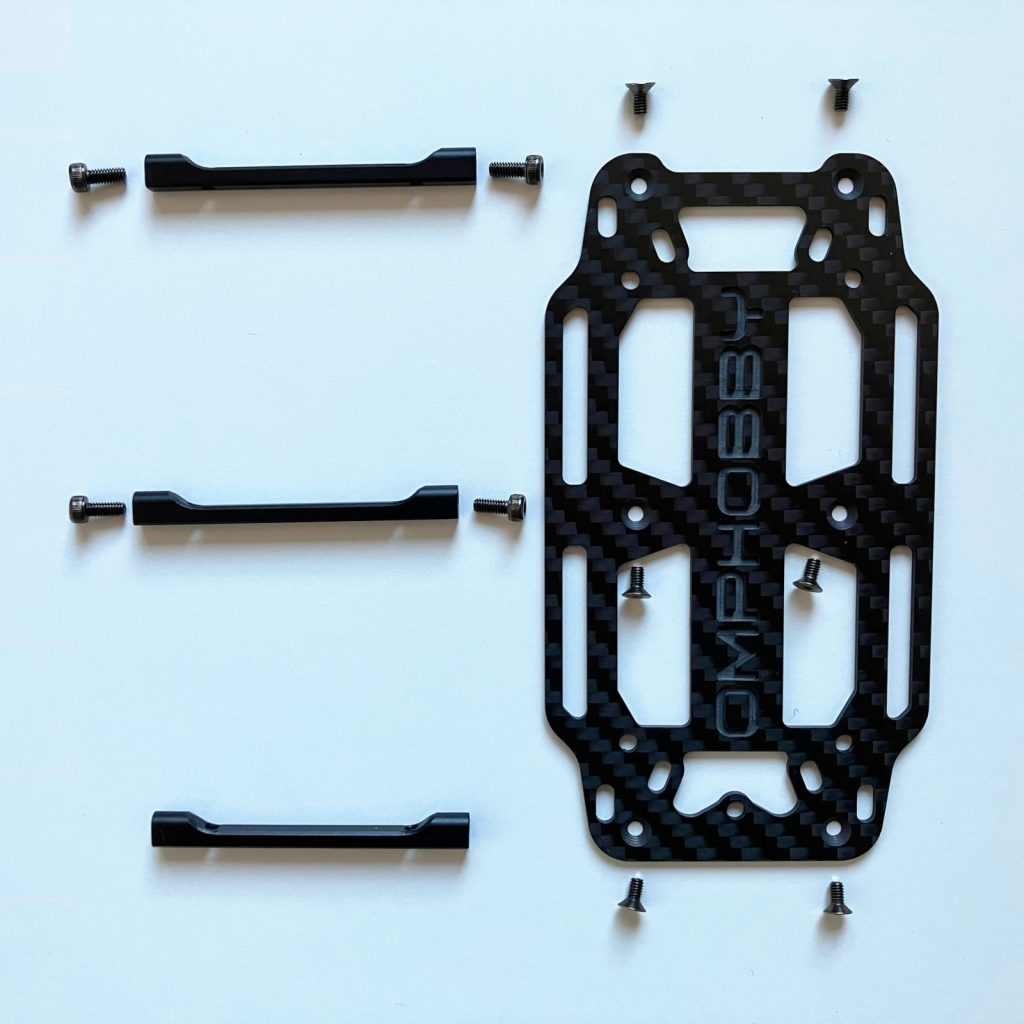
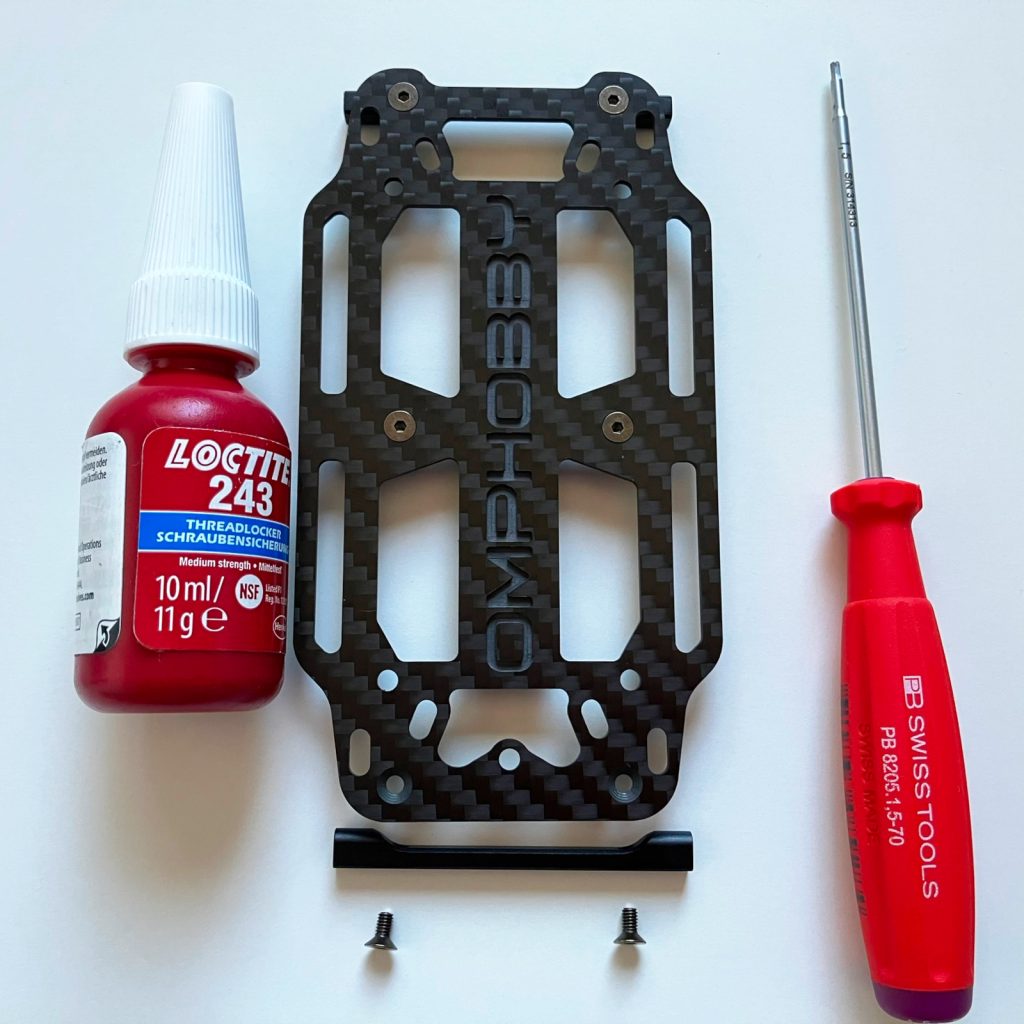
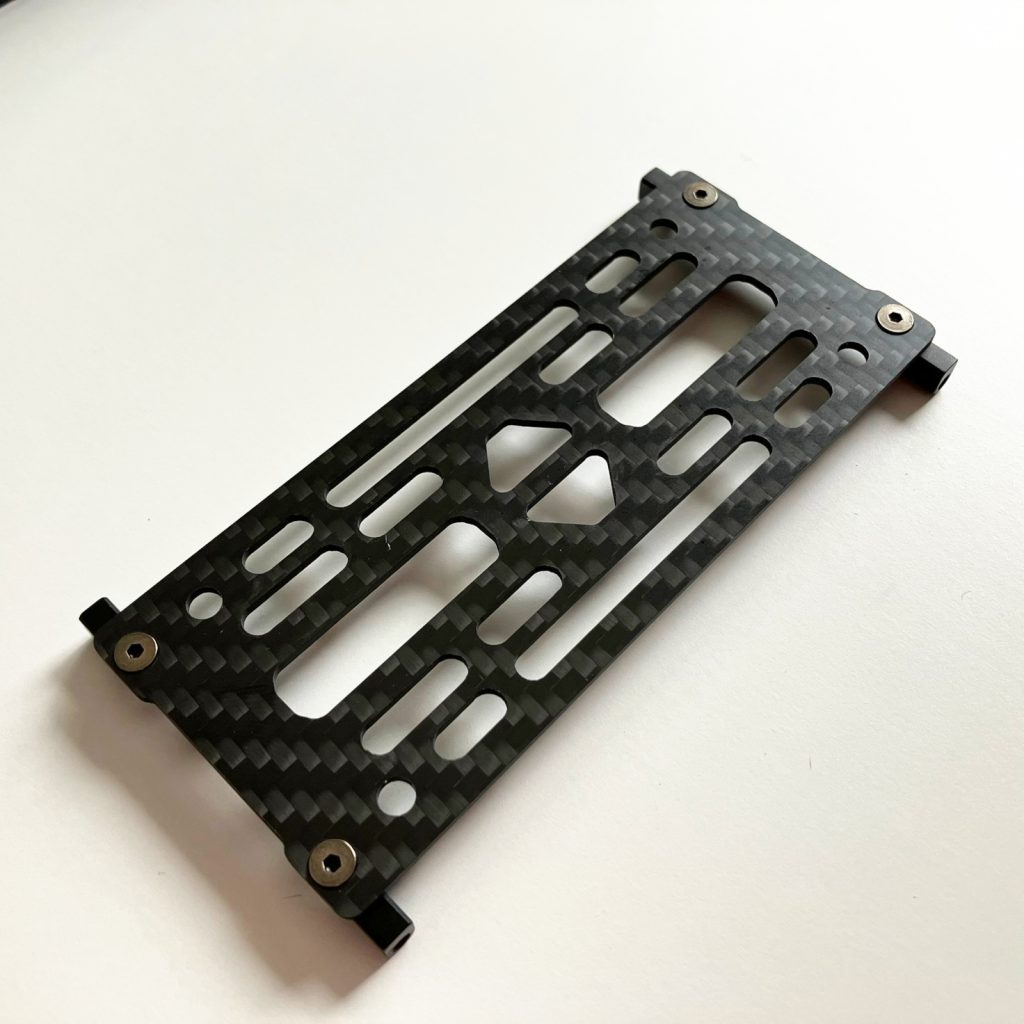
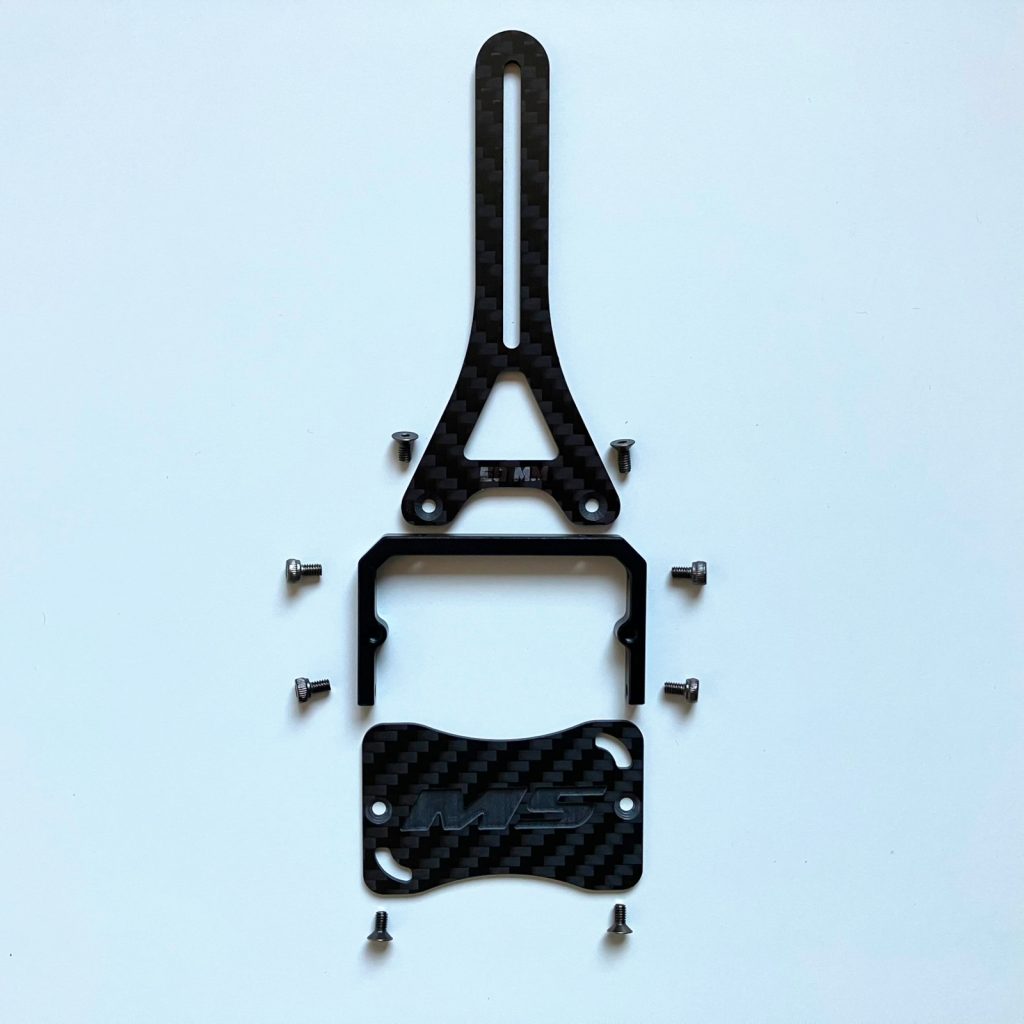
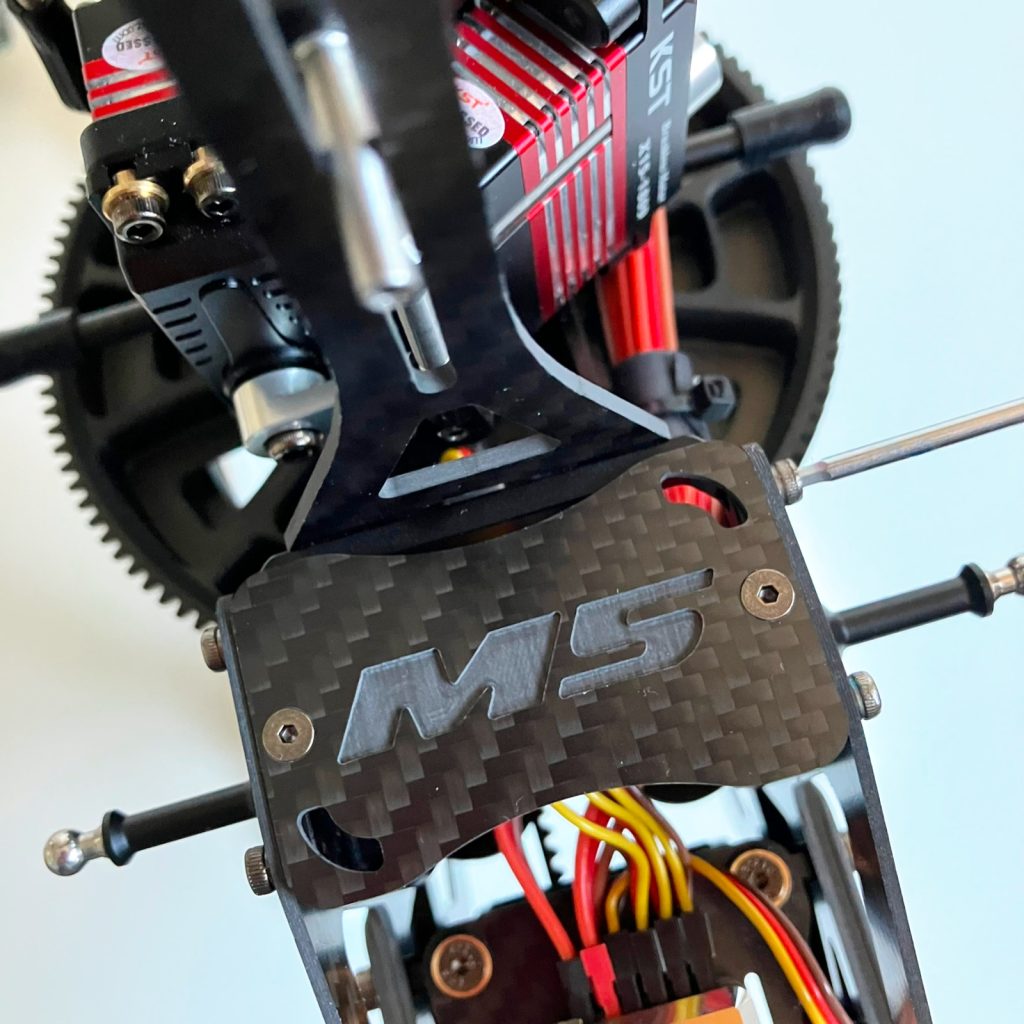
3 ESC Mounting plate
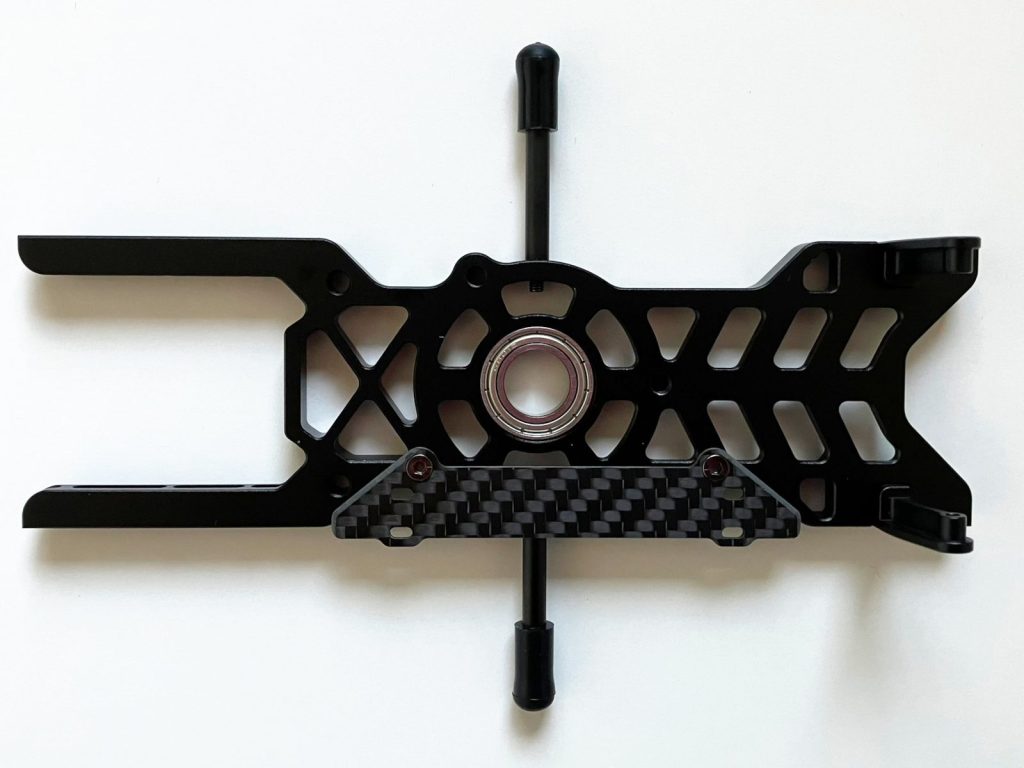
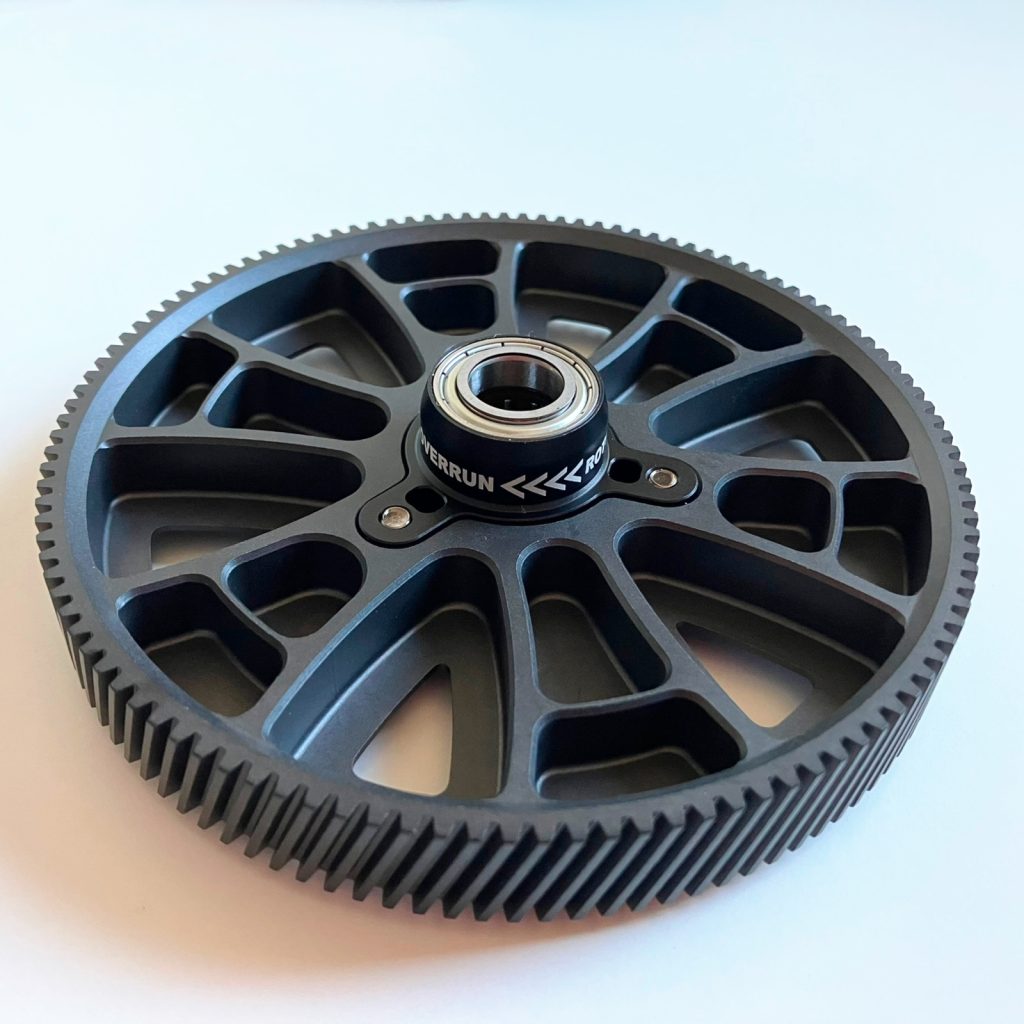
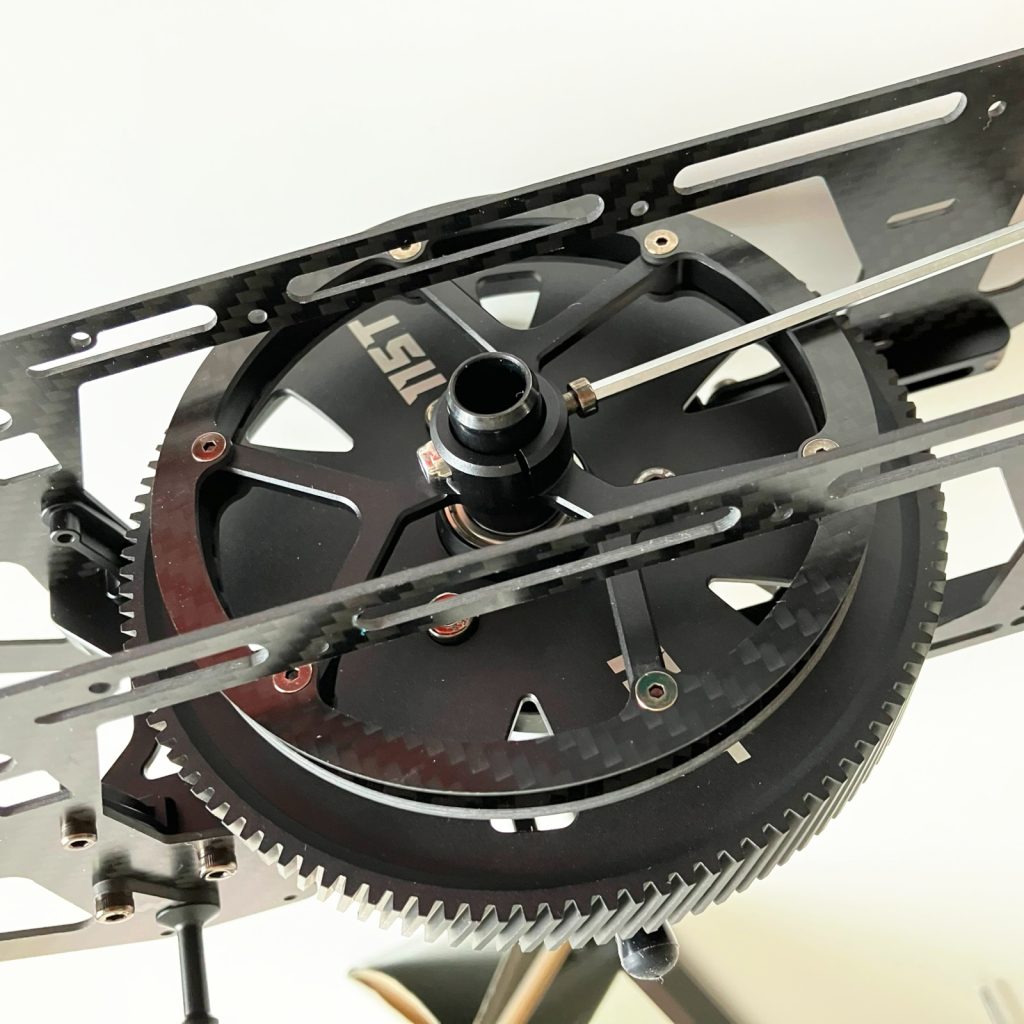
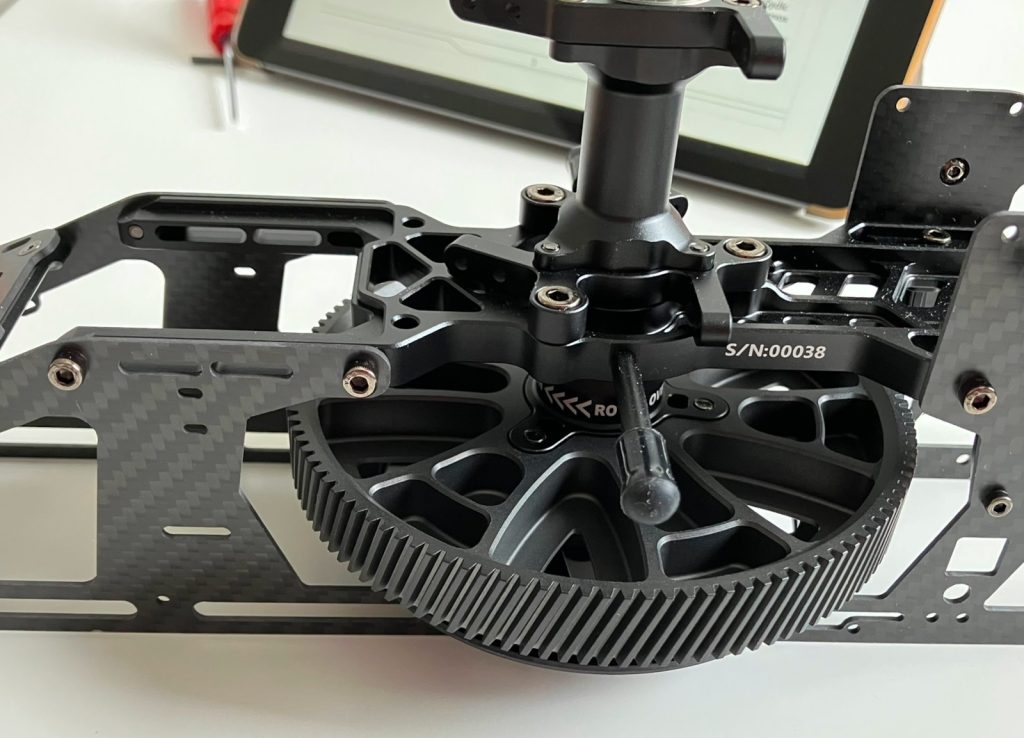
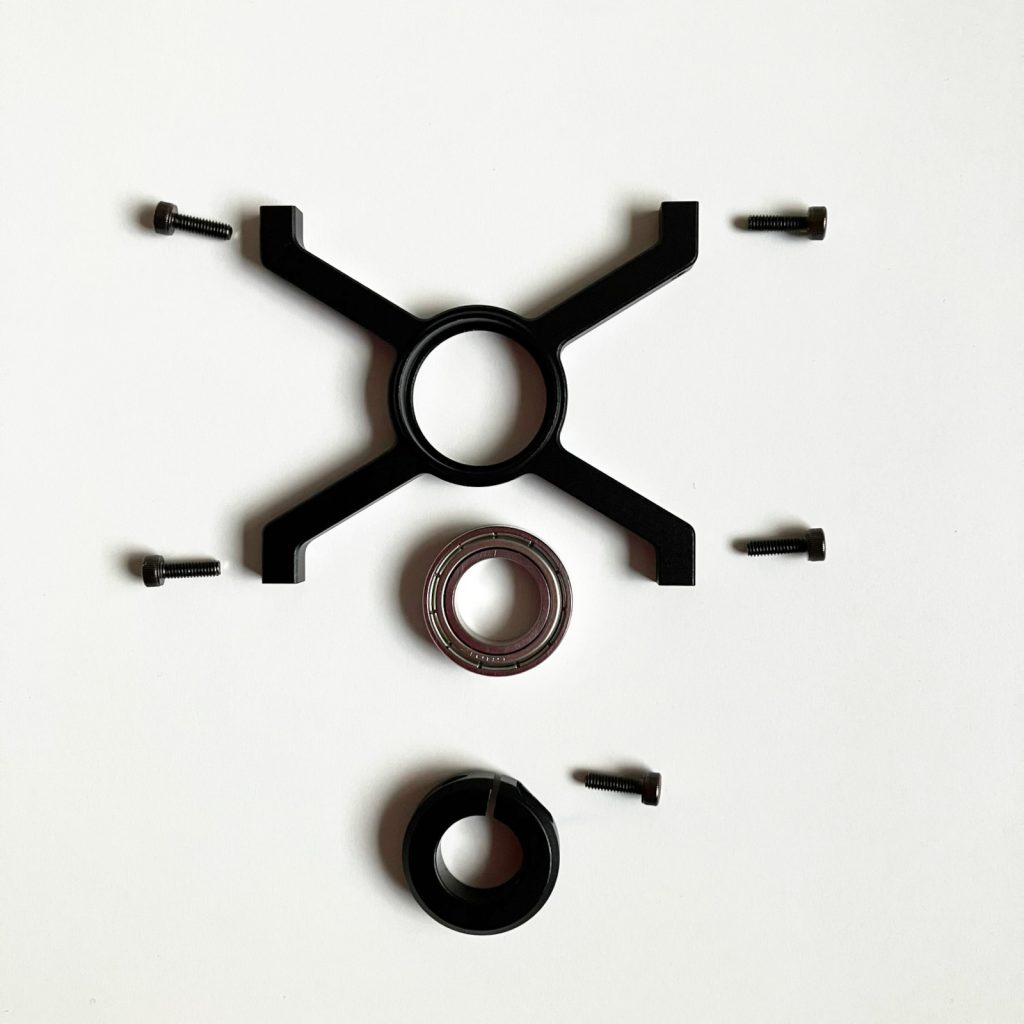
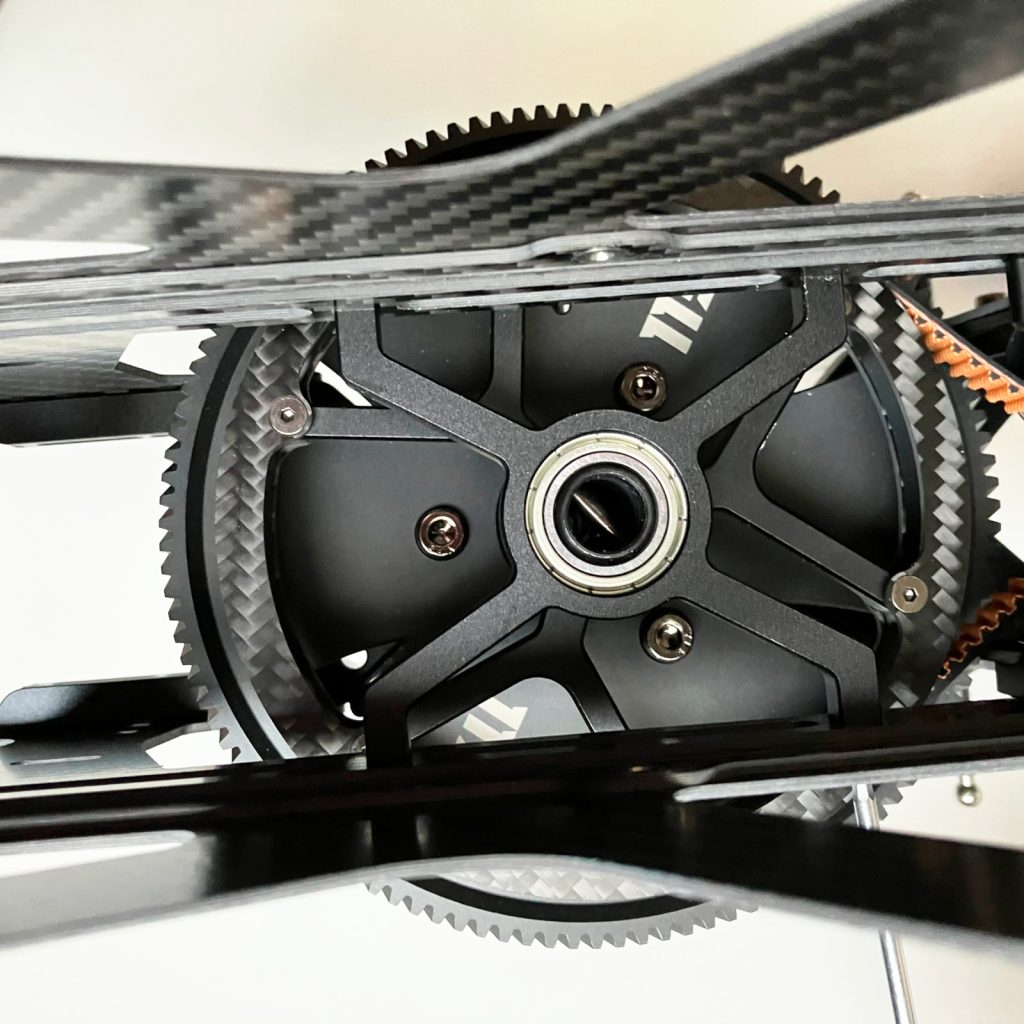
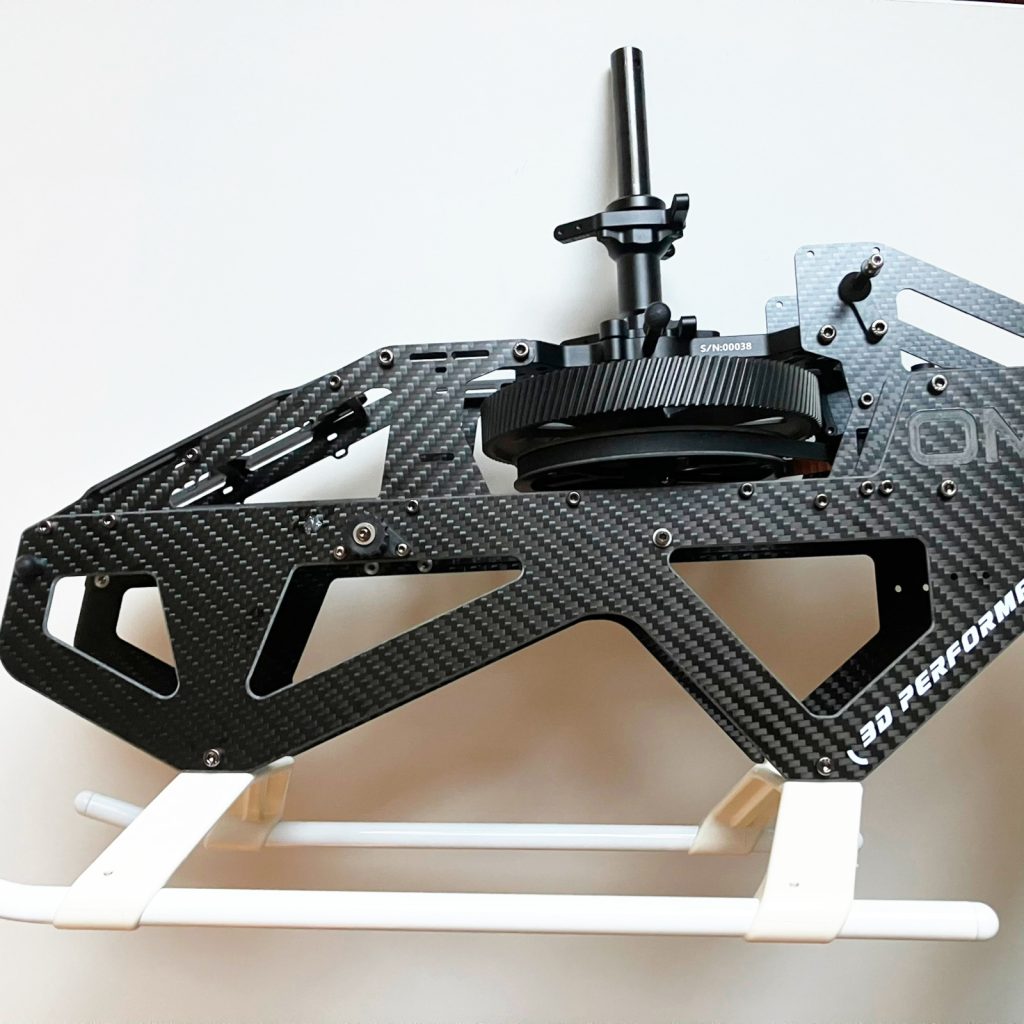
4 Main Gear
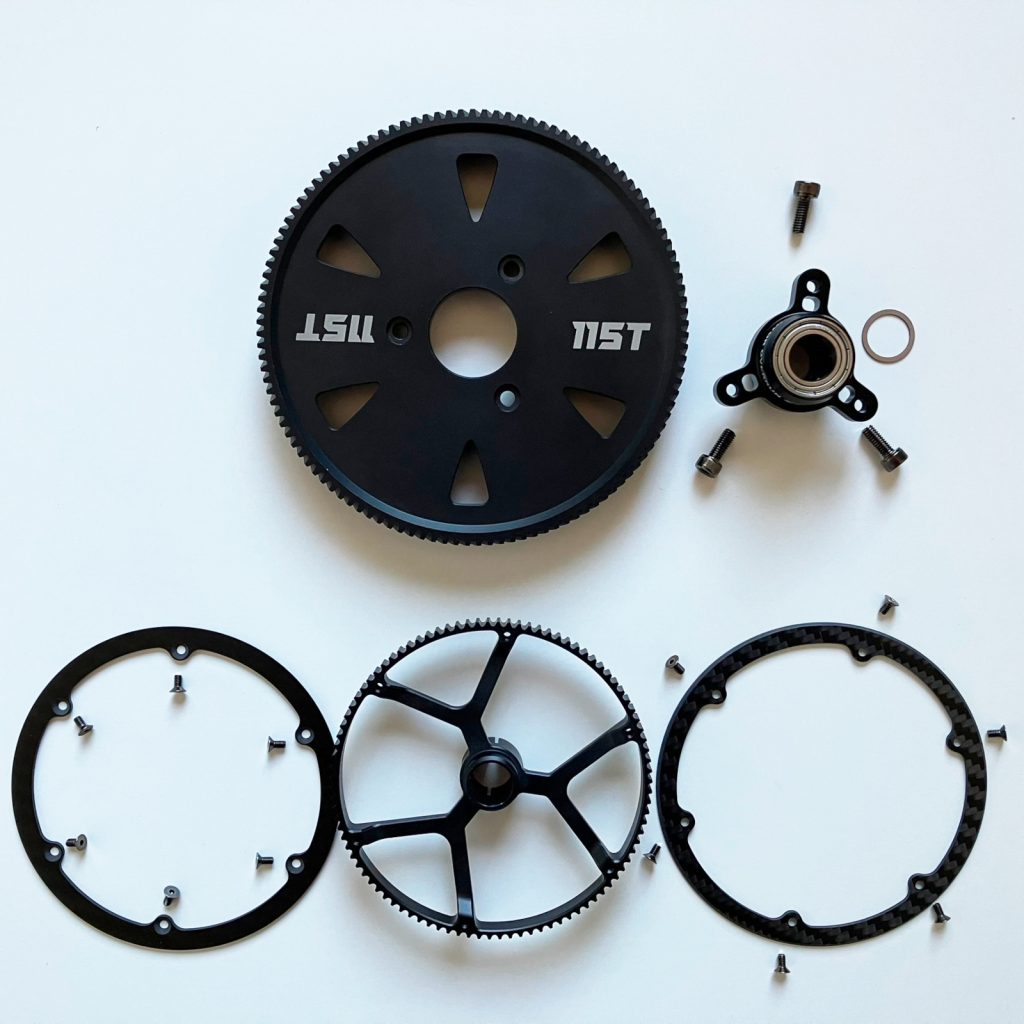
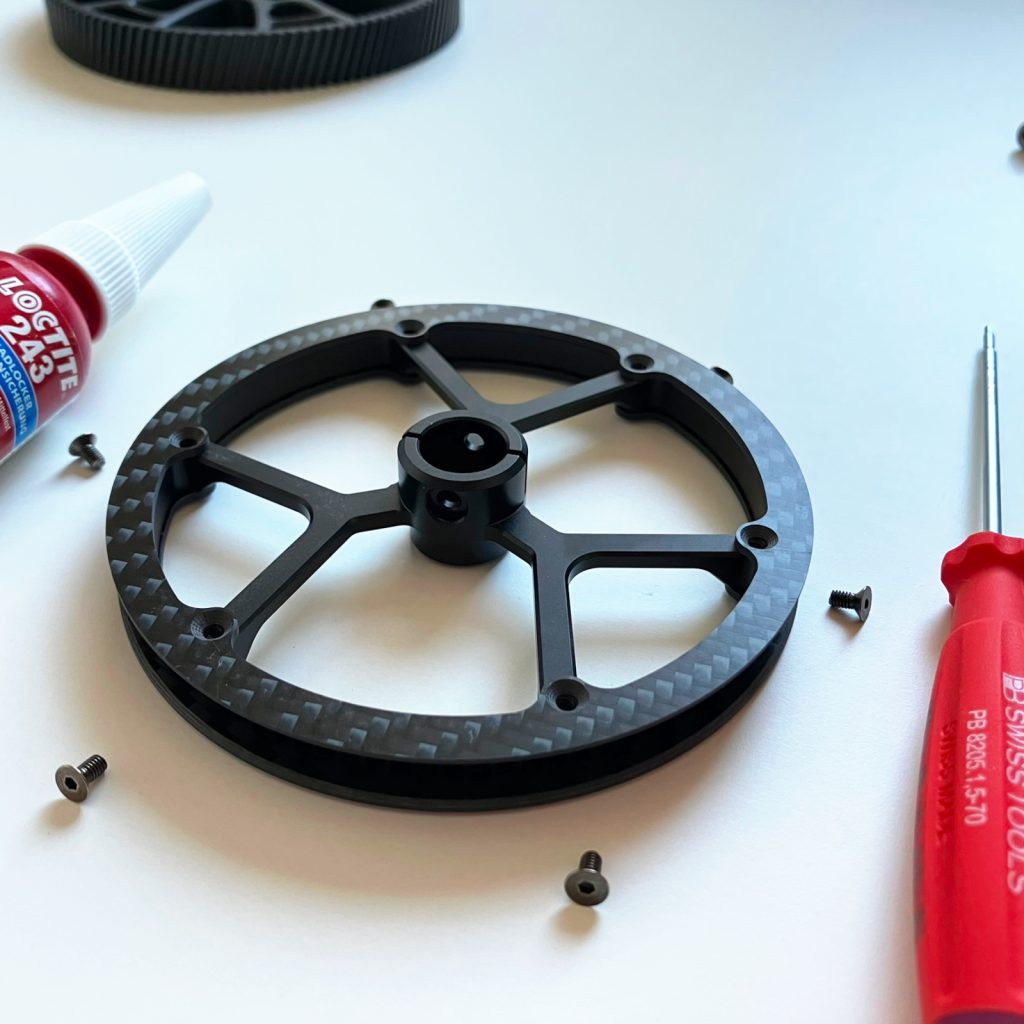
3.1 Main Pulley
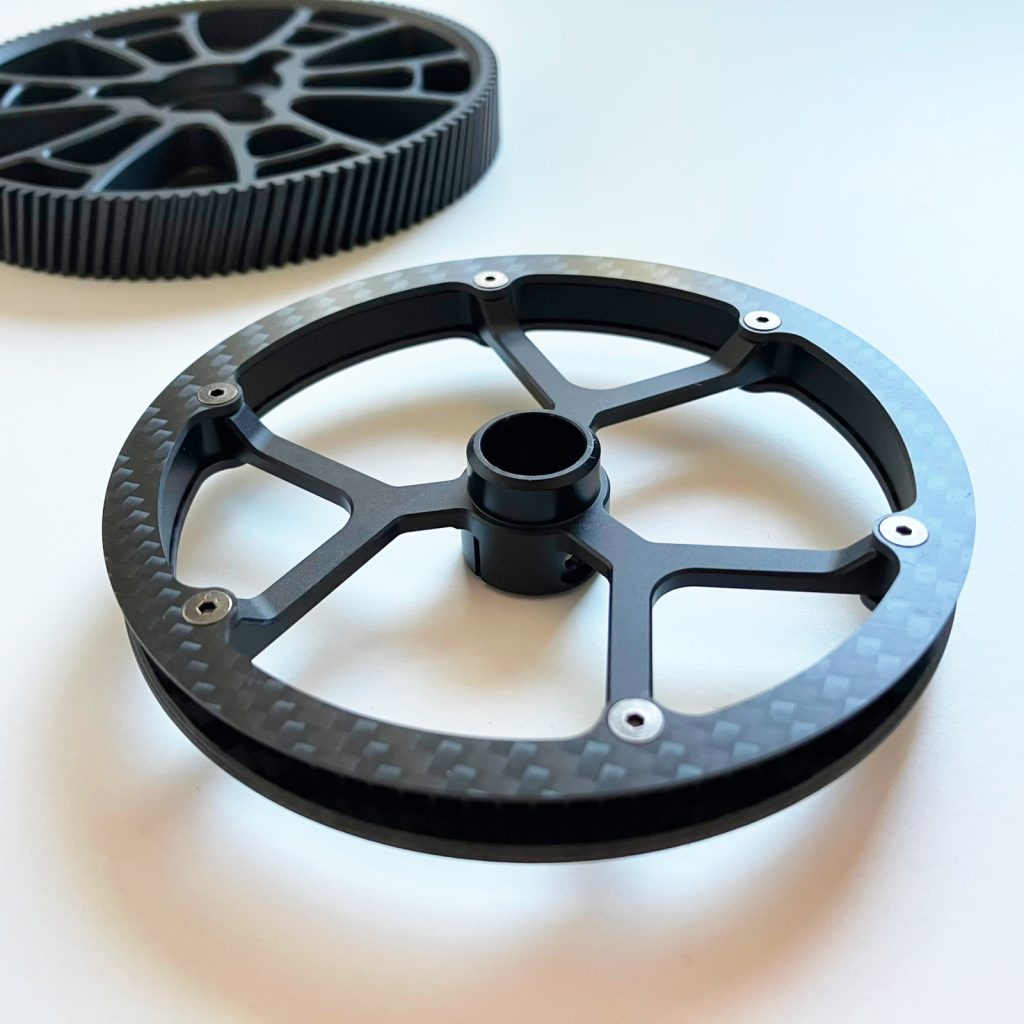
3.2 Main Gear


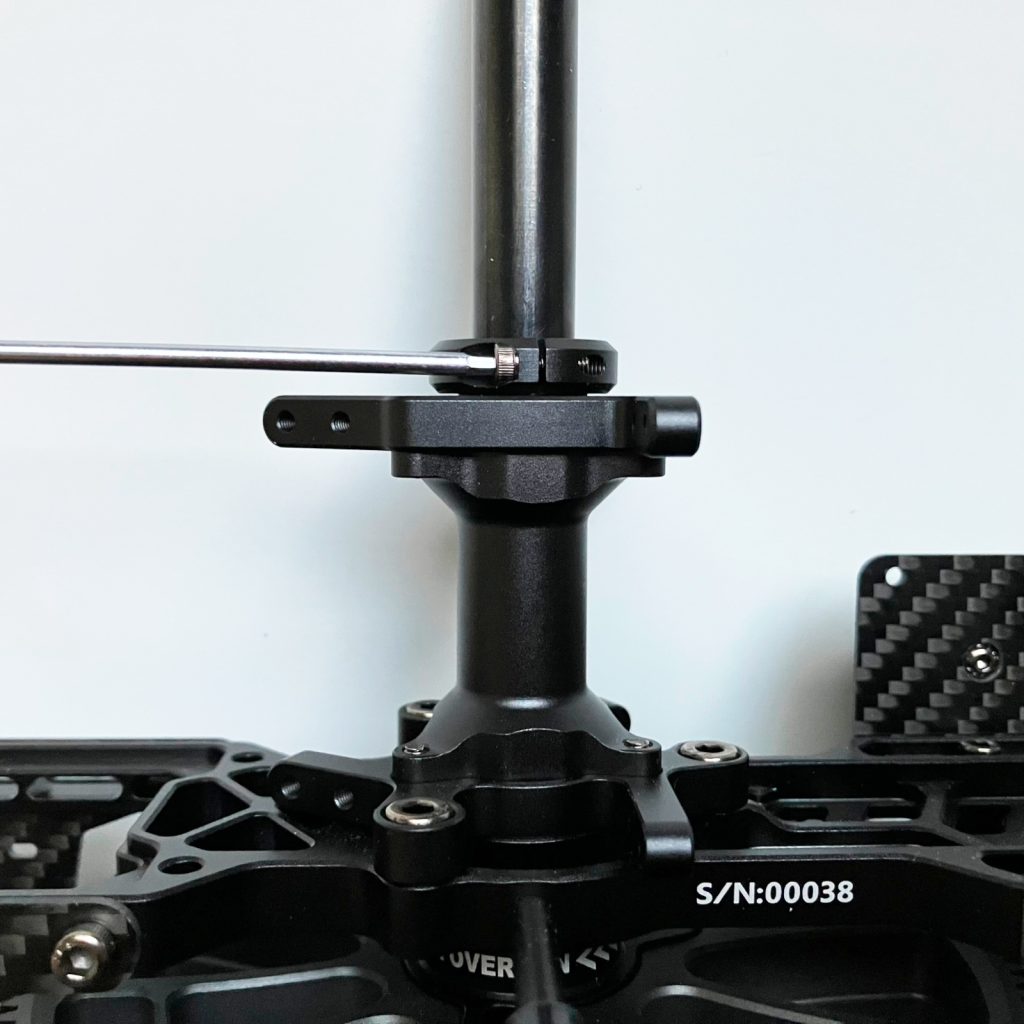
5 Main shaft
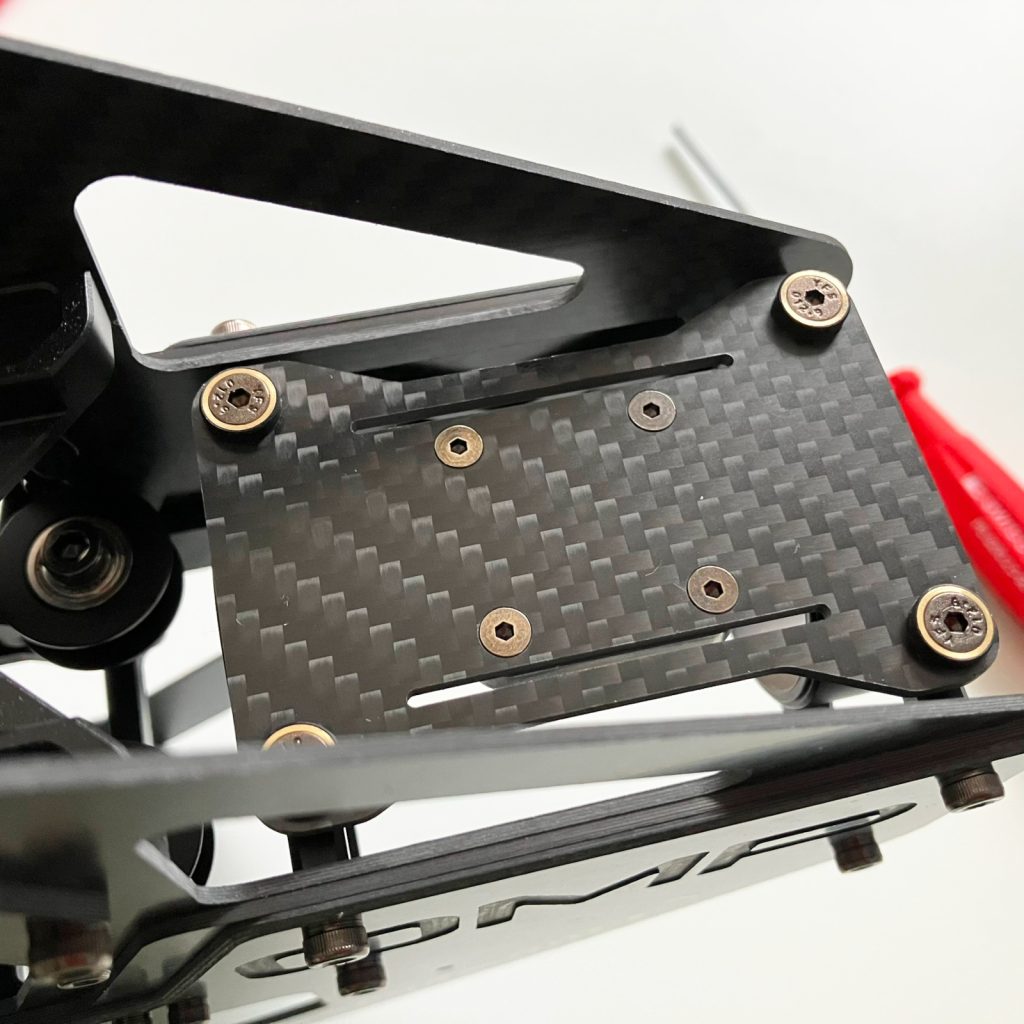
6 Lower Carbon Panels
6.1 Mounting cross member
6.2 Right Lower Carbon Panel
Tip: Fasten the battery rail to the carbon panel before attaching it to main frame.
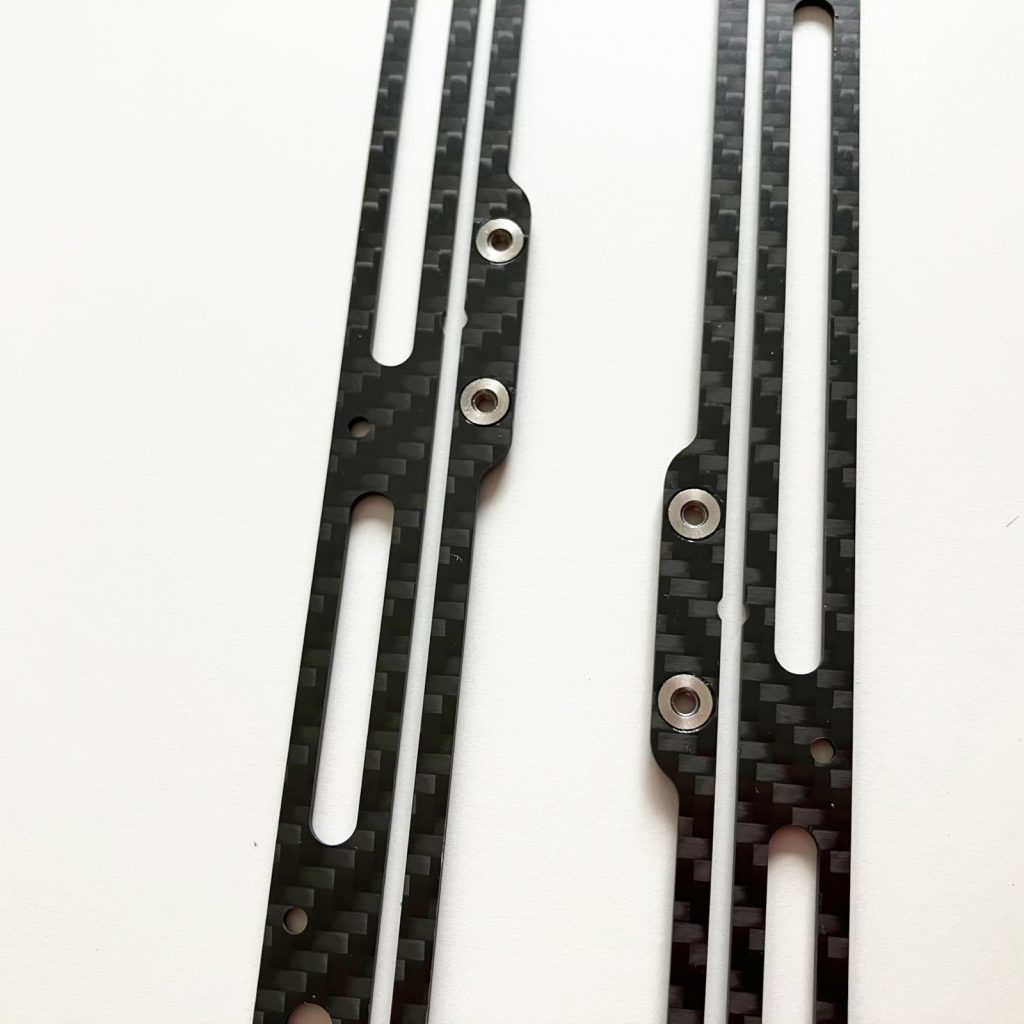
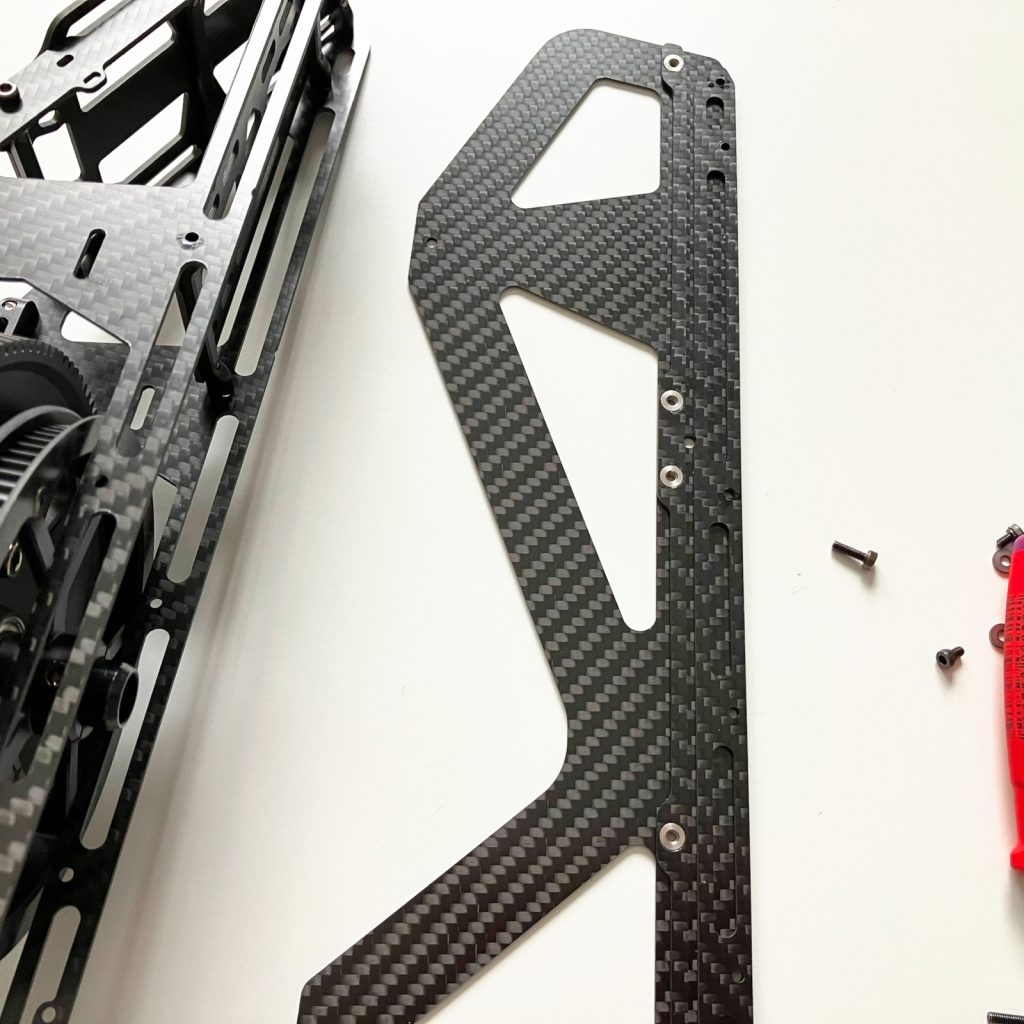

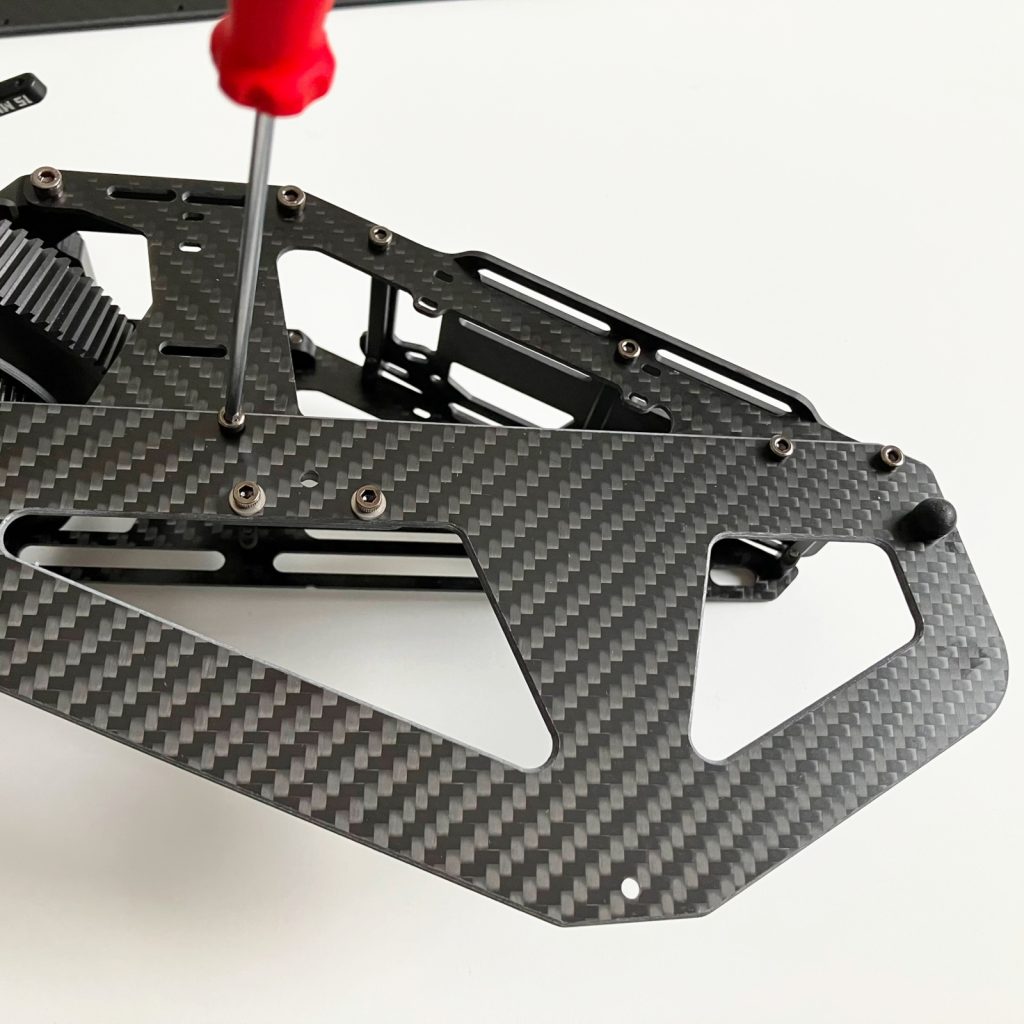
7 Left Lower Carbon Panel
Tip: Fasten the battery rail to the carbon panel before attaching it to main frame.
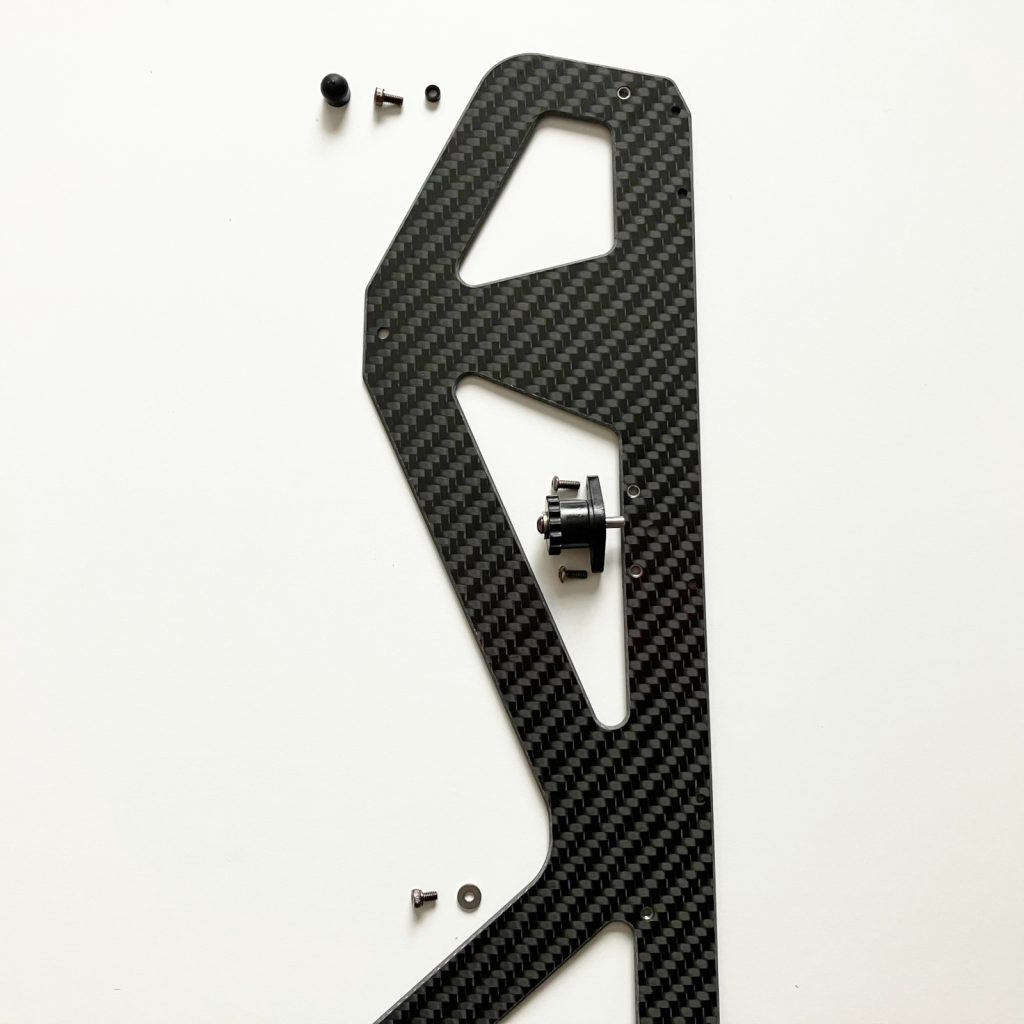

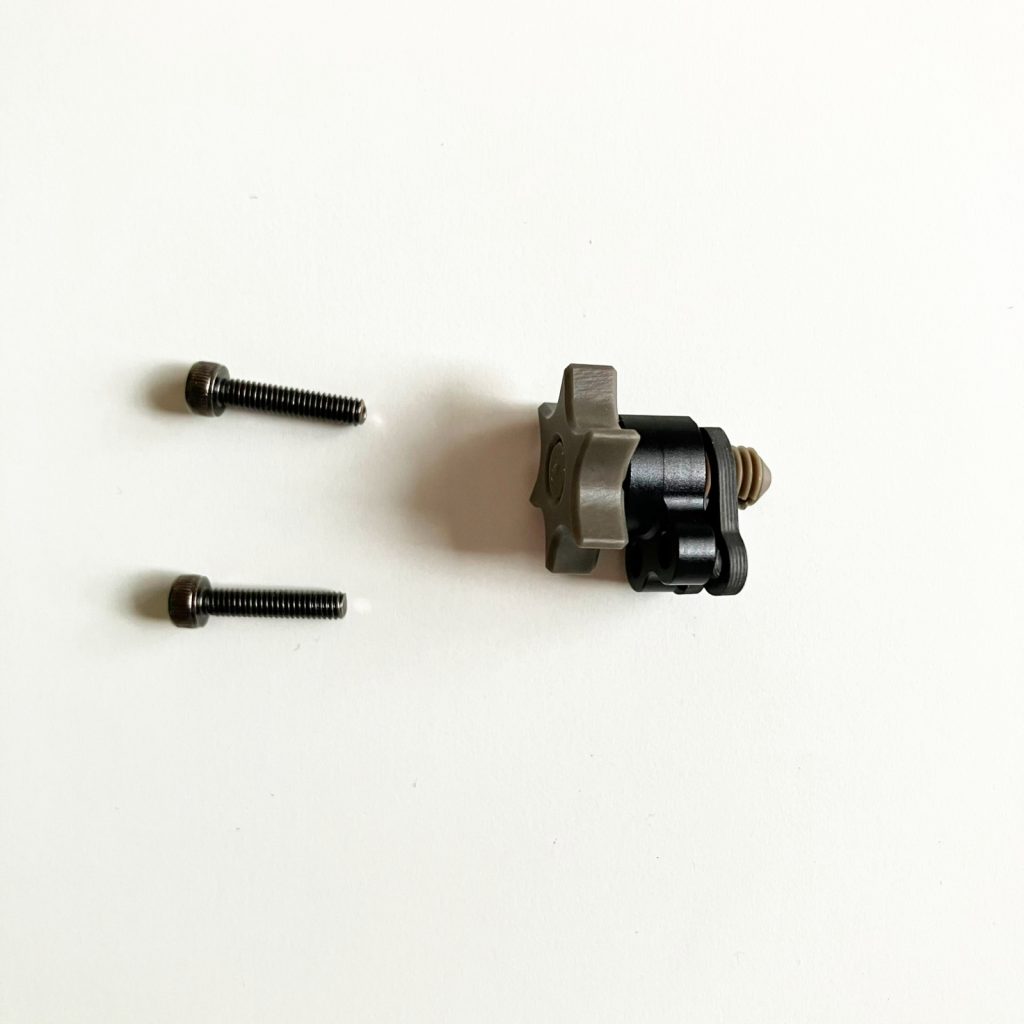
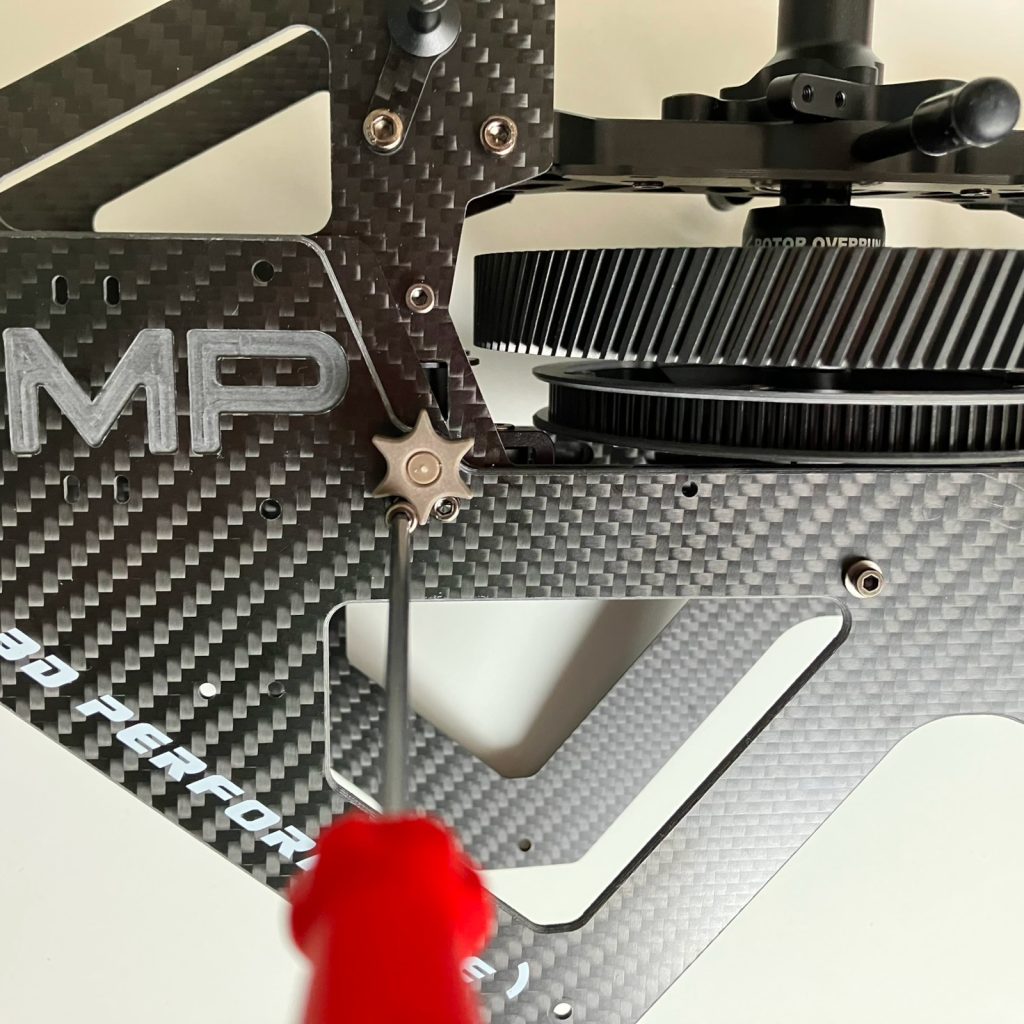
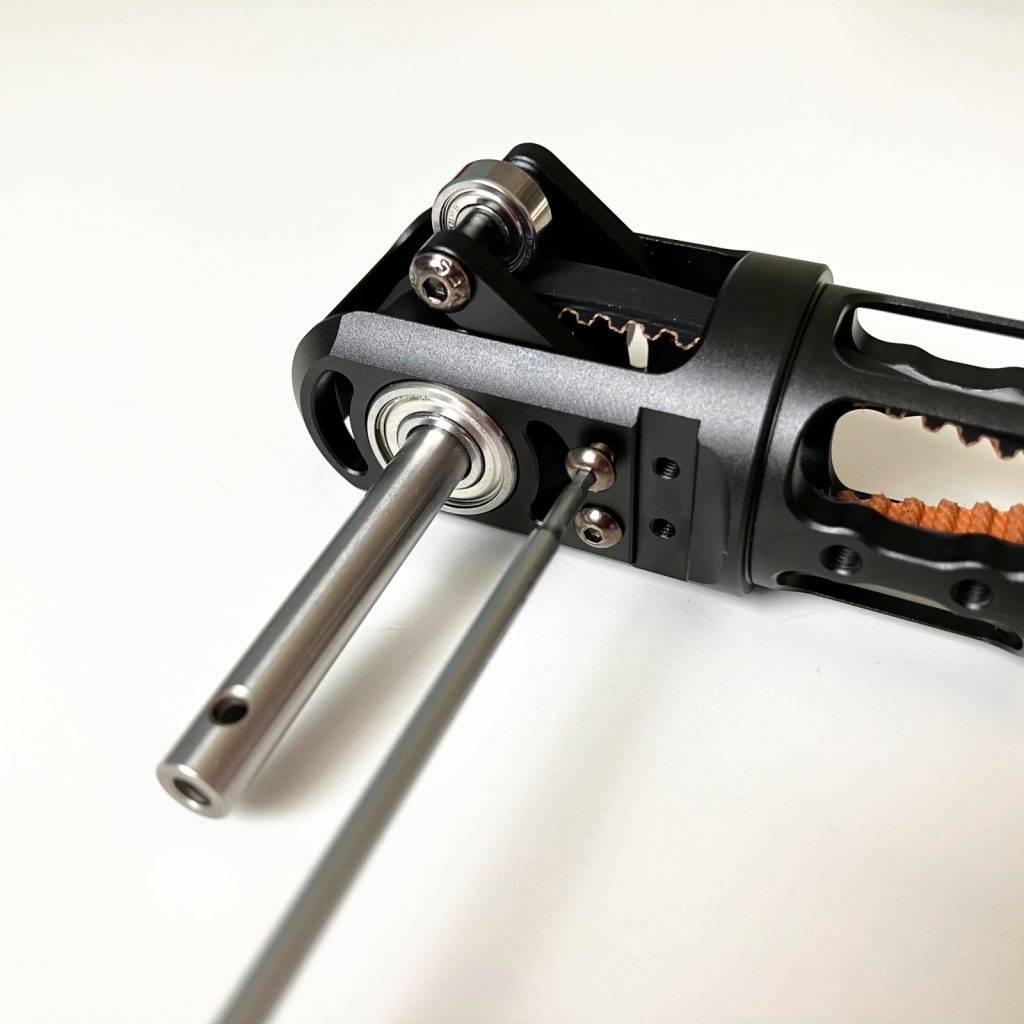
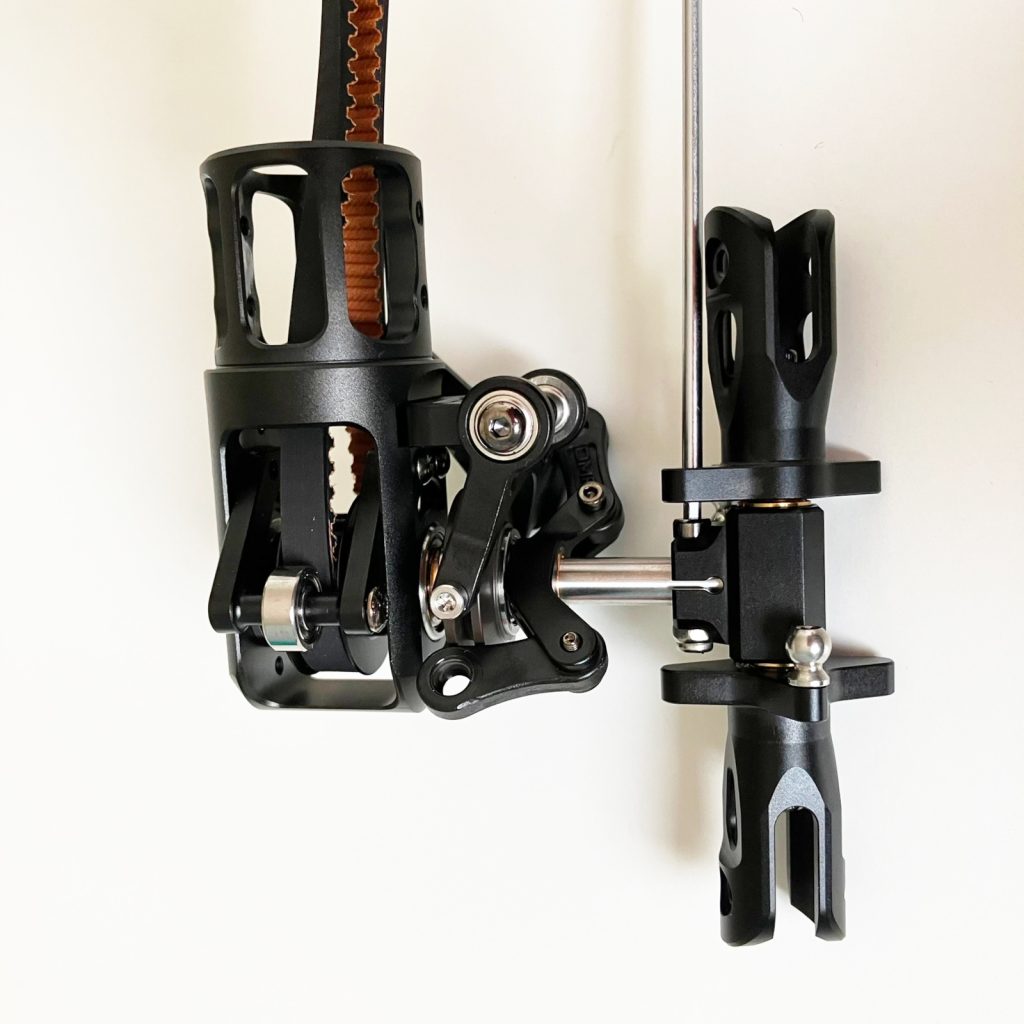
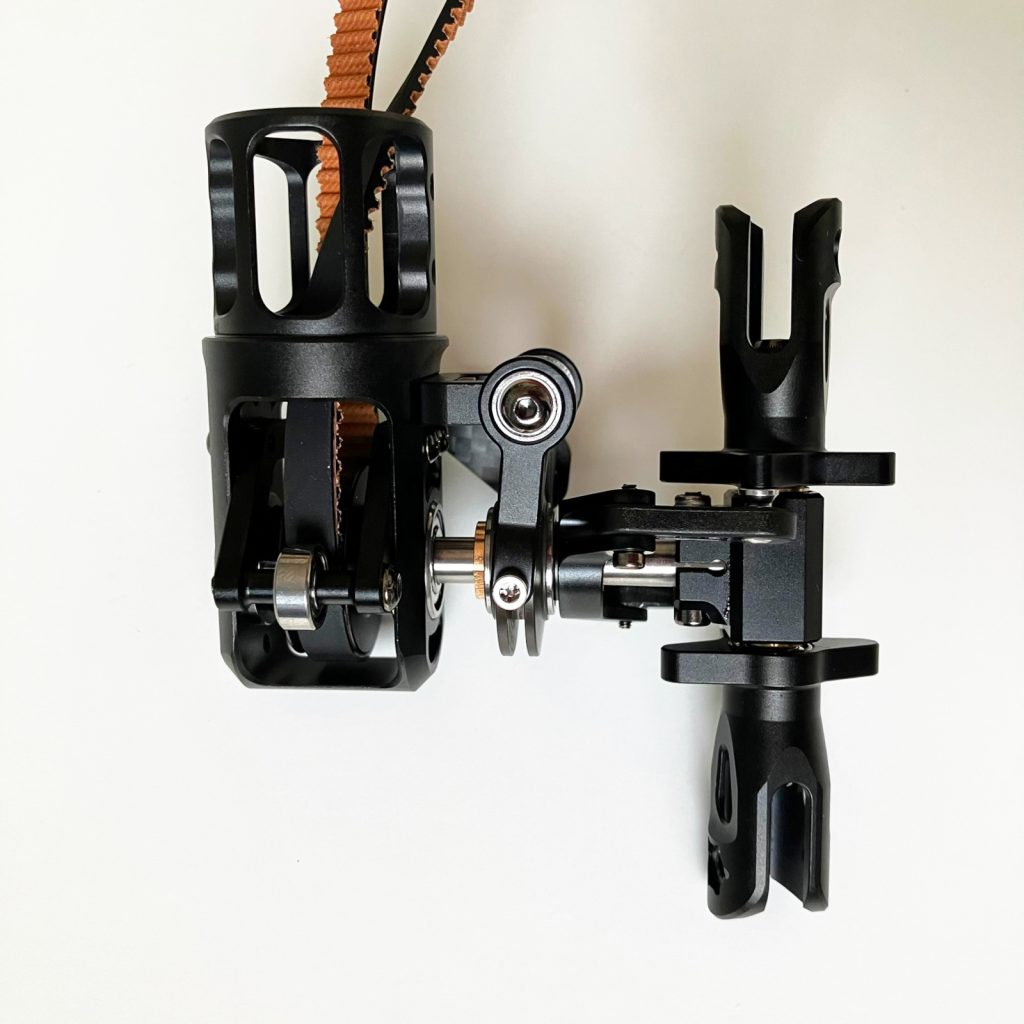
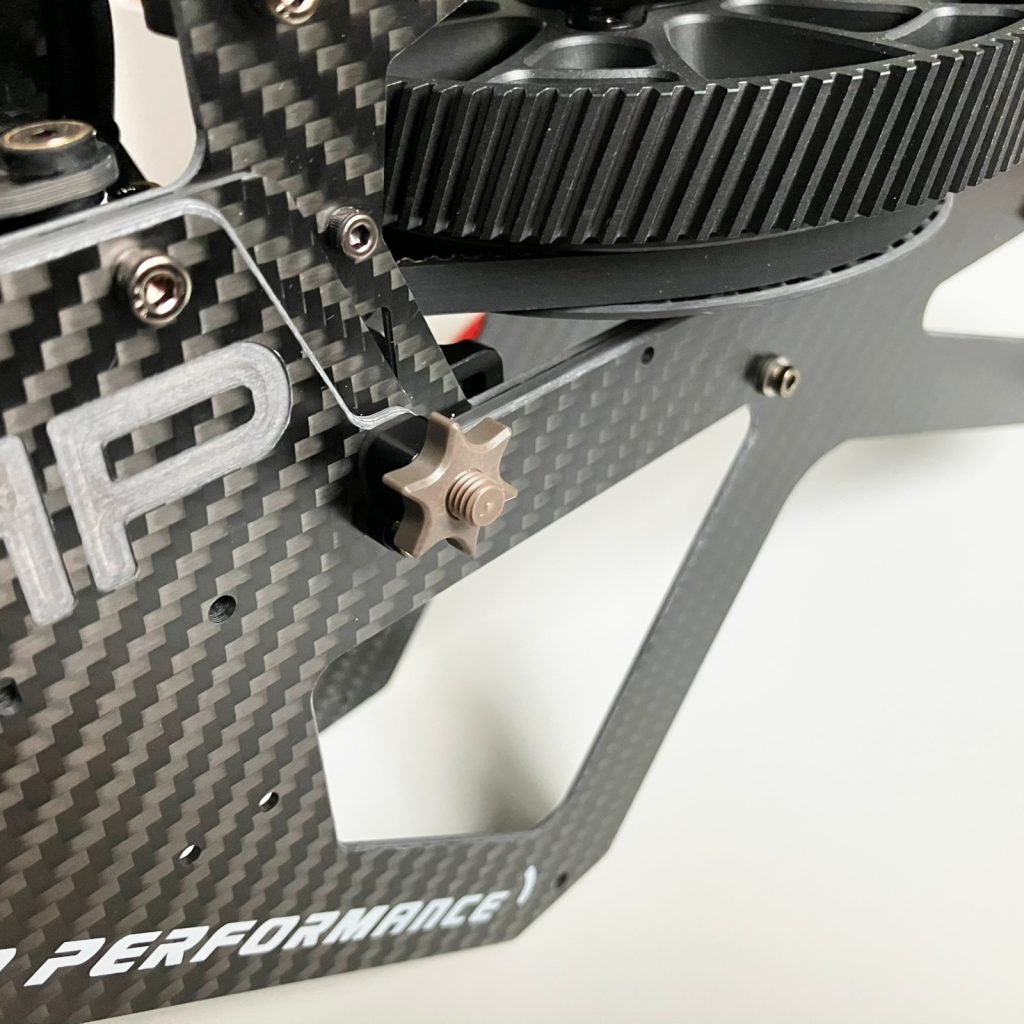
8 Belt Tensioner Pulley, Gyro Mount and Tail Boom Clamps
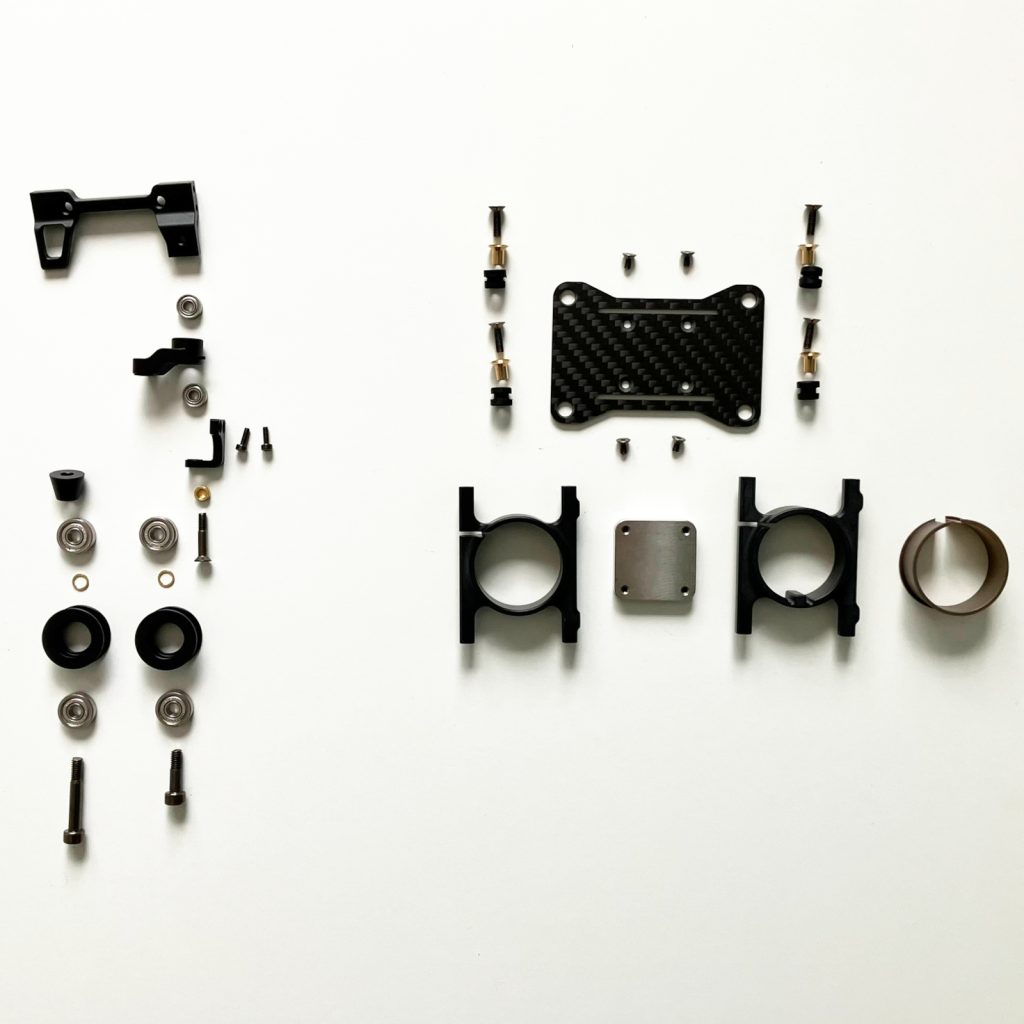
8.1 Belt Tensioner Pulley
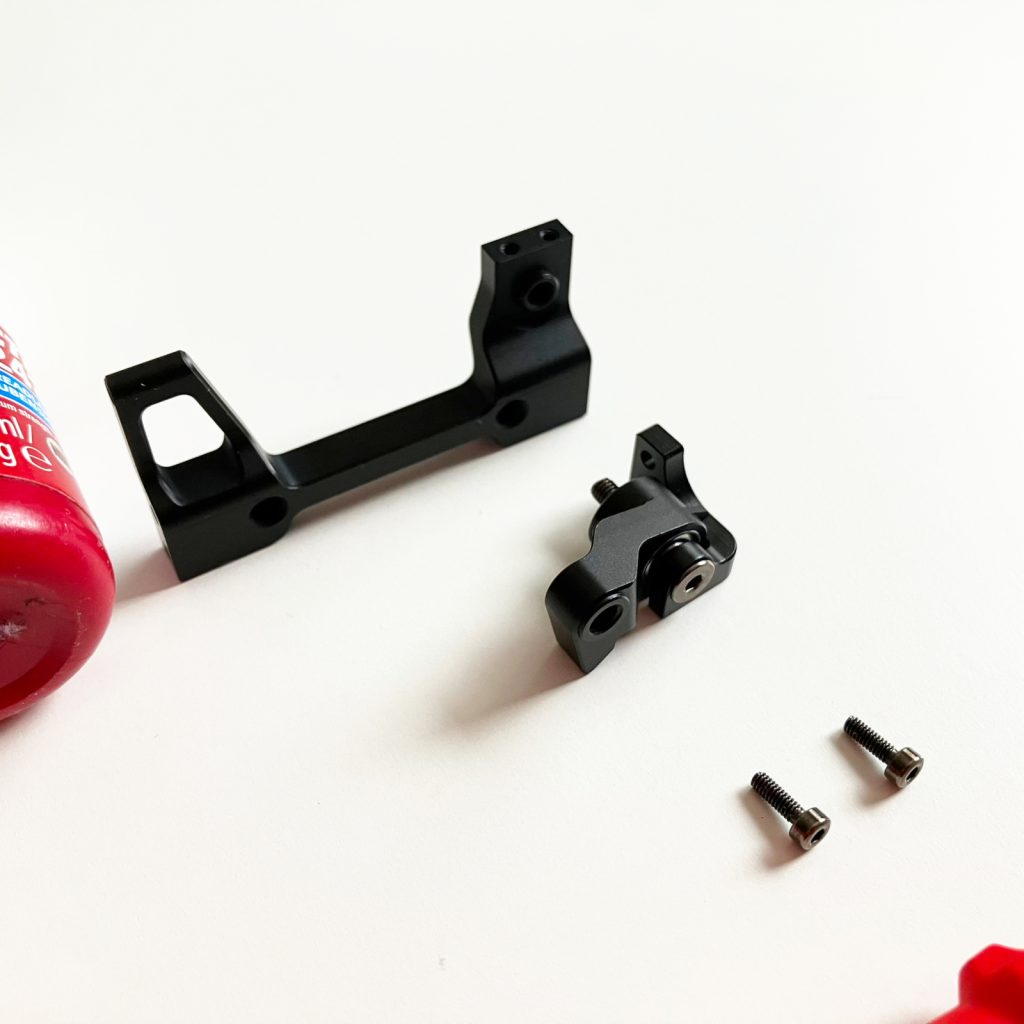
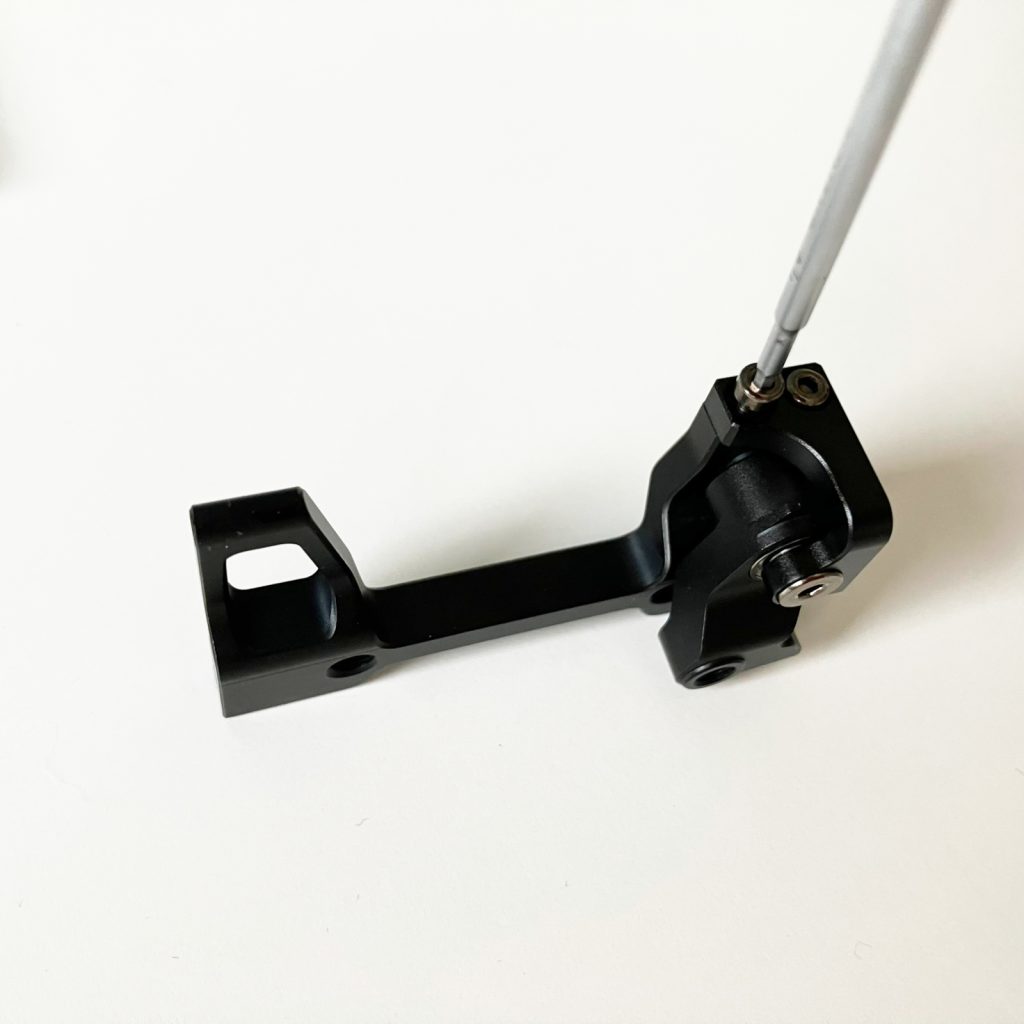
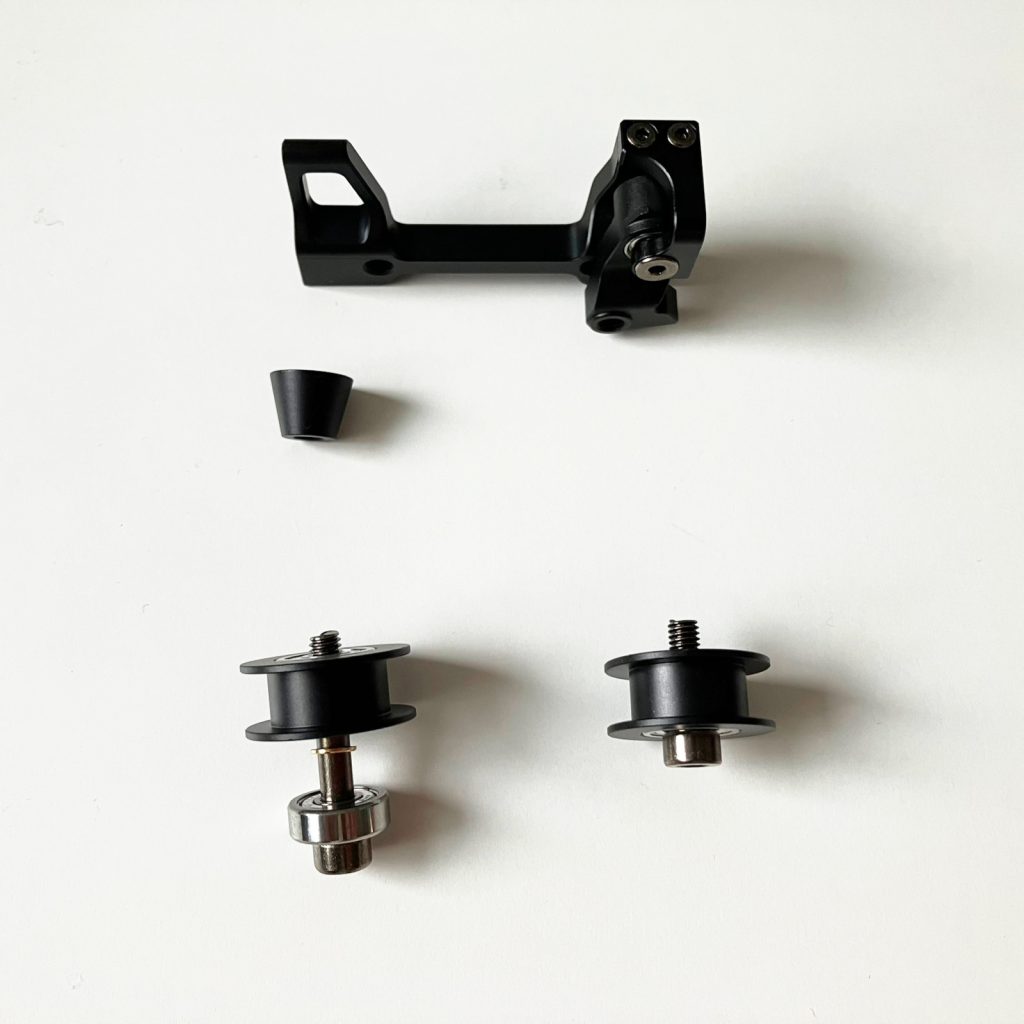
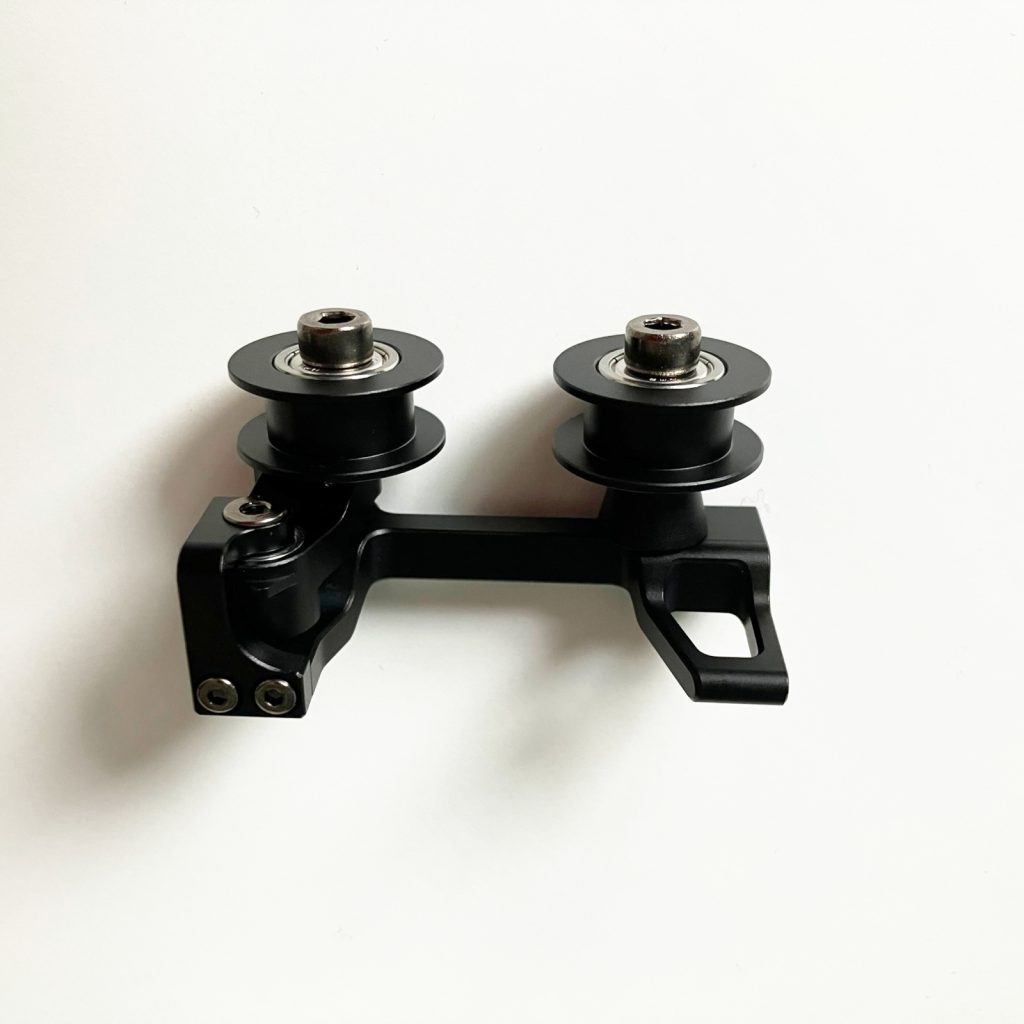
8.2 Gyro Mount and Tail Boom clamps


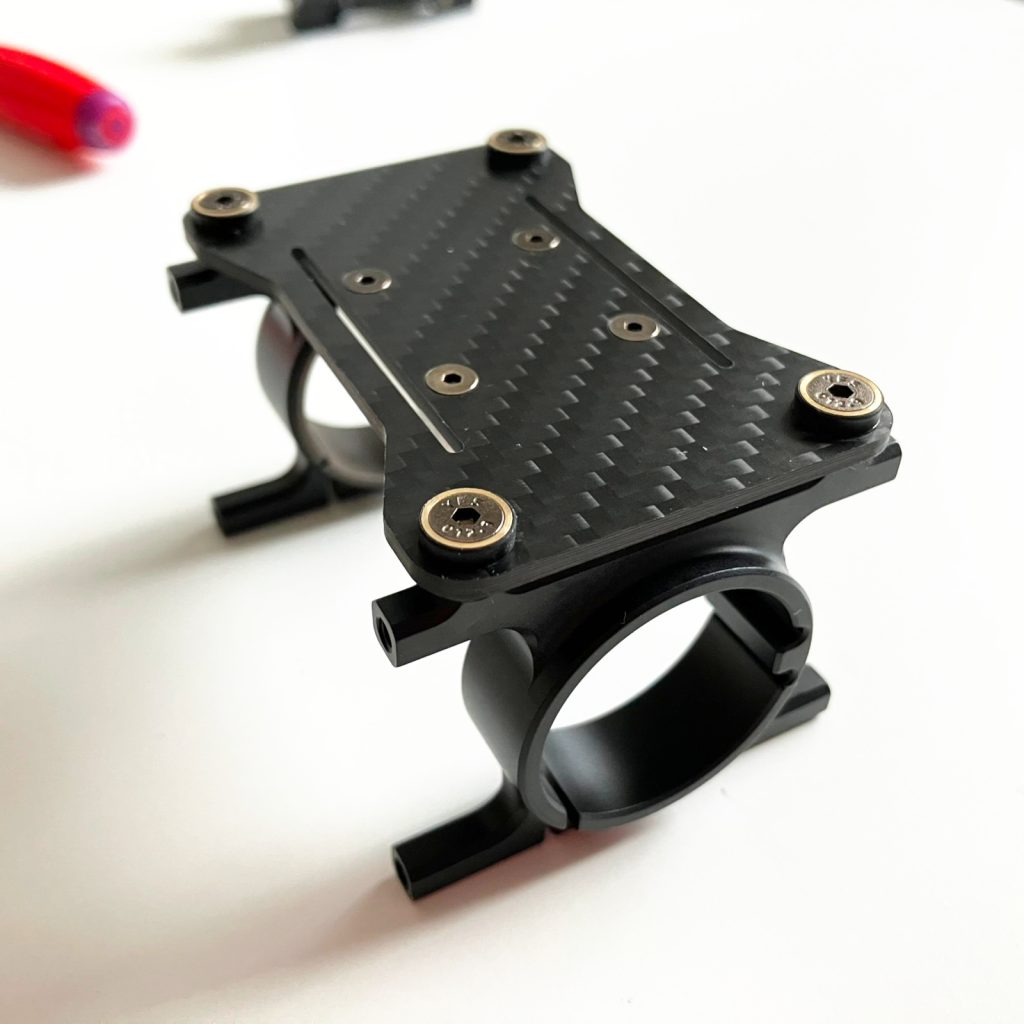
Belt Tensioner and Tail boom clamp

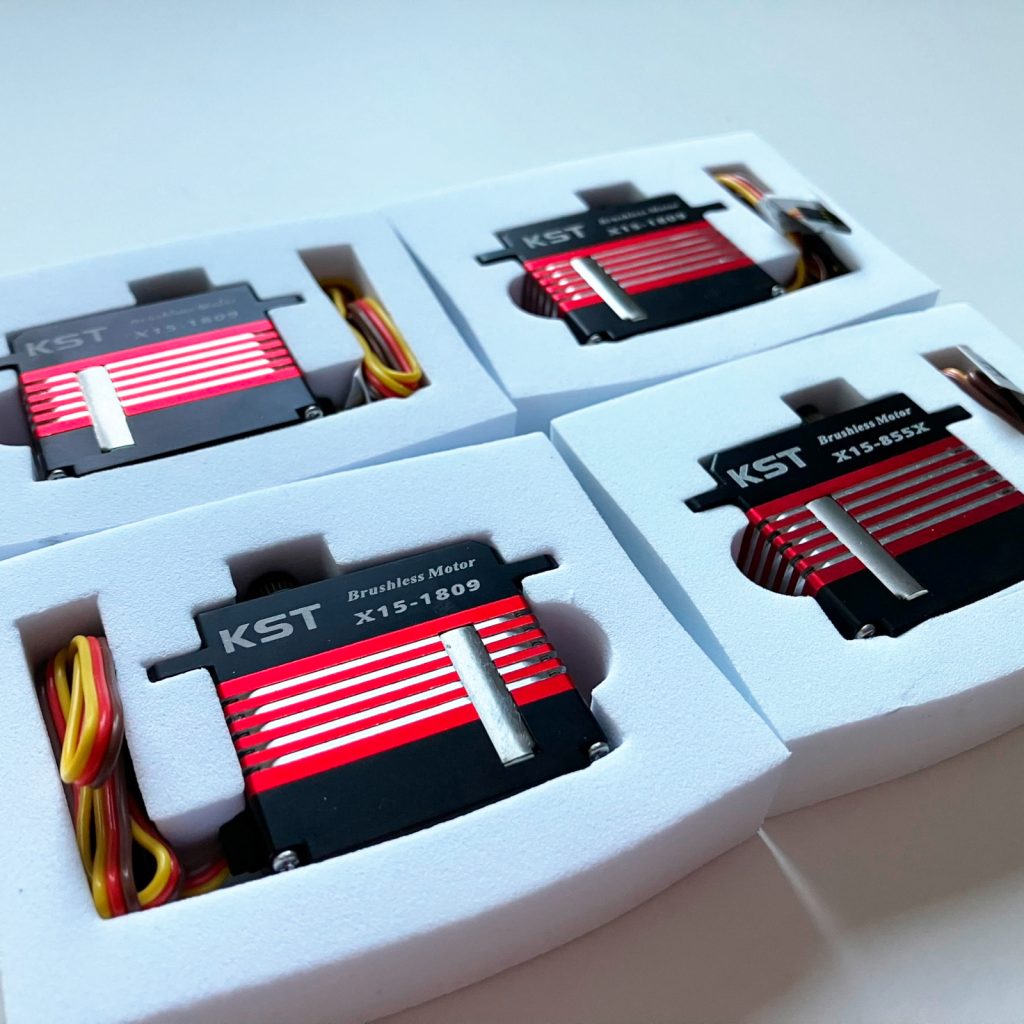
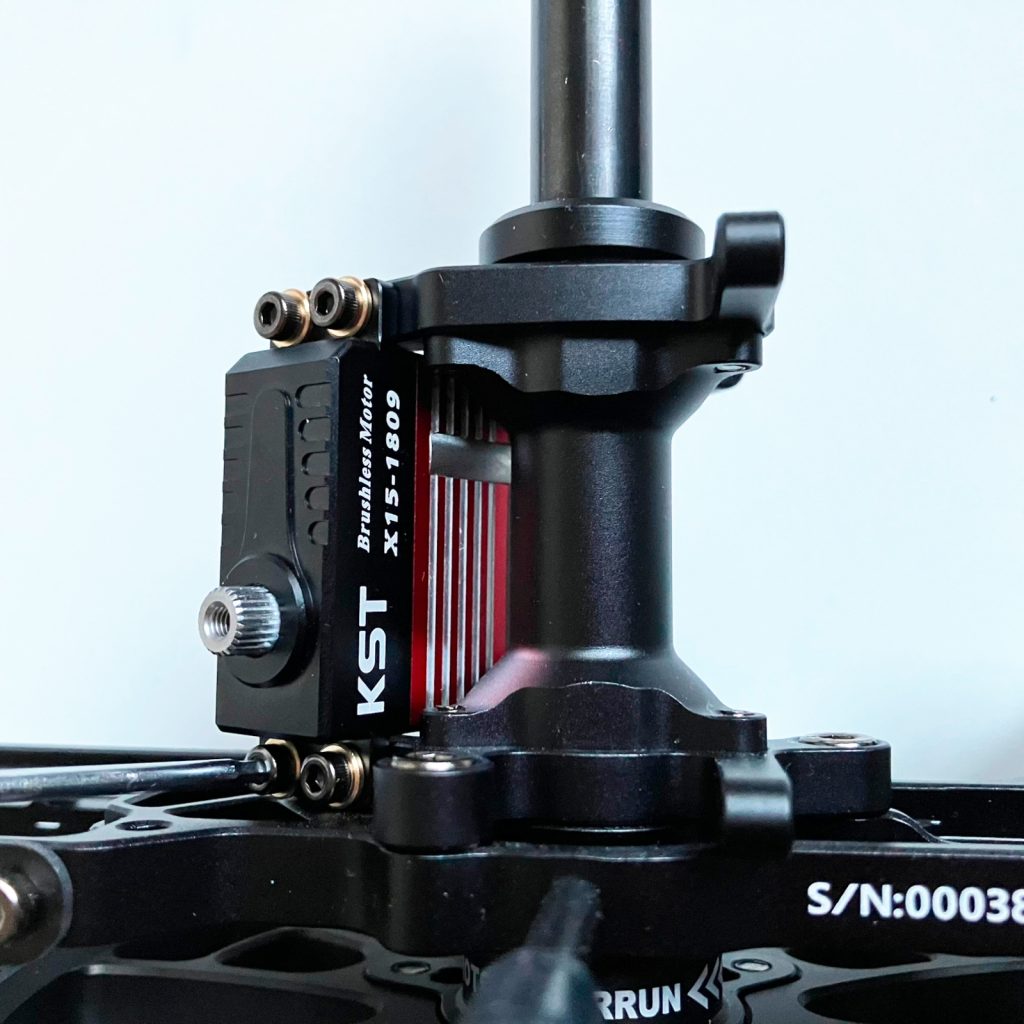
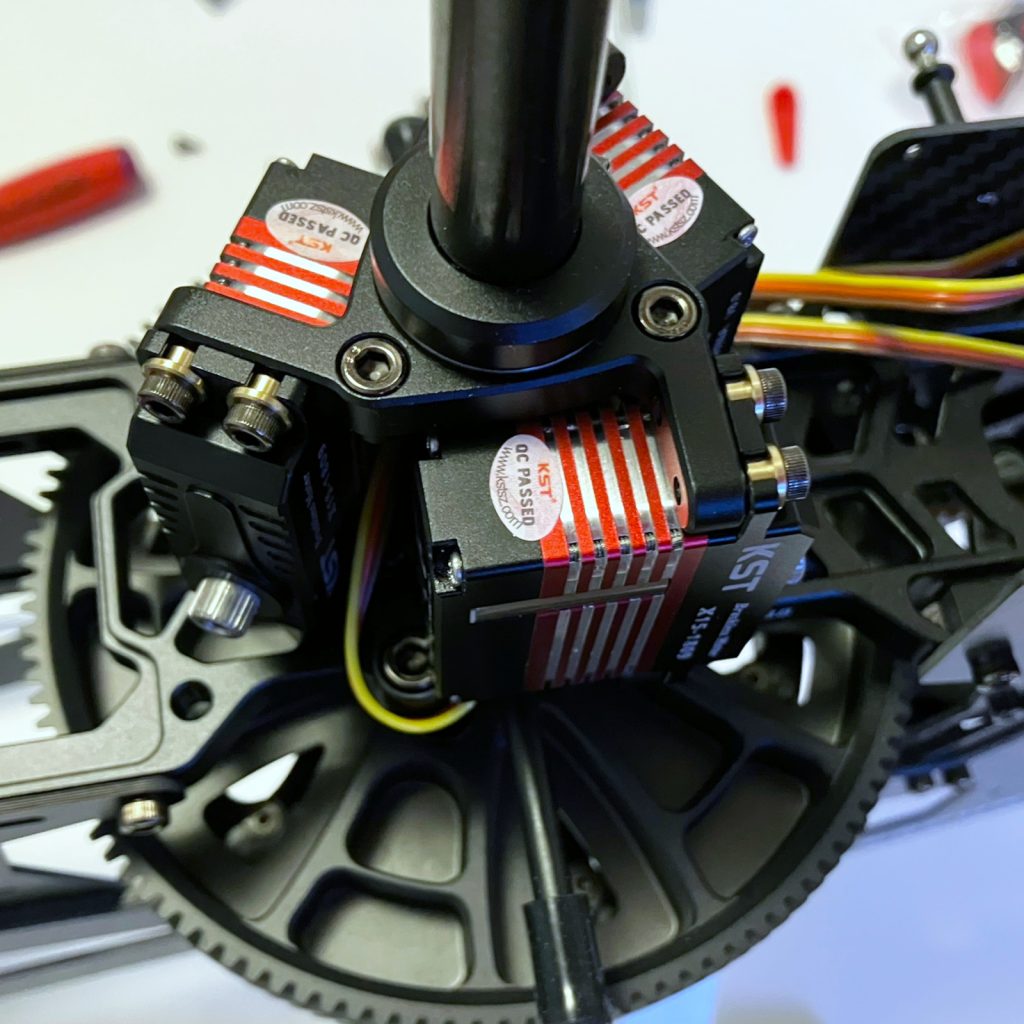
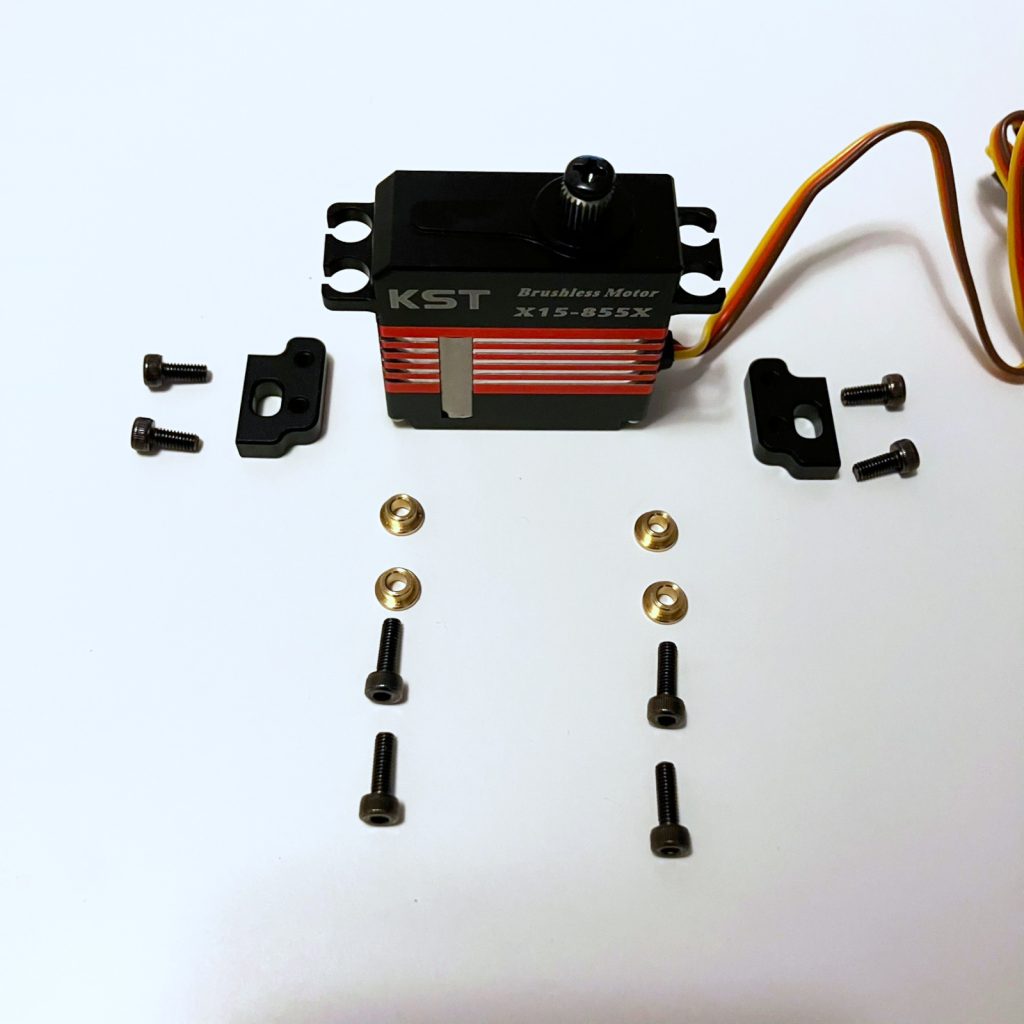
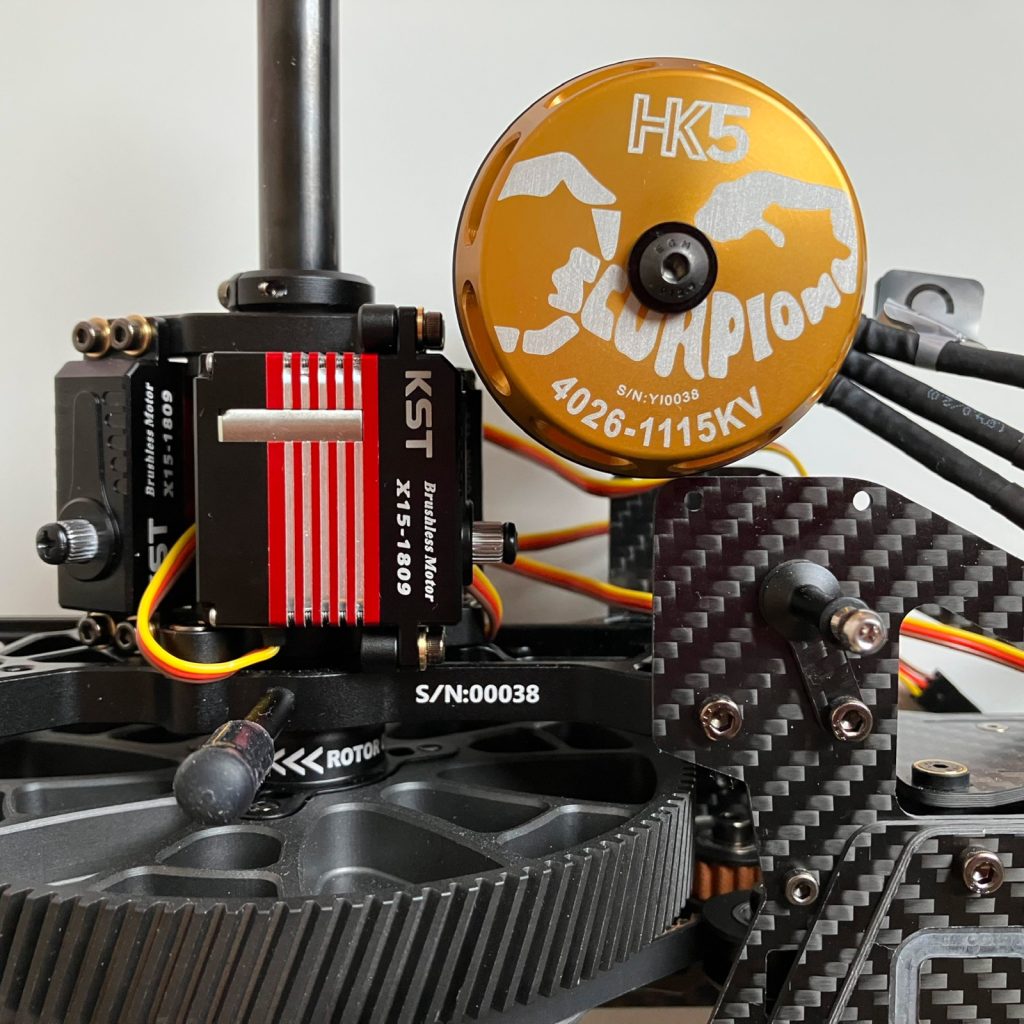
10 Cyclic Servos
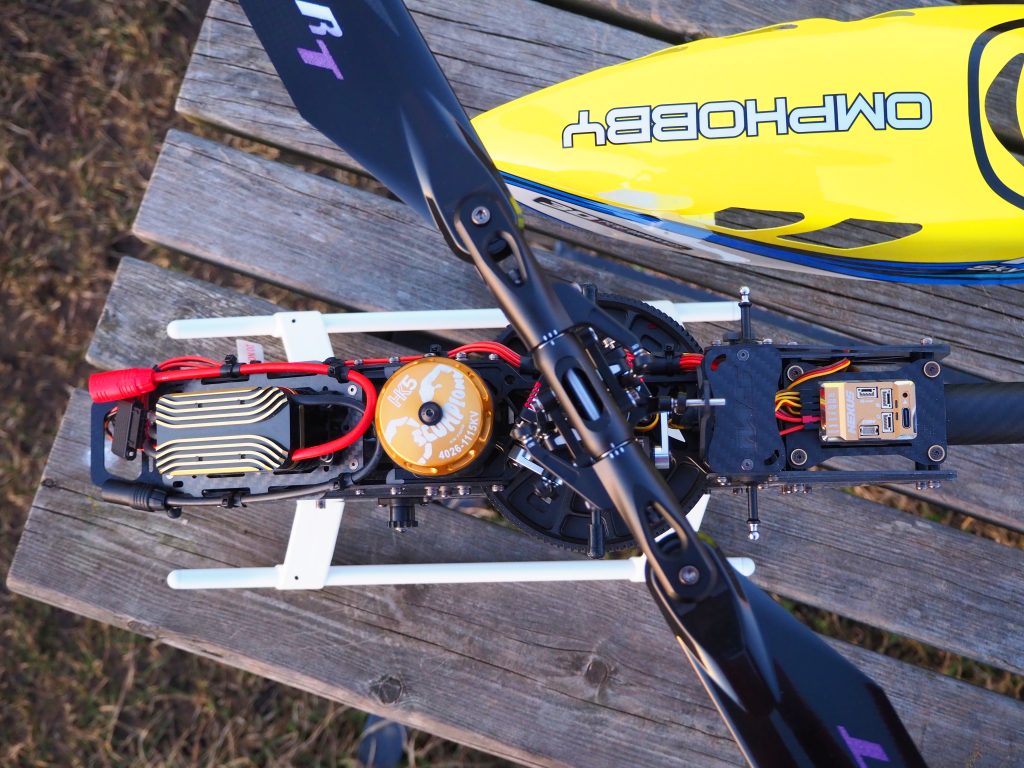
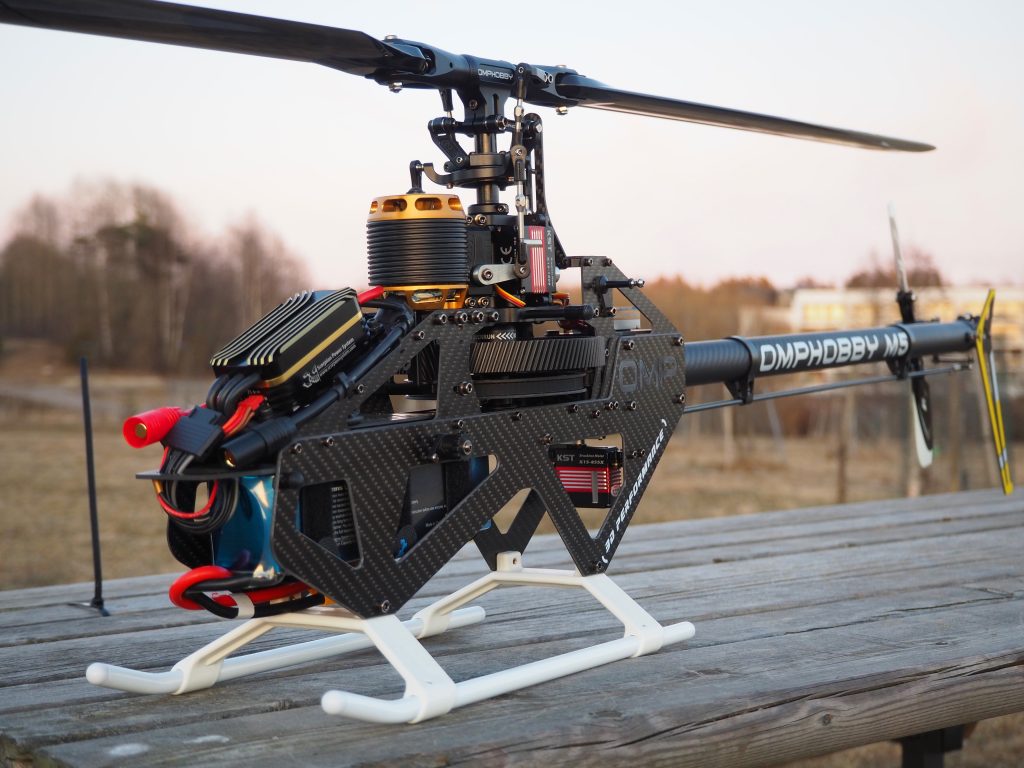
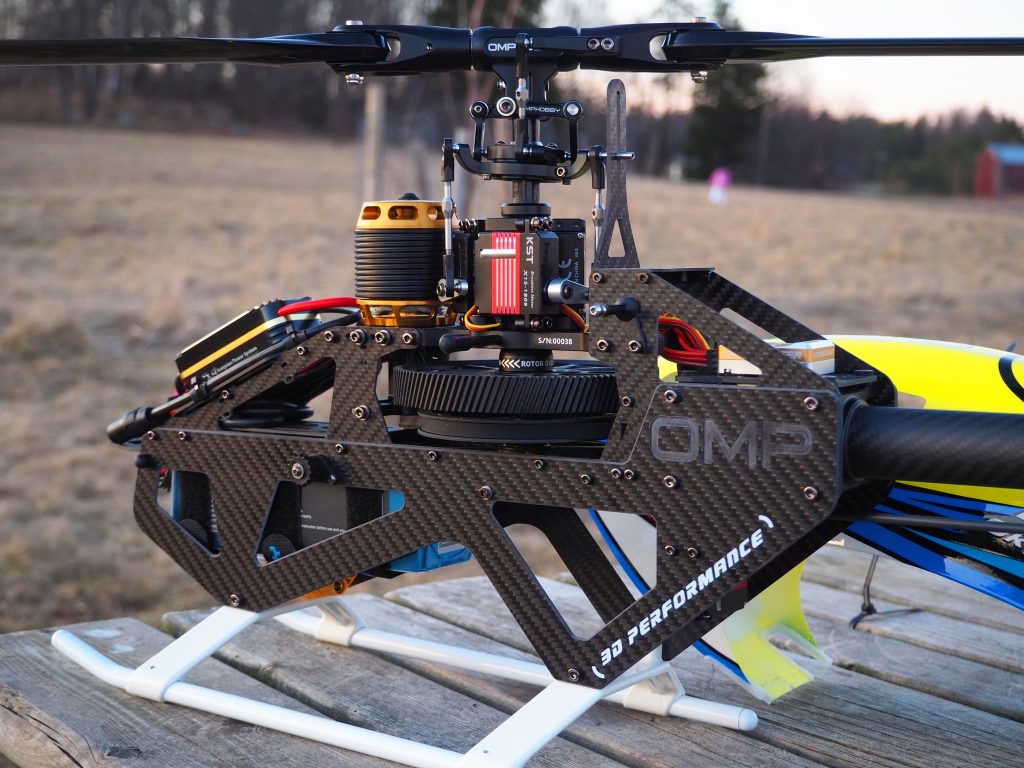
We chose to use KST X15-1809 for cyclic and KST X15-855X for tail.
Tip: Save the servo arms installation for later when the servos are powered and we know the center position.

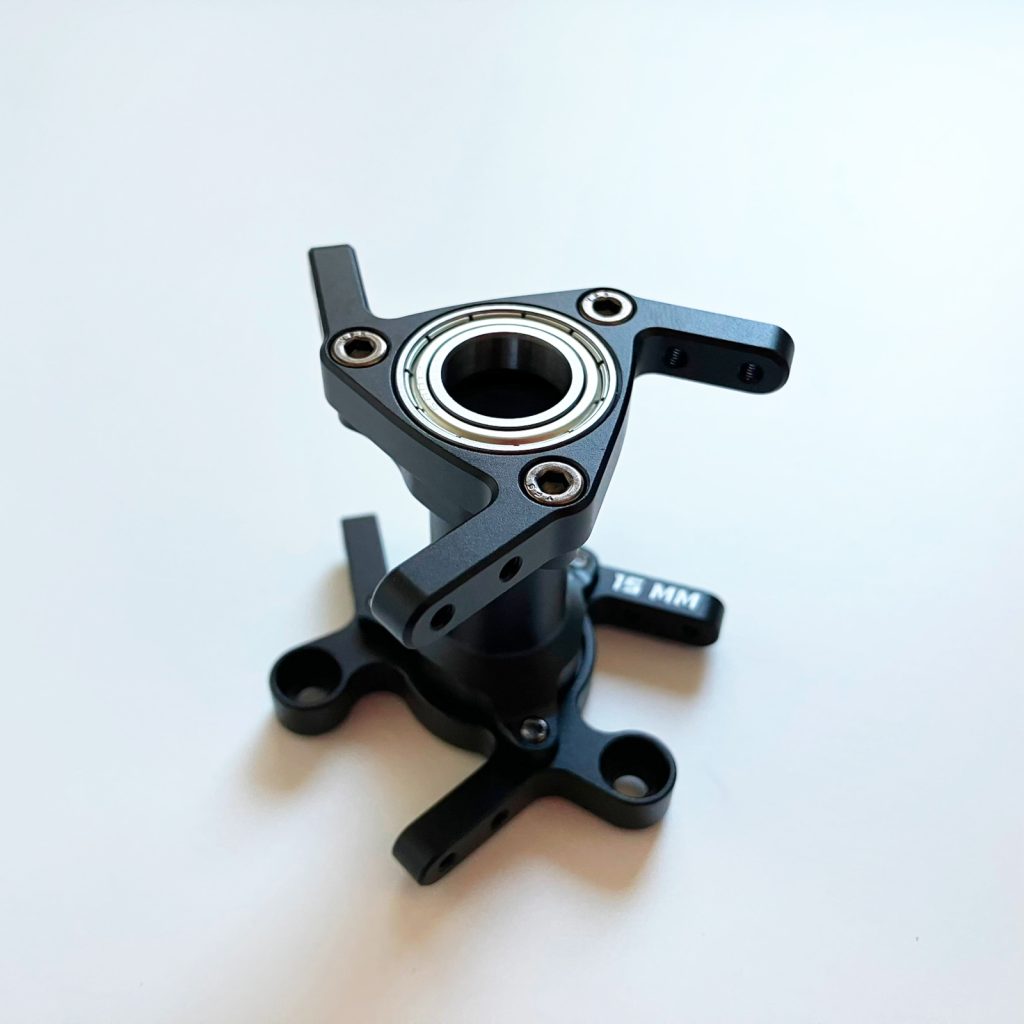
11 Tail Gearbox
NOTE: Notched part of Tail box should face on the same side as tail shaft.


12 Tail Pitch Slider and Bellcrank


13 Tail Rotor

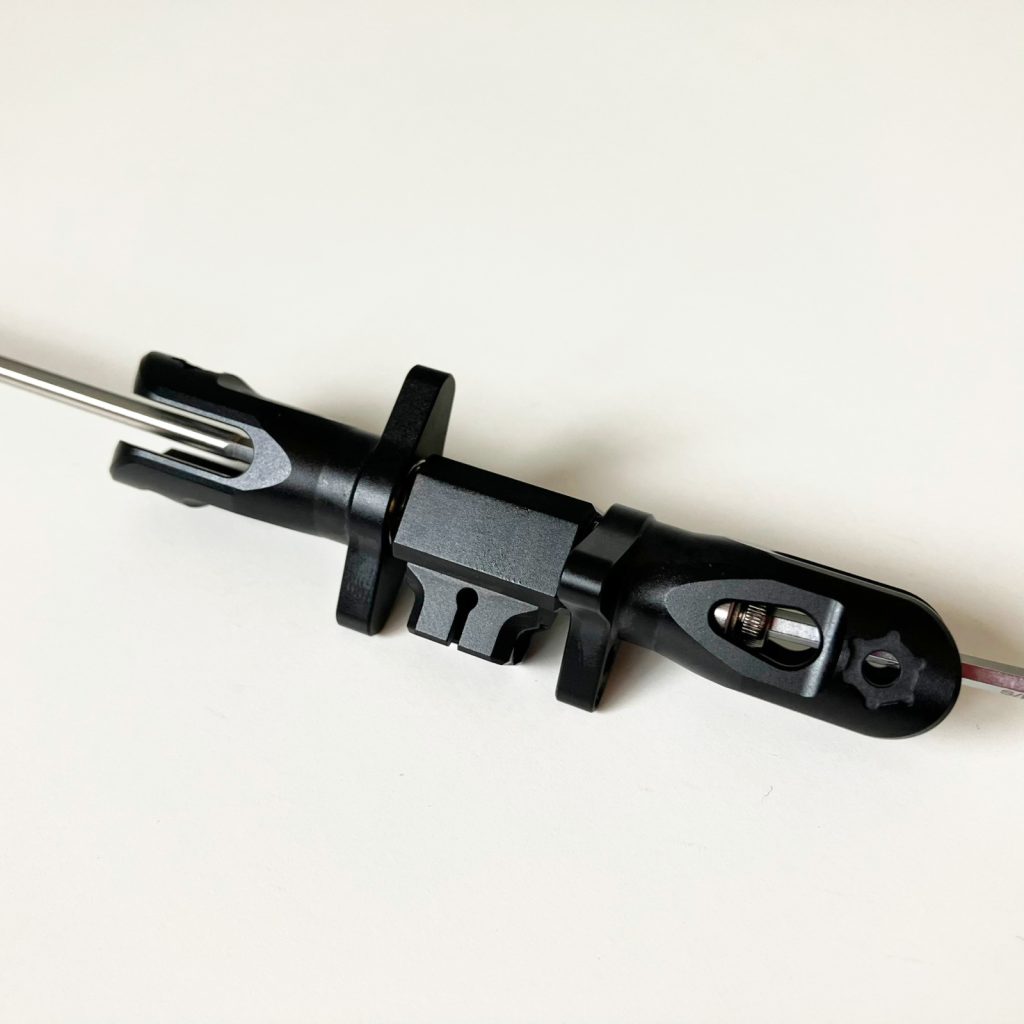
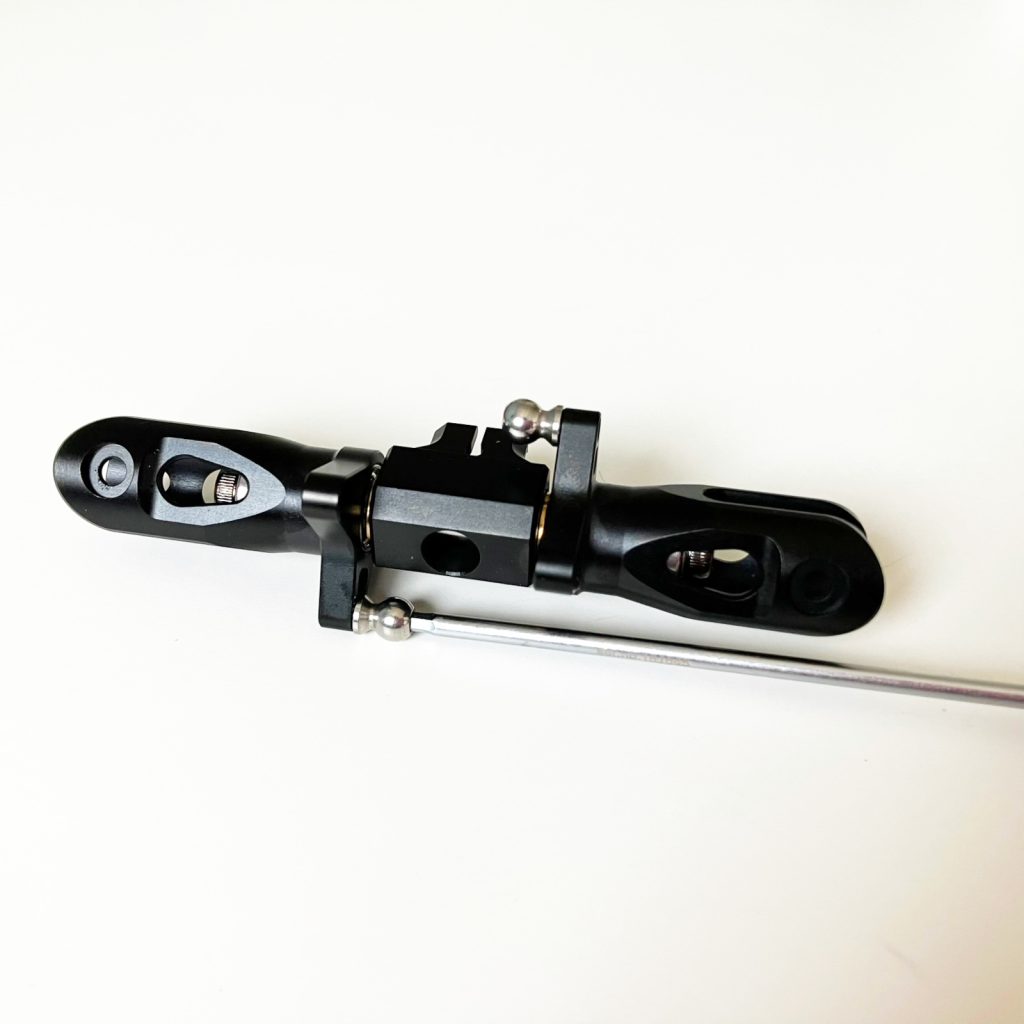
14 Tail assembly
15 Main Shaft support
16 Belt Tensioning

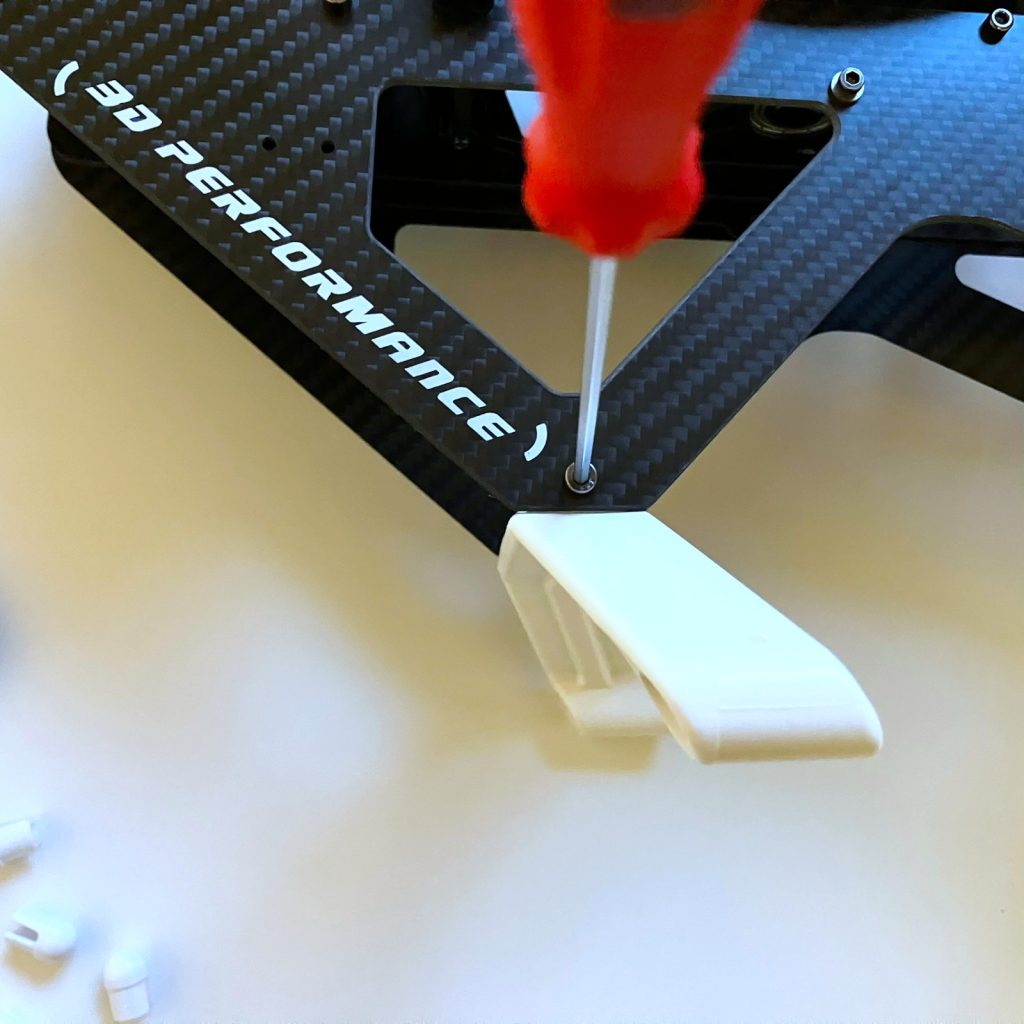
17 Landing Skids

18 Tail servo and Tail fin
18.1 Tail Servo


18.2 Tail Fin
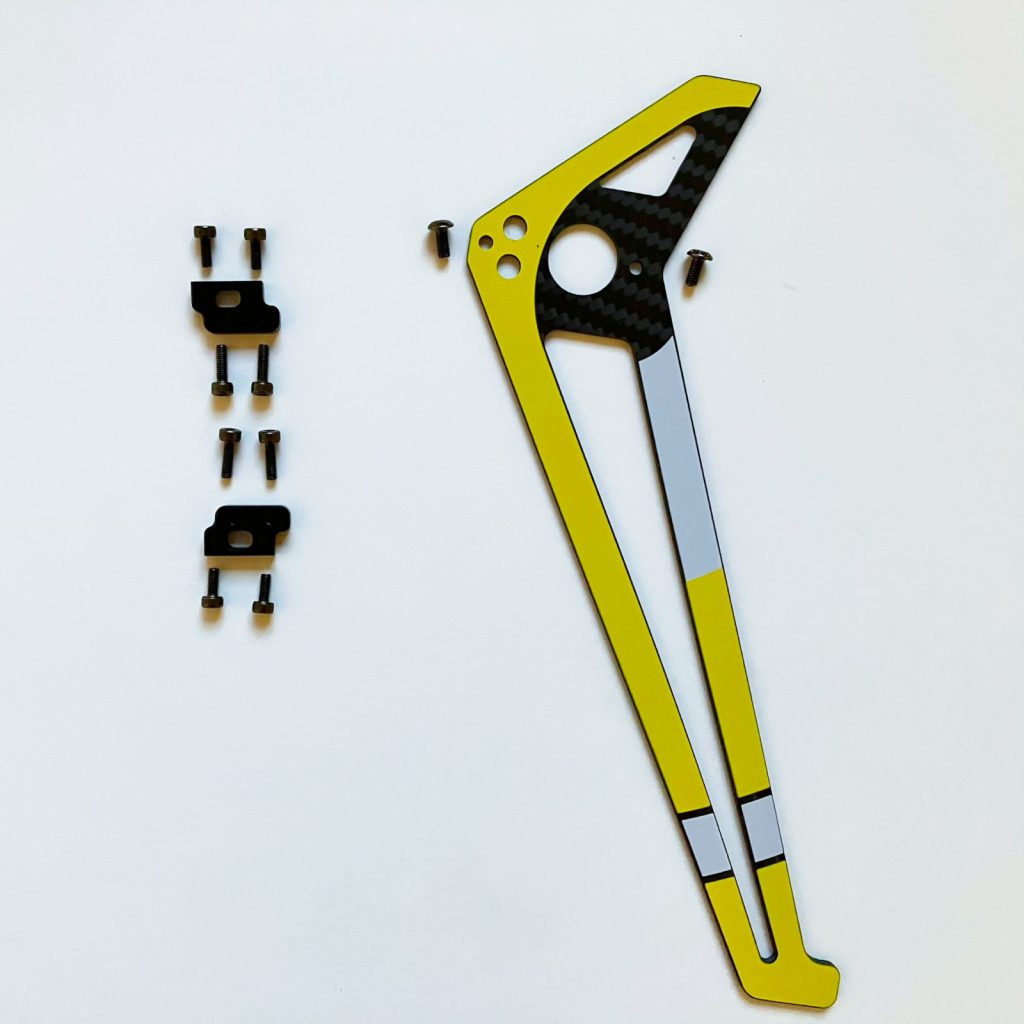

19 Motor mount
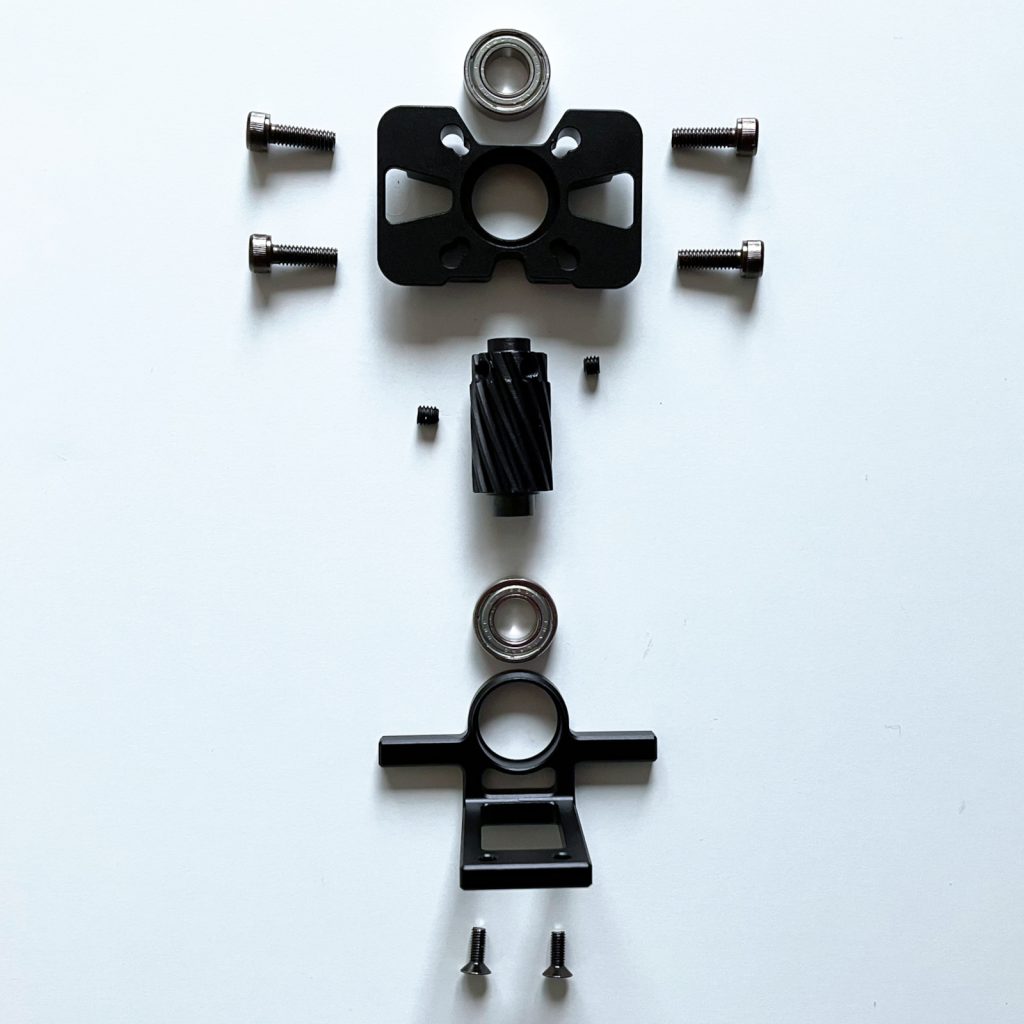


20 Motor Installation
We are using Scorpion HK5 4026-1115kv Motor.


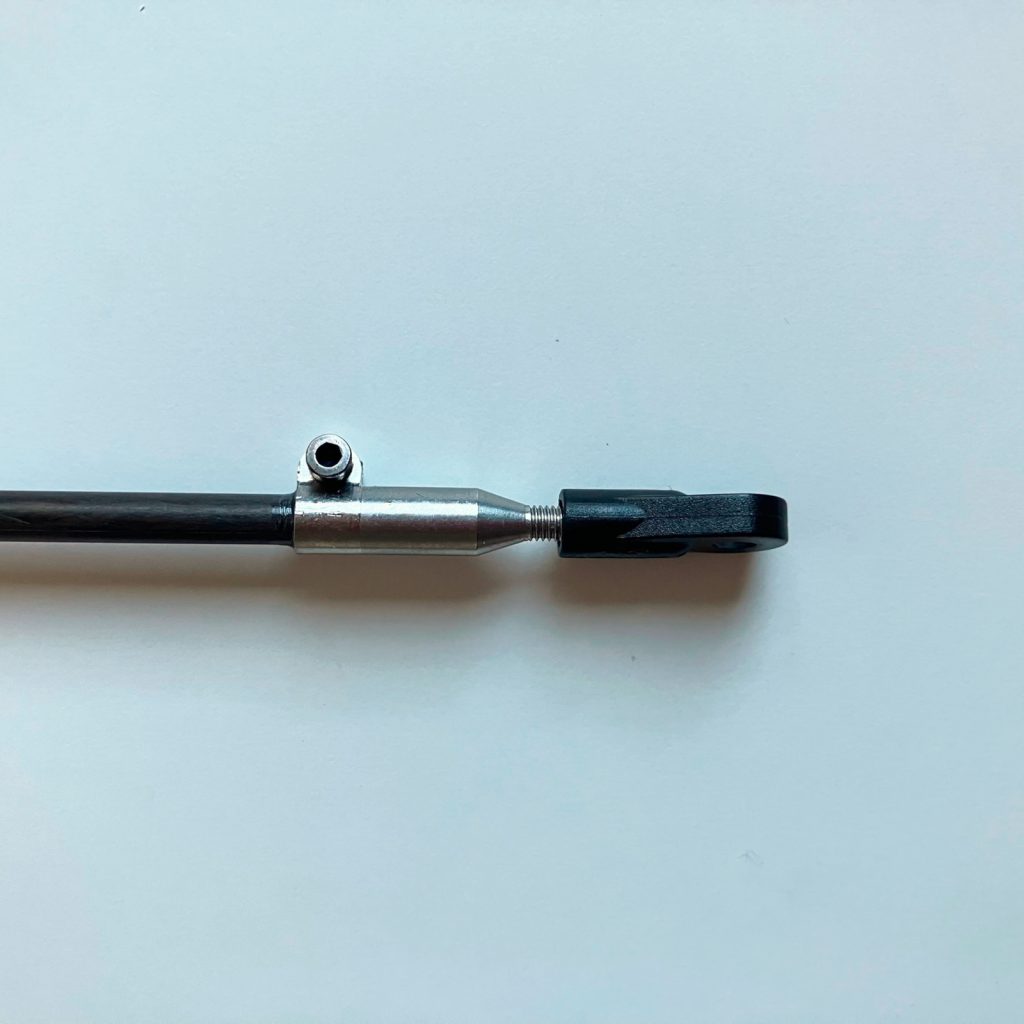
21 Tail Control Rod


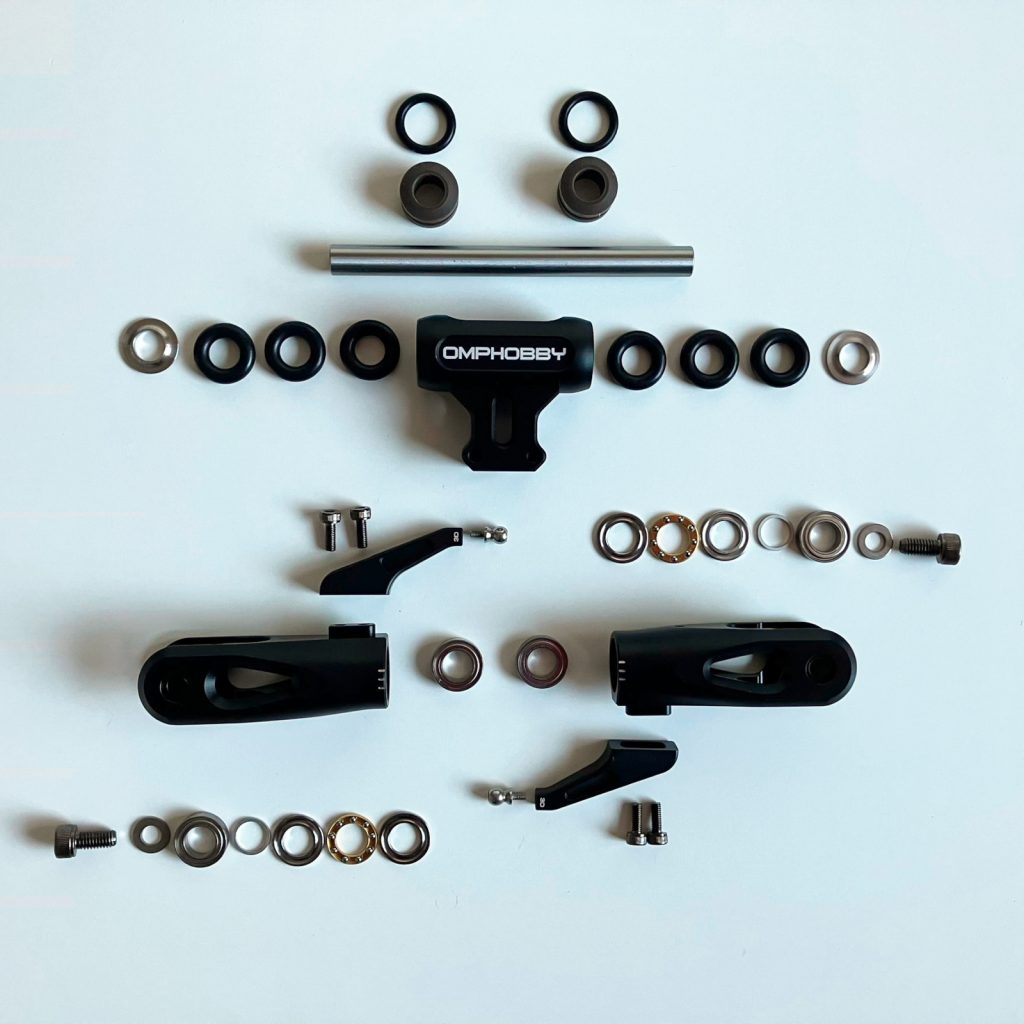
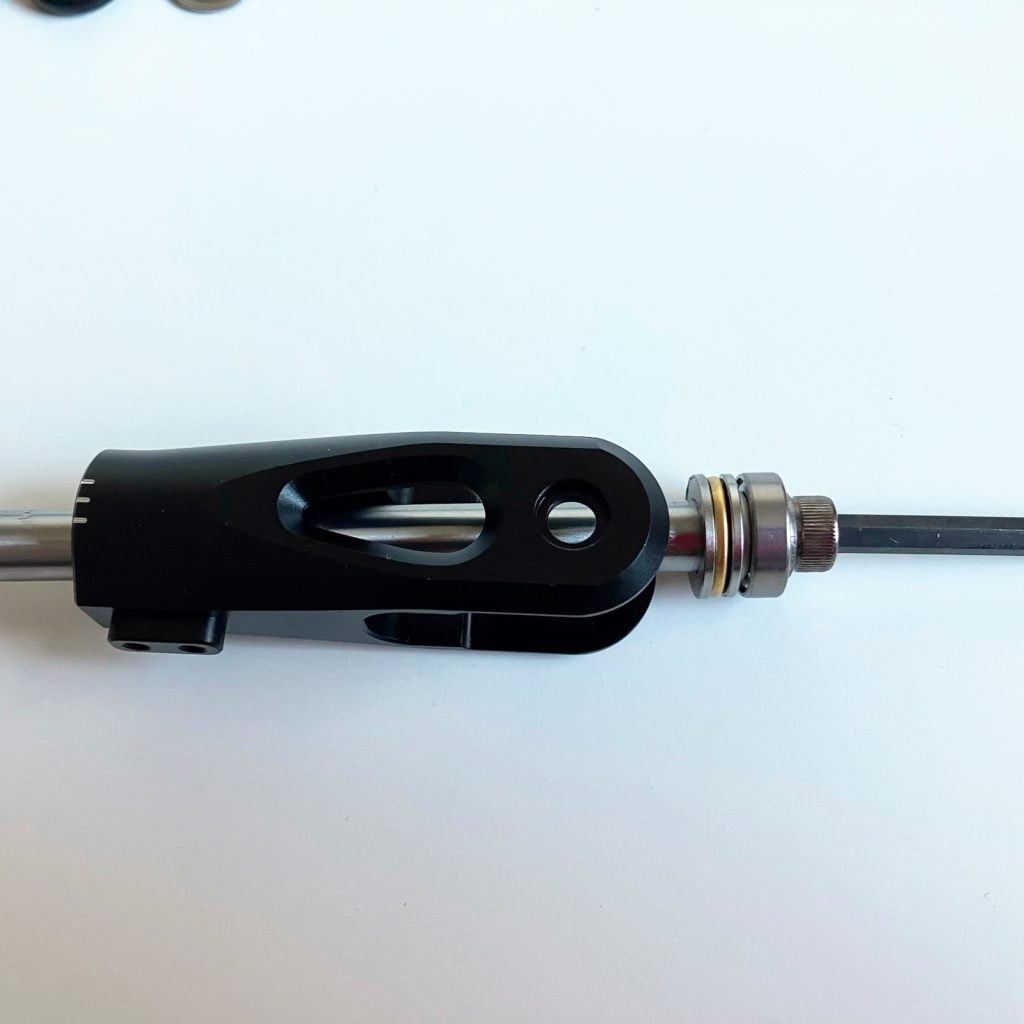
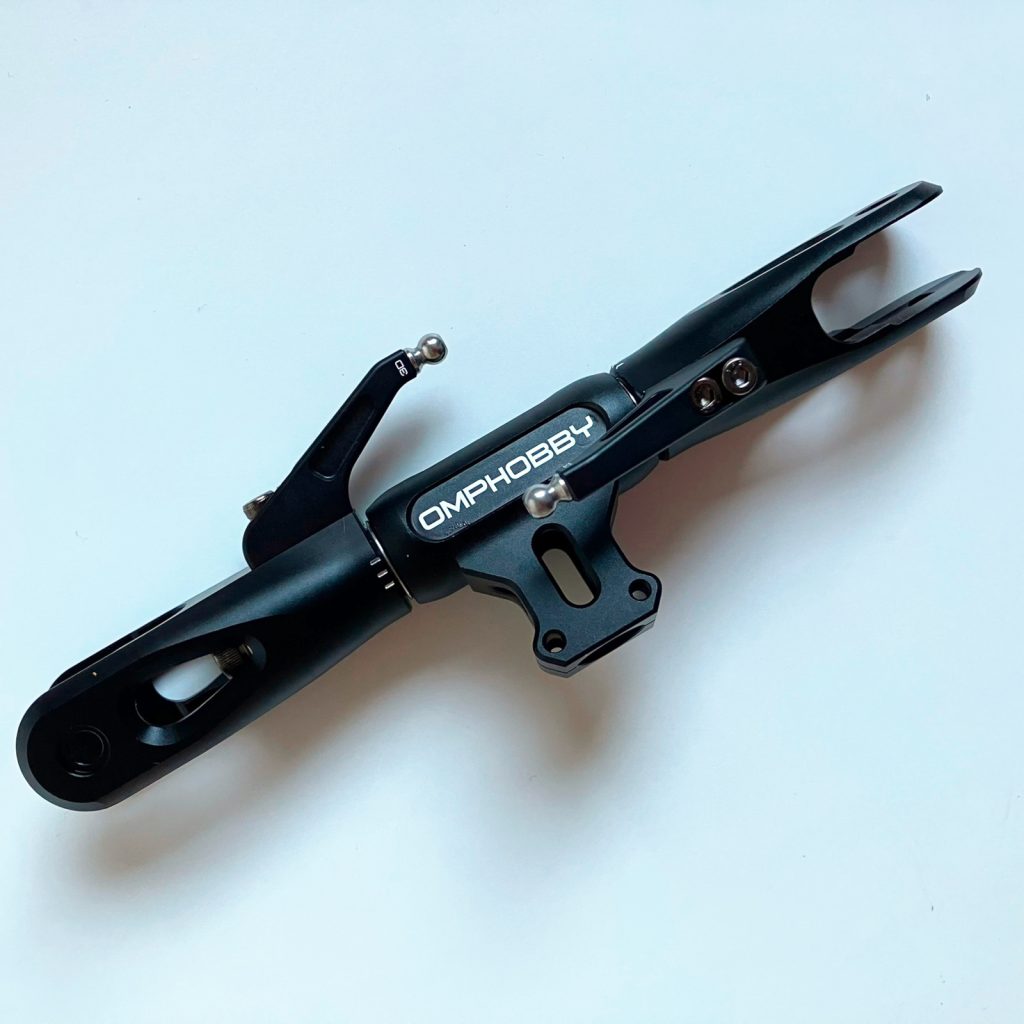
23 Swashplate and Swash Linkage

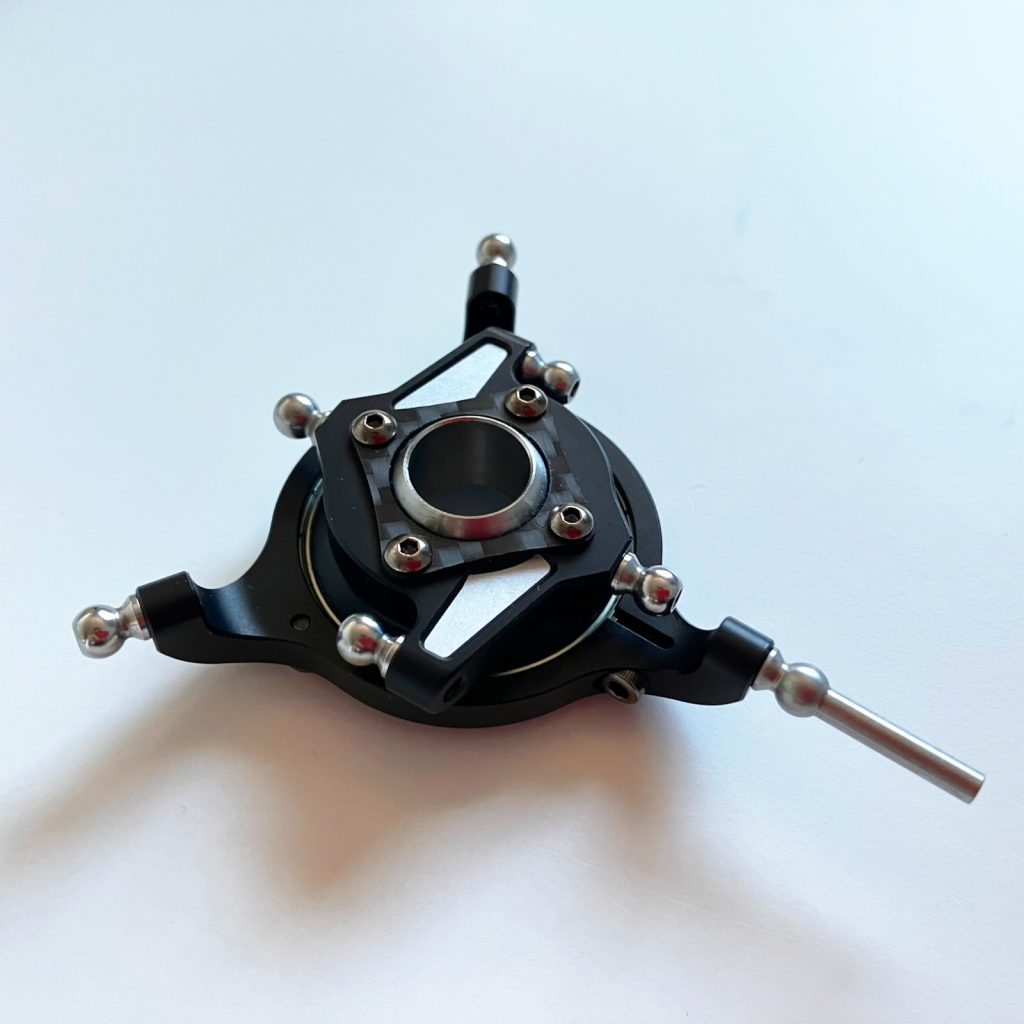

24 Swashplate Install

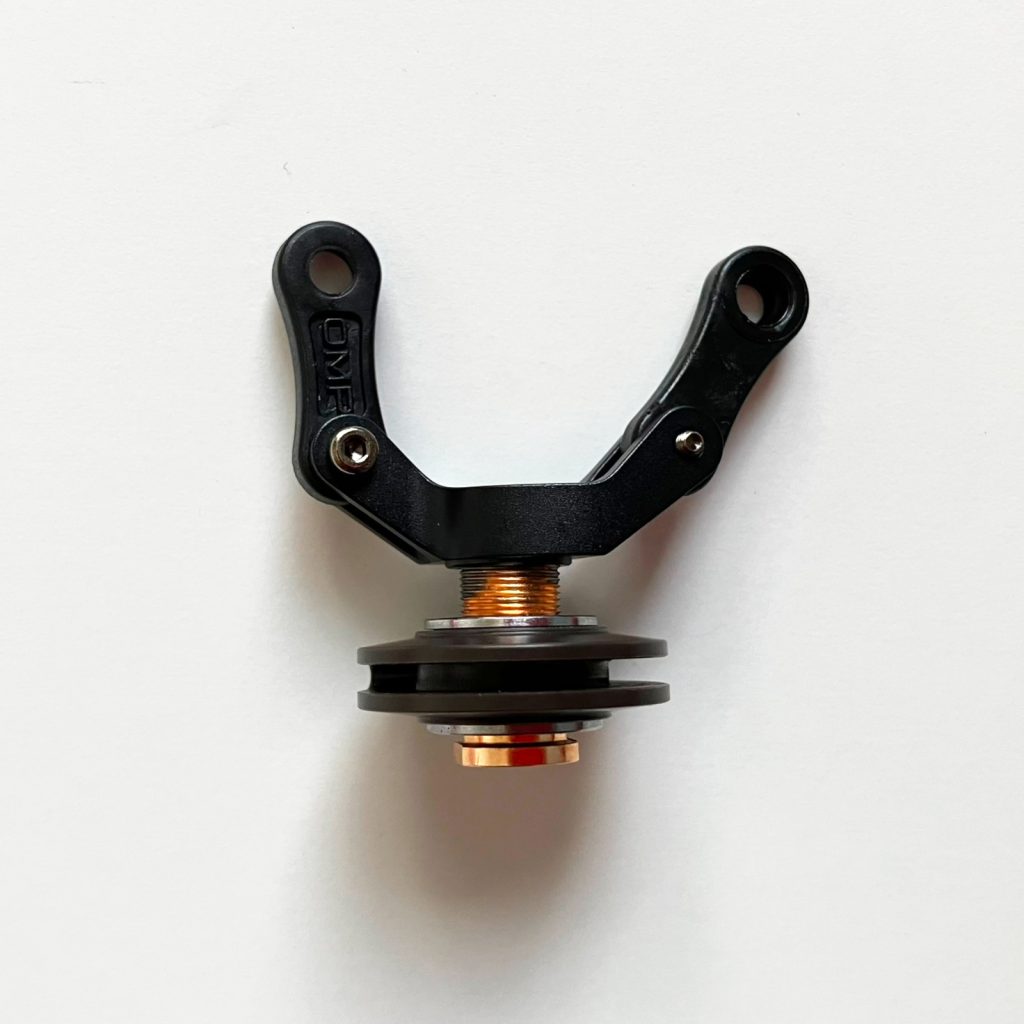
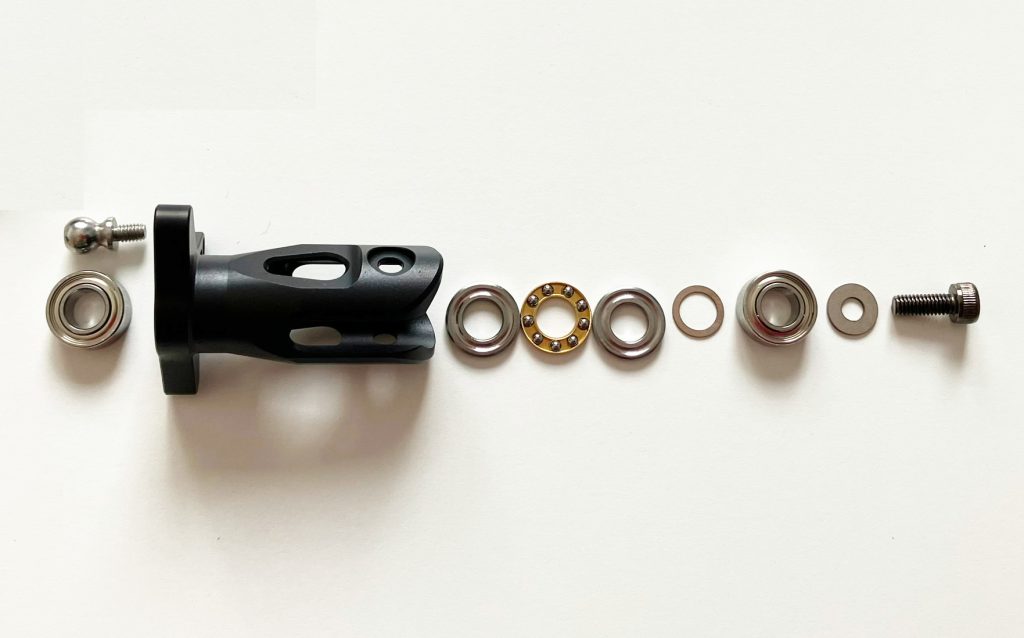
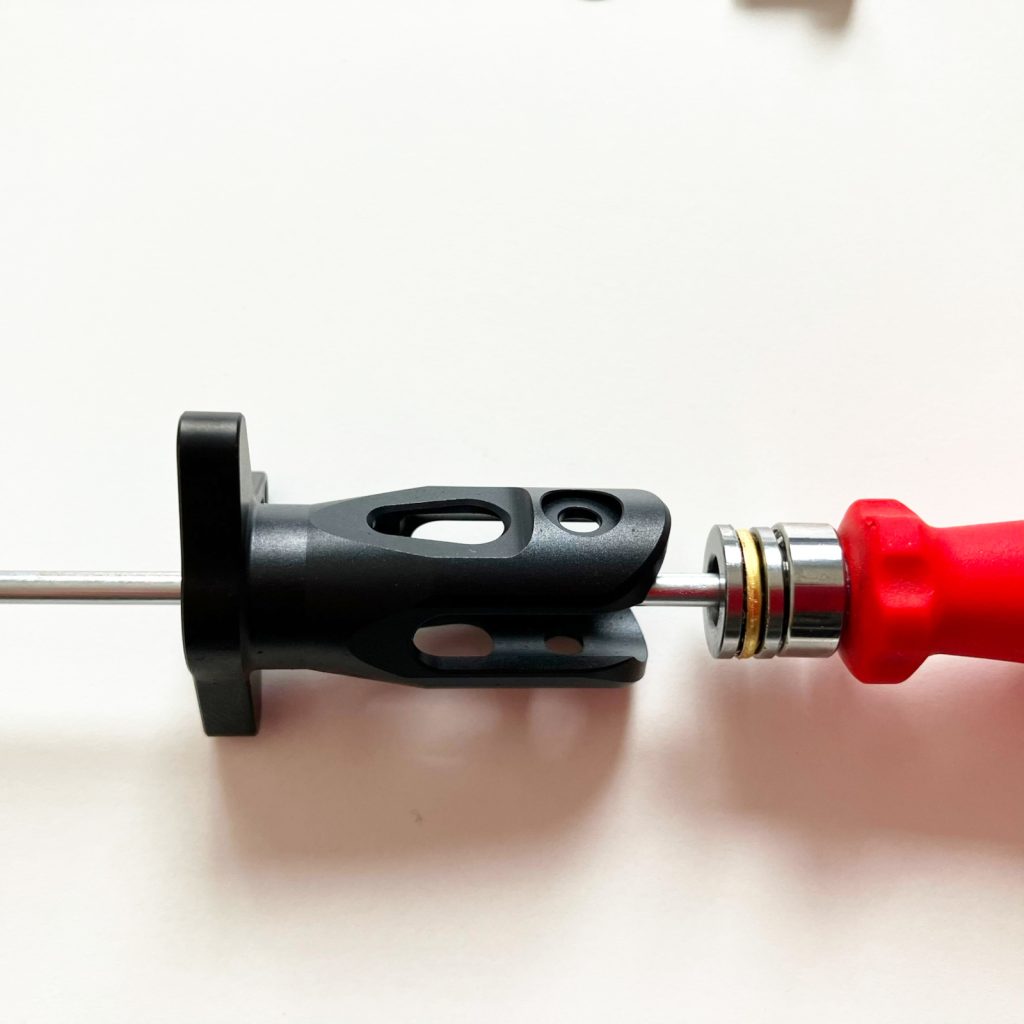
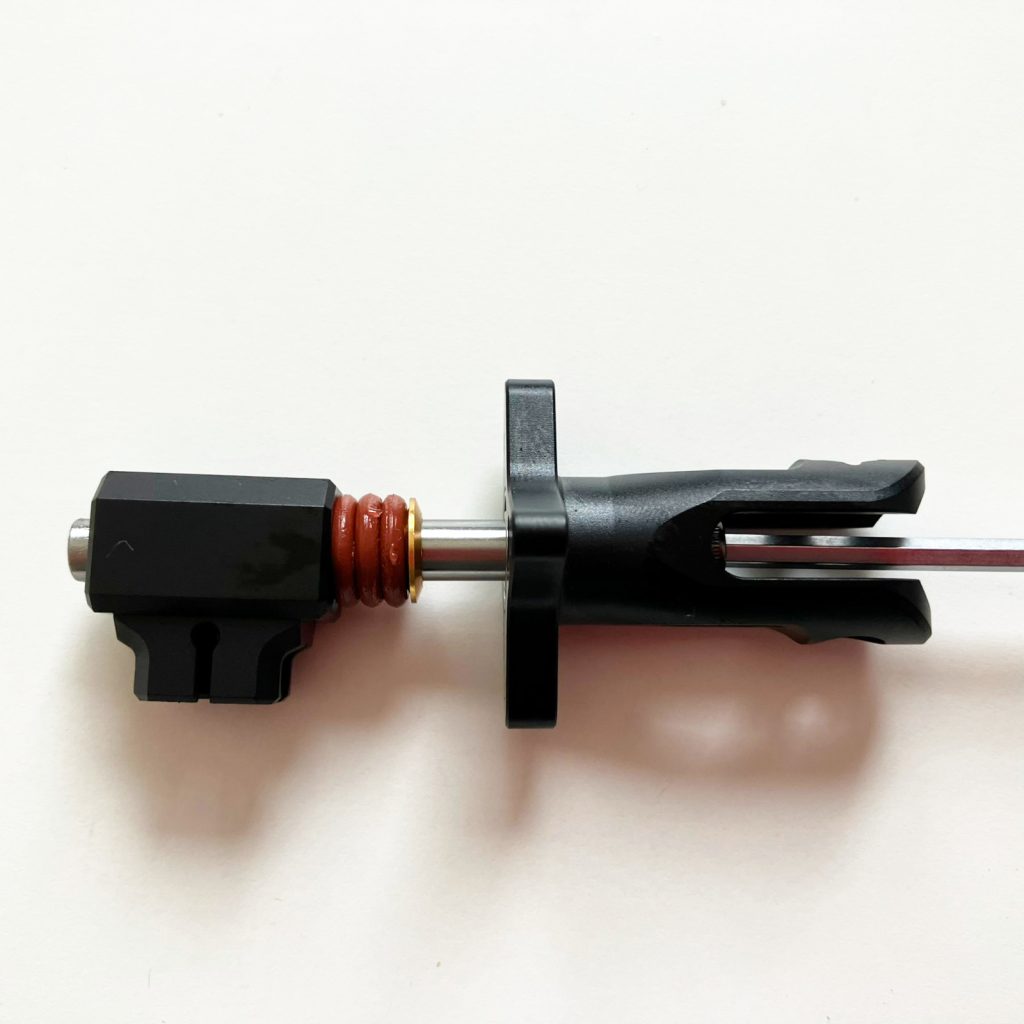
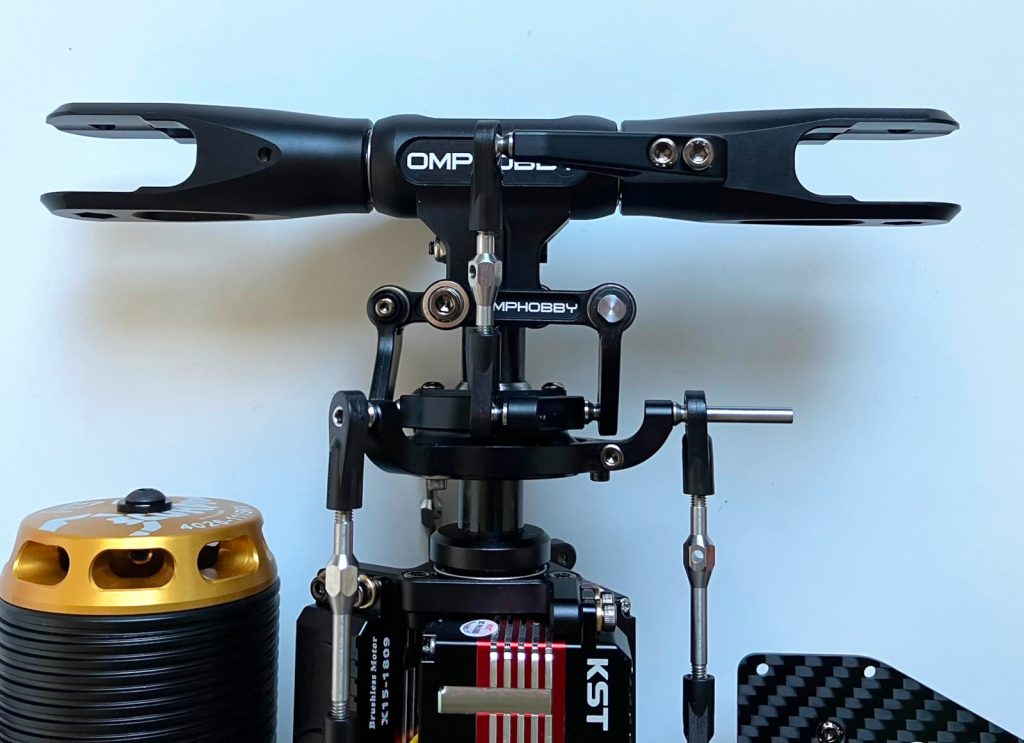
25 Main Rotor Head

26 Swashplate driver
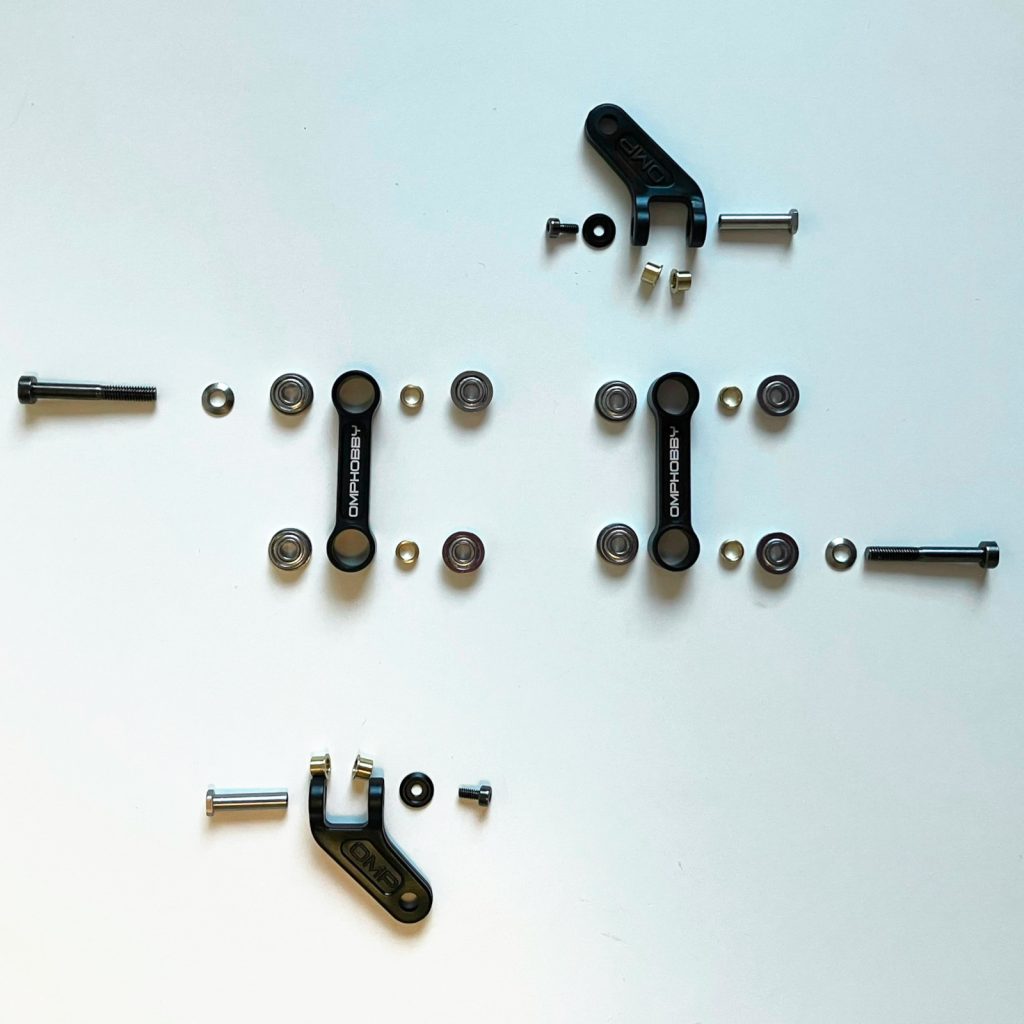

28 Main rotor Linkage
29 Anti-rotation Guide
It is better to install the Anti-Rotation Guide after step 33
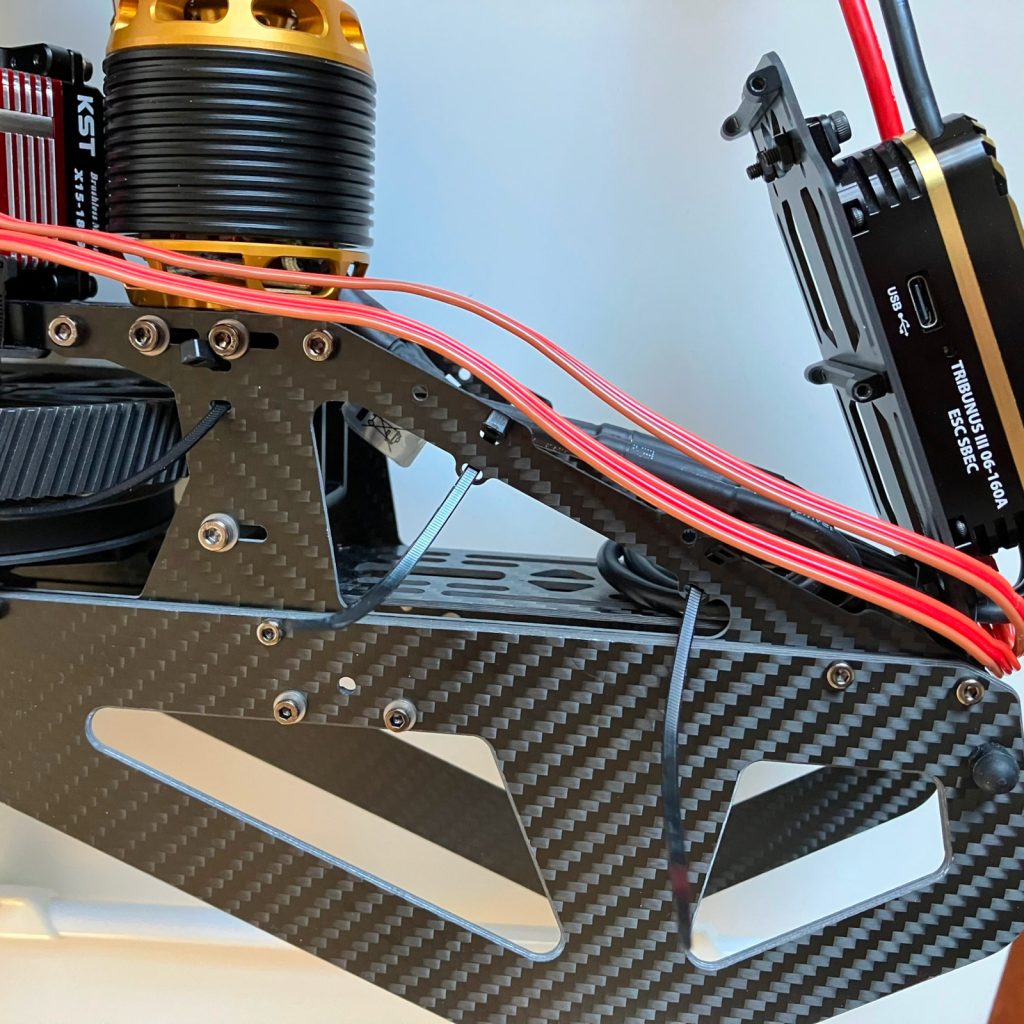
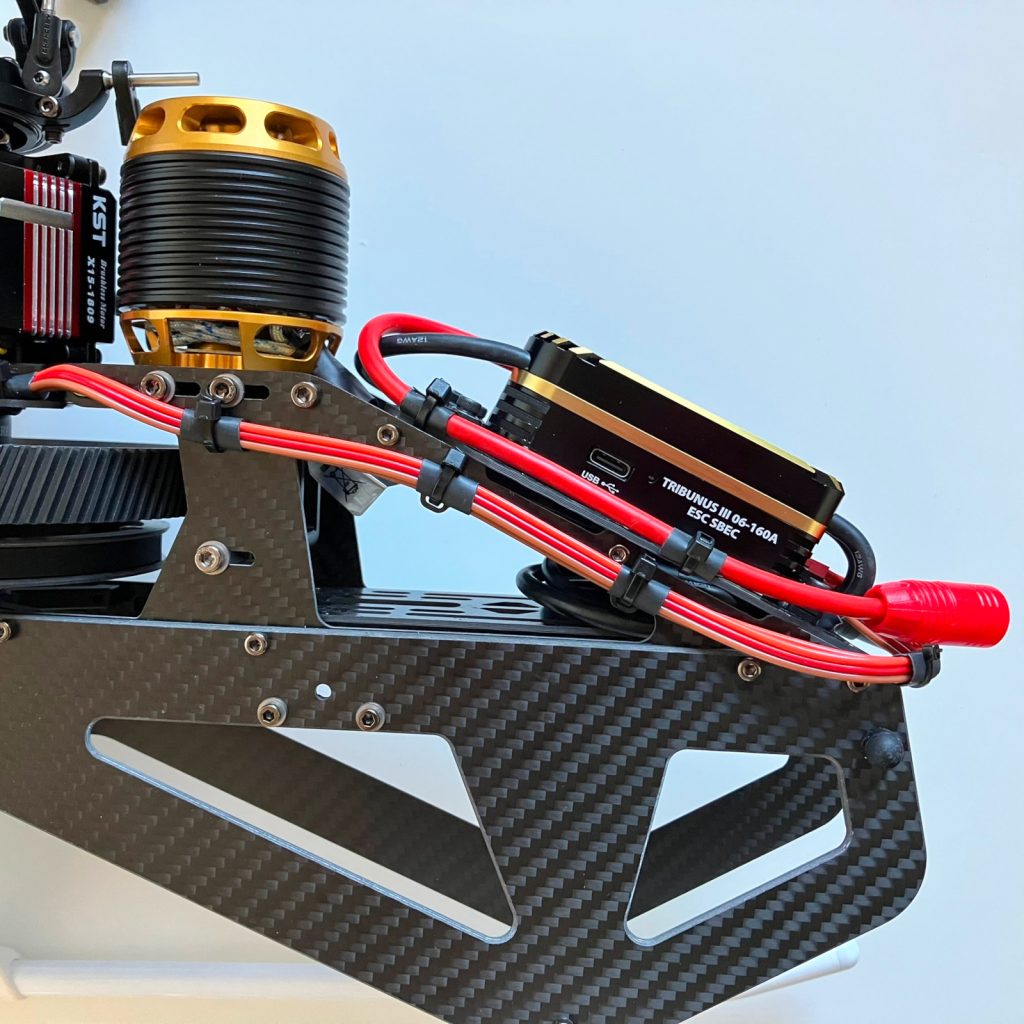
32 ESC
We will be using Scorpion Tribunus III 160A ESC.

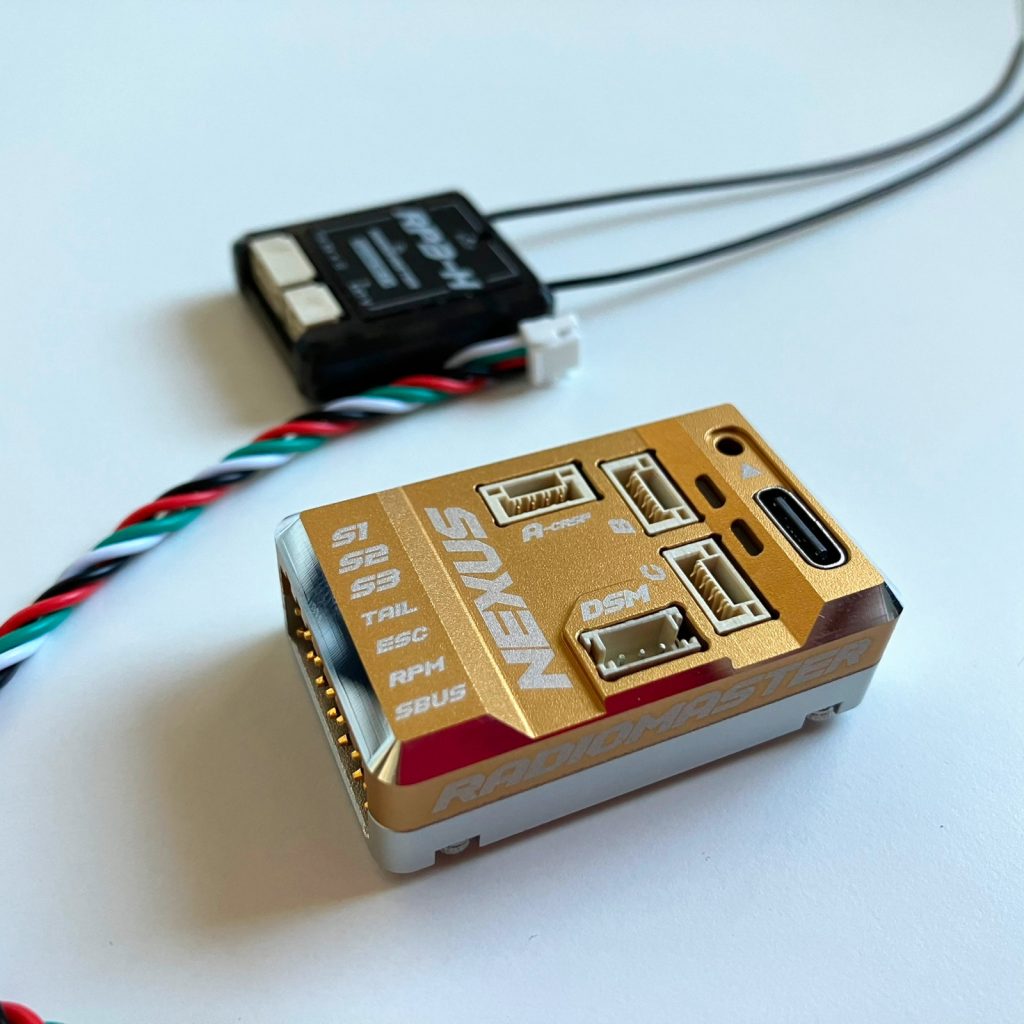
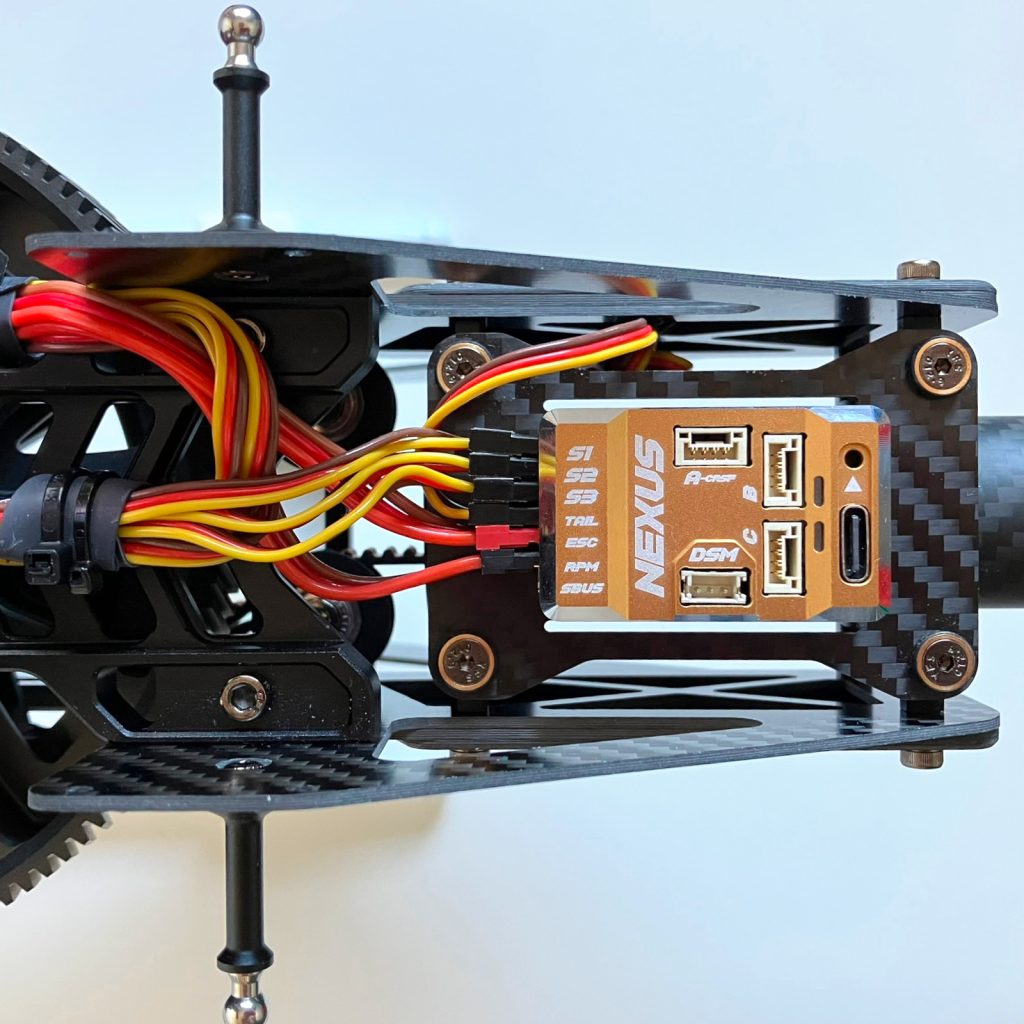
33 Flight Controller
We will use Nexus Flight controller with RP3-H receiver.
34 Swashplate Leveling
We use the OriginHobbies M5 Swash Leveling tool. M6 Swash leveling tool also available.

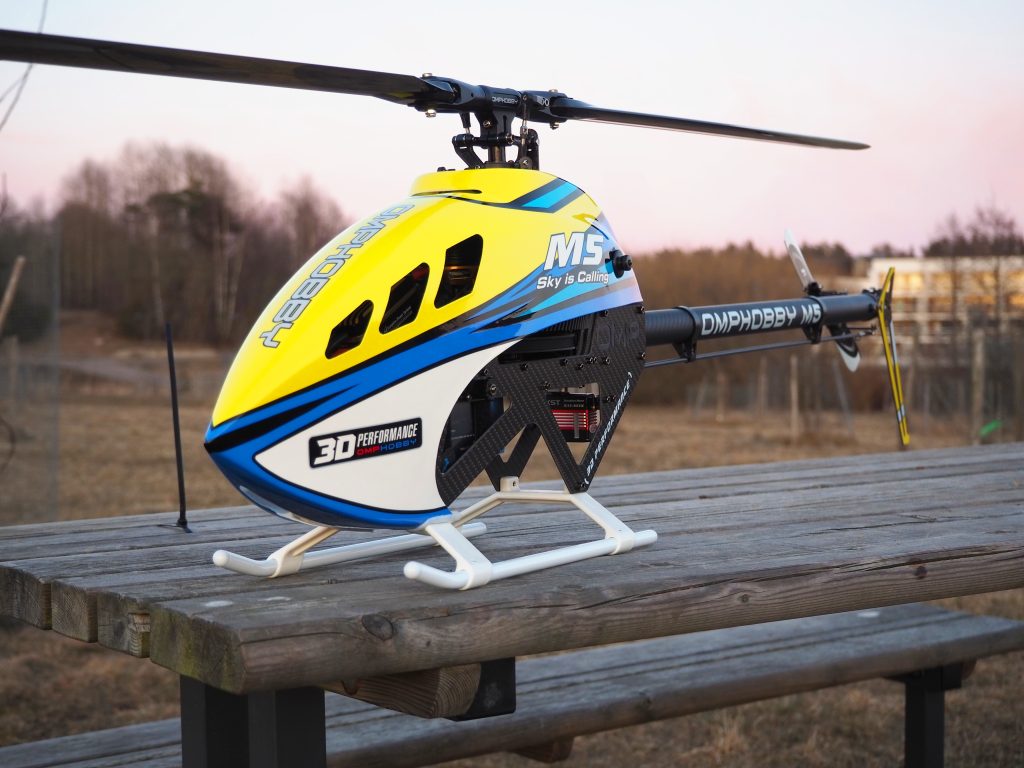
35 Canopy install

I hope you enjoyed this series. Feel free to ask any questions at info@originhobbies.com